Three days of practical experience in biotechnology by individuals, for individuals
The intensive workshop “YCAM InterLab Camp vol. 3” was held over three days from March 1st to 3rd, 2019, as a venue for learning about the basics and application potentiality of biotechnology. YCAM InterLab Camp is a series of workshops where researchers and artists active in a variety of fields are invited to learn about technologies and tools related to media art. In the past, it has undertaken ambitious themes such as "openFrameworks" in its first series in 2008, and "TECHTILE" in the second.
For the third series of YCAM InterLab Camp, the chosen theme was "Personal Biotechnology". This was because of the DIY Bio movement, which has seen an upsurge of interest in recent years. Though biotechnology was once limited to laboratories of companies and research institutions, it is now spreading into an open research domain that is accessible to the general public, due to the development of devices and the falling costs of DNA analysis and synthesis. Responding quickly to this movement, YCAM opened a biolab in 2015 and has held a number of biotechnology-related events for the public. The latest workshop was an effort to practice "Personal Biotechnology – biotechnology by individuals, for individuals," a concept that is entering the early developmental stage. The workshop can also be seen as the culmination of knowledge accumulated by YCAM so far.
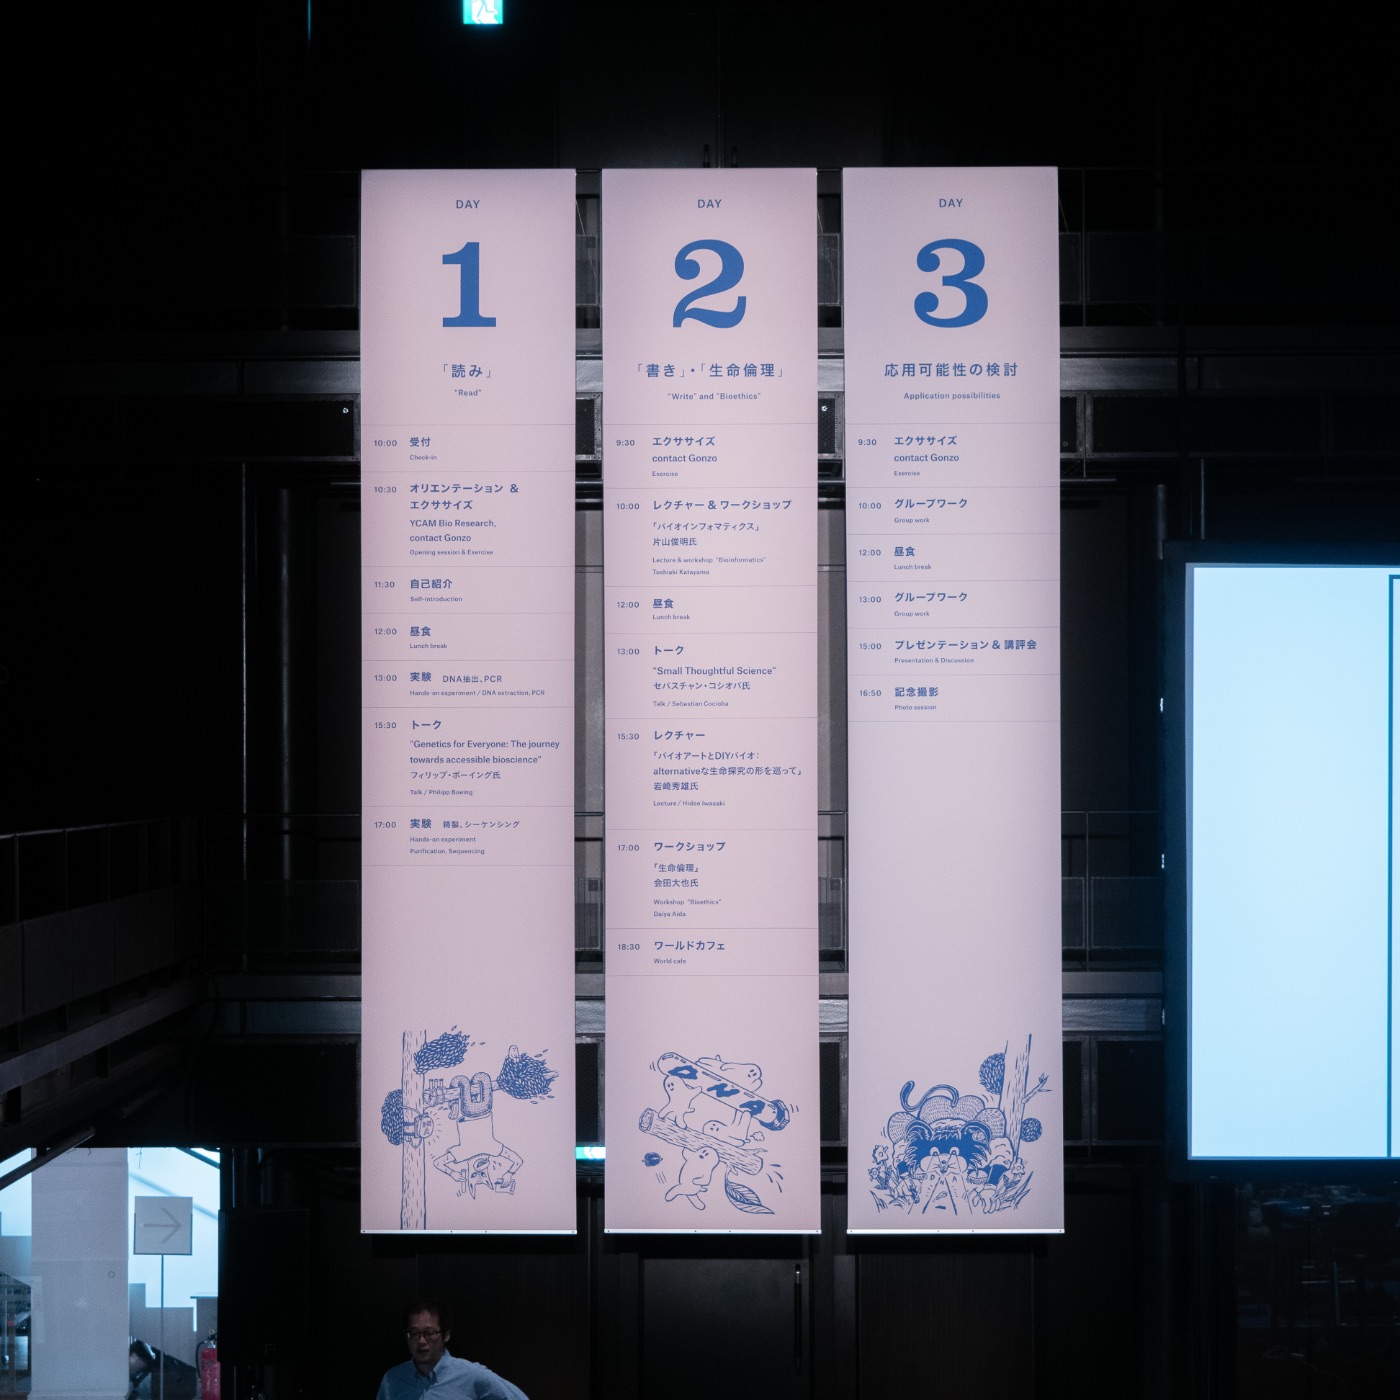
Over the course of three days, participants learned the processes of reading and writing biological information using DNA-related technologies. The dense workshop explored the application potentiality of biotechnology and deepened the discussions of bioethics related to the field. Key figures in their respective fields, from Japan and abroad, were invited as lecturers. The diverse lectures and talks provided a valuable opportunity to address global trends and up-to-date knowledge in the field of biotechnology.
1Orientation & ExerciseYCAM Bio Research, contact Gonzo
Learning and thinking together about biotechnology as it undergoes increasing societal implementation
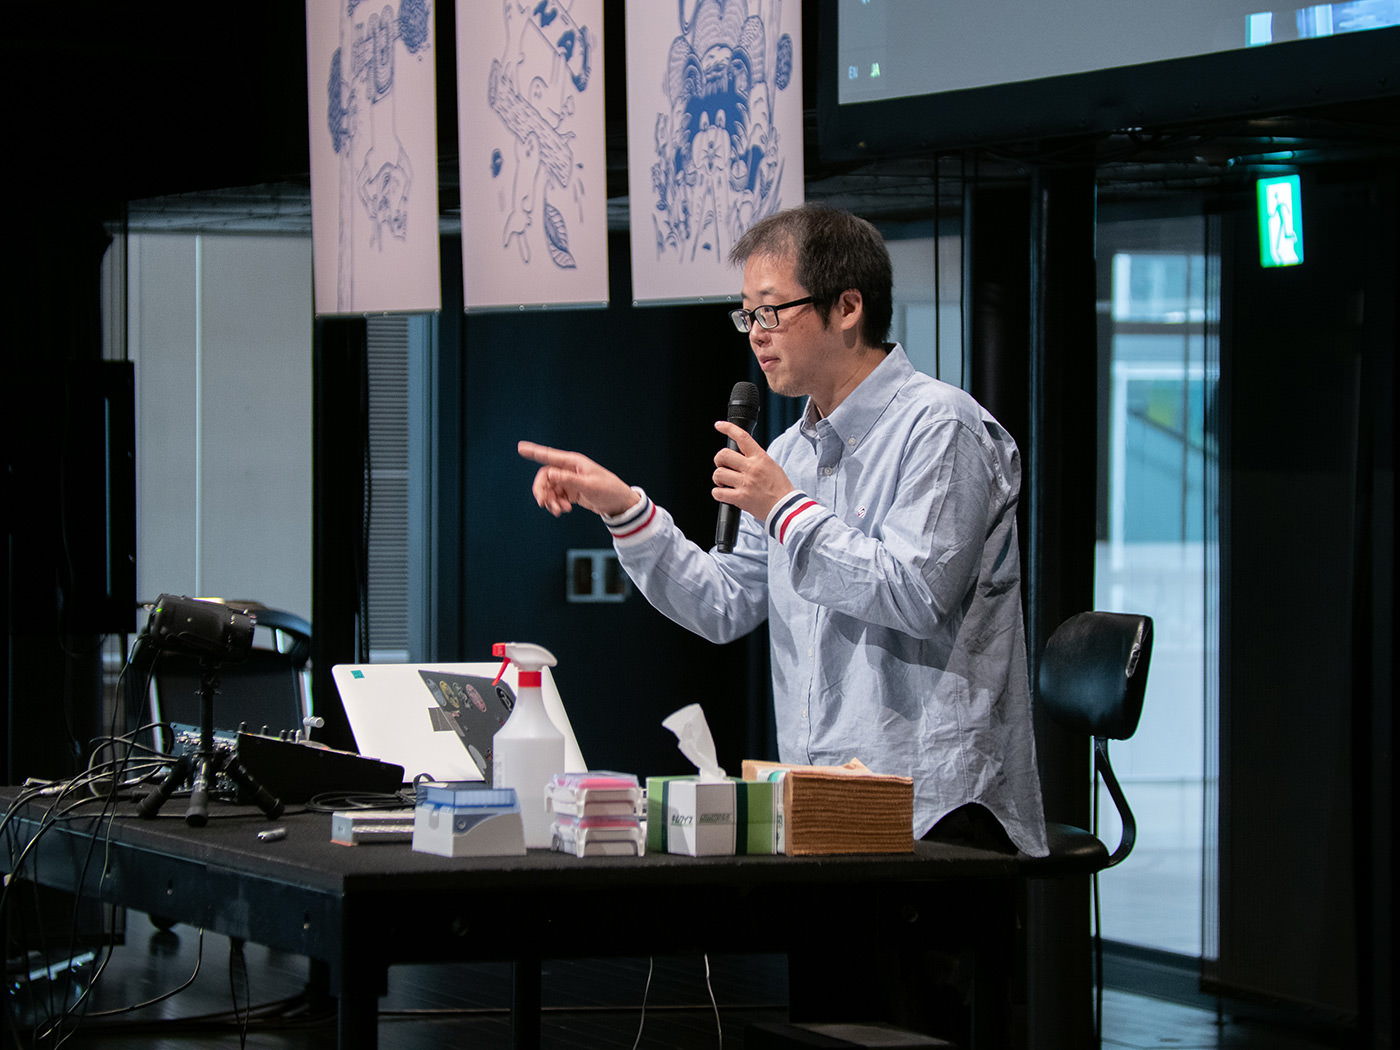
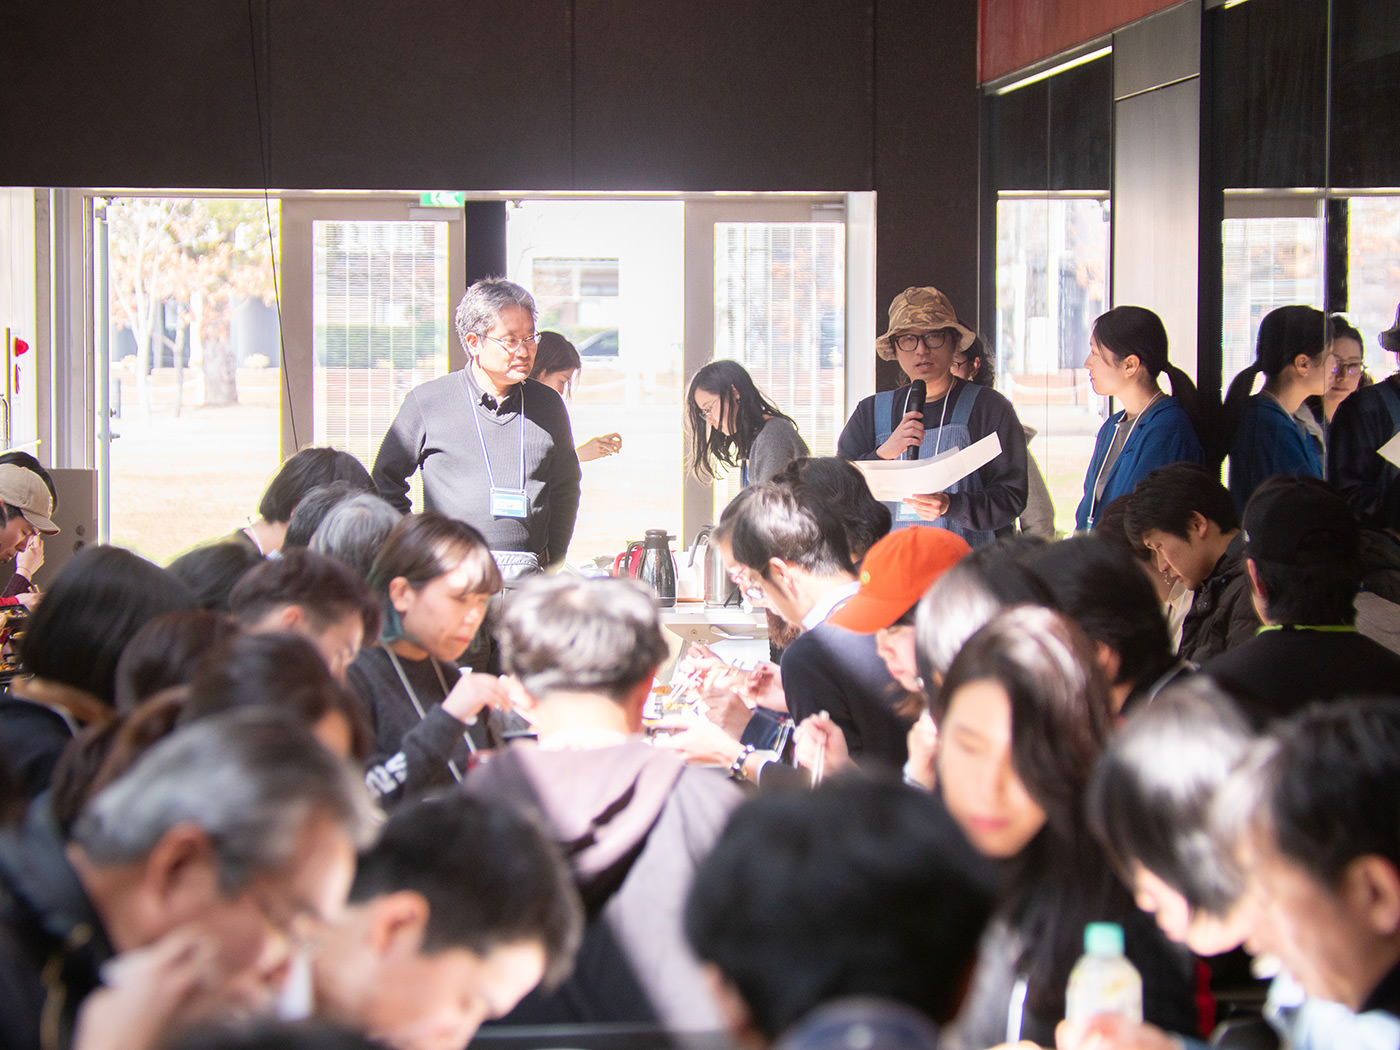
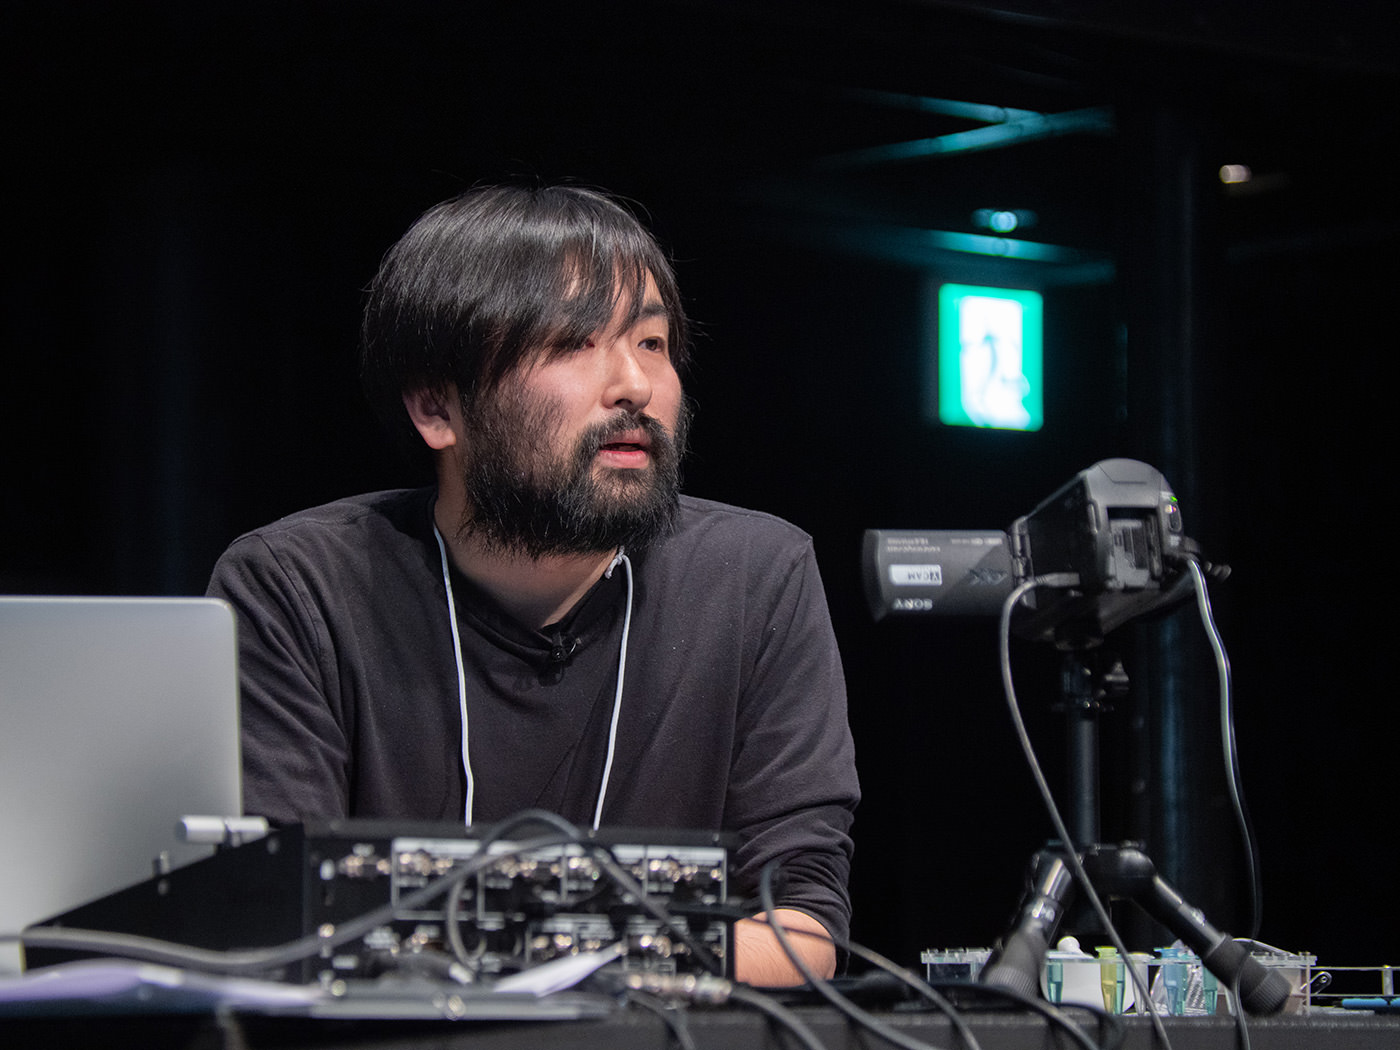
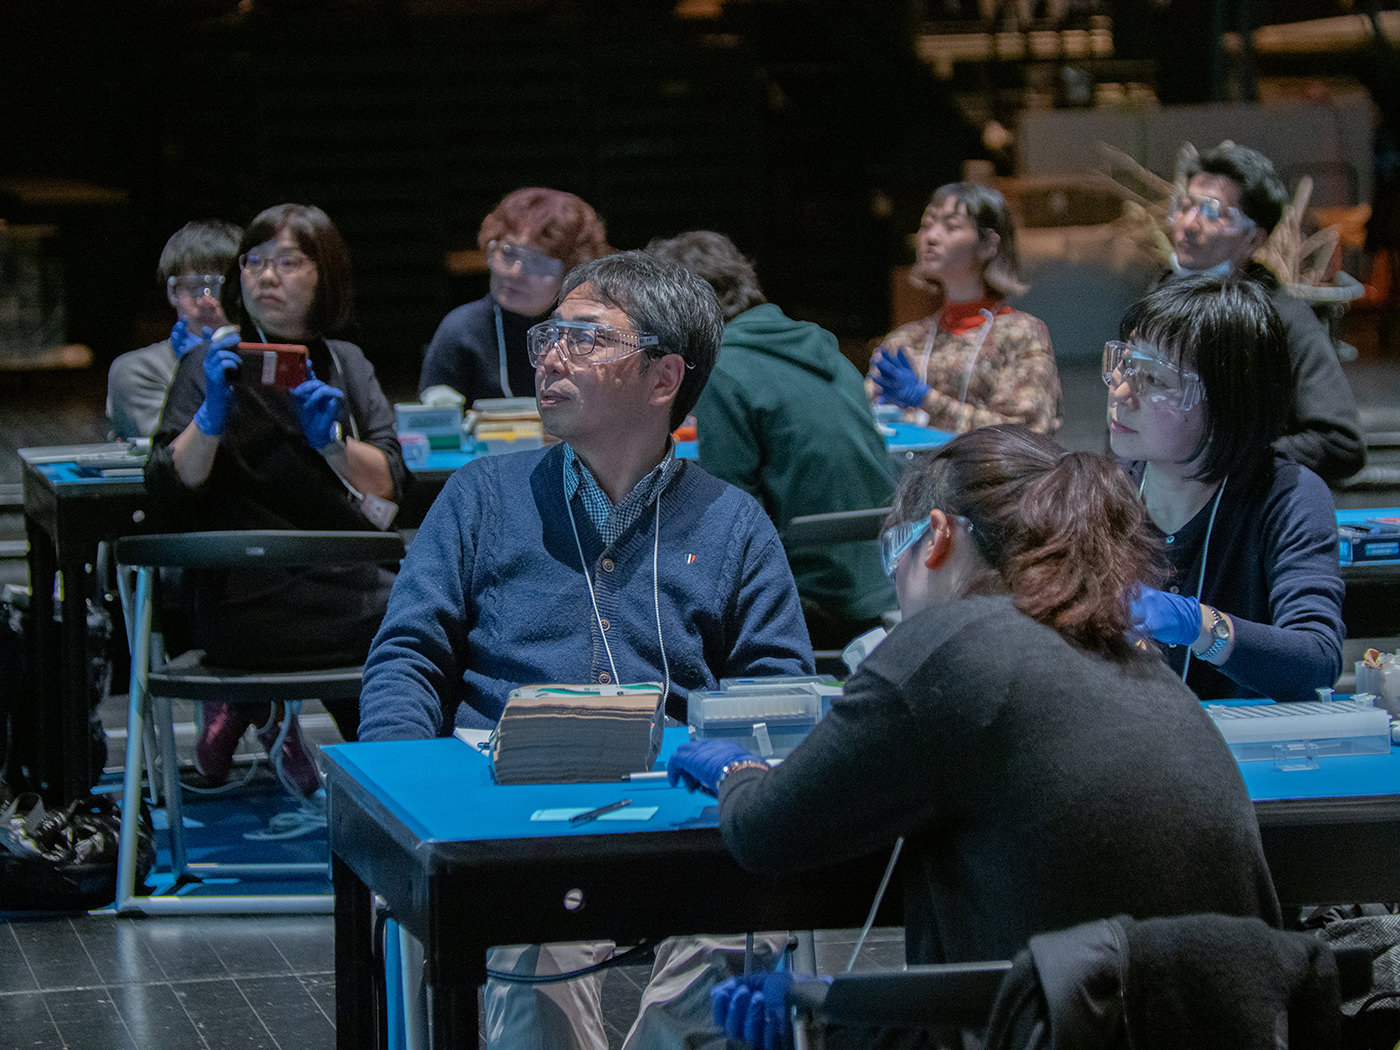
The first day of the workshop began with a lecture by YCAM R&D director Takayuki Ito. Participants gathered in Studio A, normally used as a theater space, and listened to his talk with slightly tense expressions.
YCAM R&D Director Takayuki Ito
"In the future, biotechnology will become more personal, just as computers became personal. That vision is what led to this project."
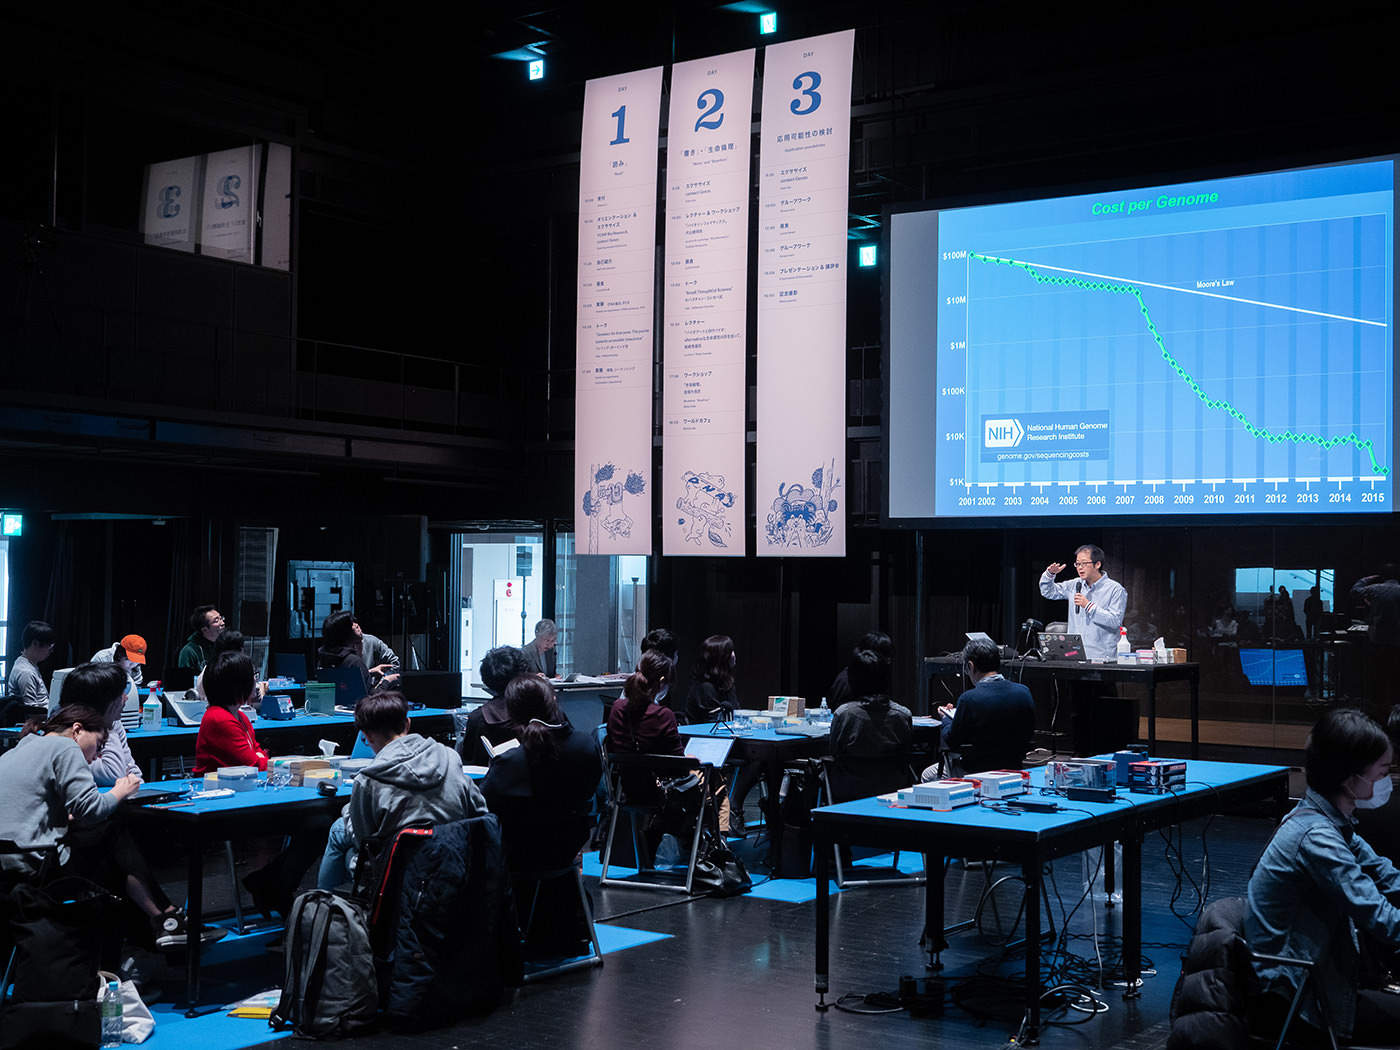
Speaking about the background of planning the event, Ito cited the falling cost of DNA analysis, a key biotechnology, as one of the reasons that led to the idea.
"For example, the performance of sequencers that read DNA has improved dramatically, and the cost of analyzing the genome of a single human has fallen to about 1/100,000 over the past 15 years. Even for the devices used in related processes, the DIY blueprints for anyone to build them have been released, and smaller and inexpensive devices are now being sold. In addition to this, citizens and artists interested in biotechnology have launched a succession of biohacker spaces and are now working on innovative projects that make use of biotechnology. ''
If this democratization of biotechnology continues to advance, citizens will require a degree of knowledge and understanding of biotechnology, including ethical issues. In response, Ito launched “YCAM Bio Research” as a framework for YCAM members to learn about biotechnology and explore its application potentiality. Furthermore, A biolab was established in the building, and varied workshops and fieldwork have been developed. Through such activities, YCAM aims to foster literacy regarding biotechnology with the involvement of communities and citizens.
"I want to make this a space where people can learn and think together about biotechnology as it becomes more familiar," said Ito, and concluded his talk with the note that the workshop was meant as "a new form of learning in the age of personal biotechnology."
Participation by people with an interest in biotechnology, from Japan and overseas
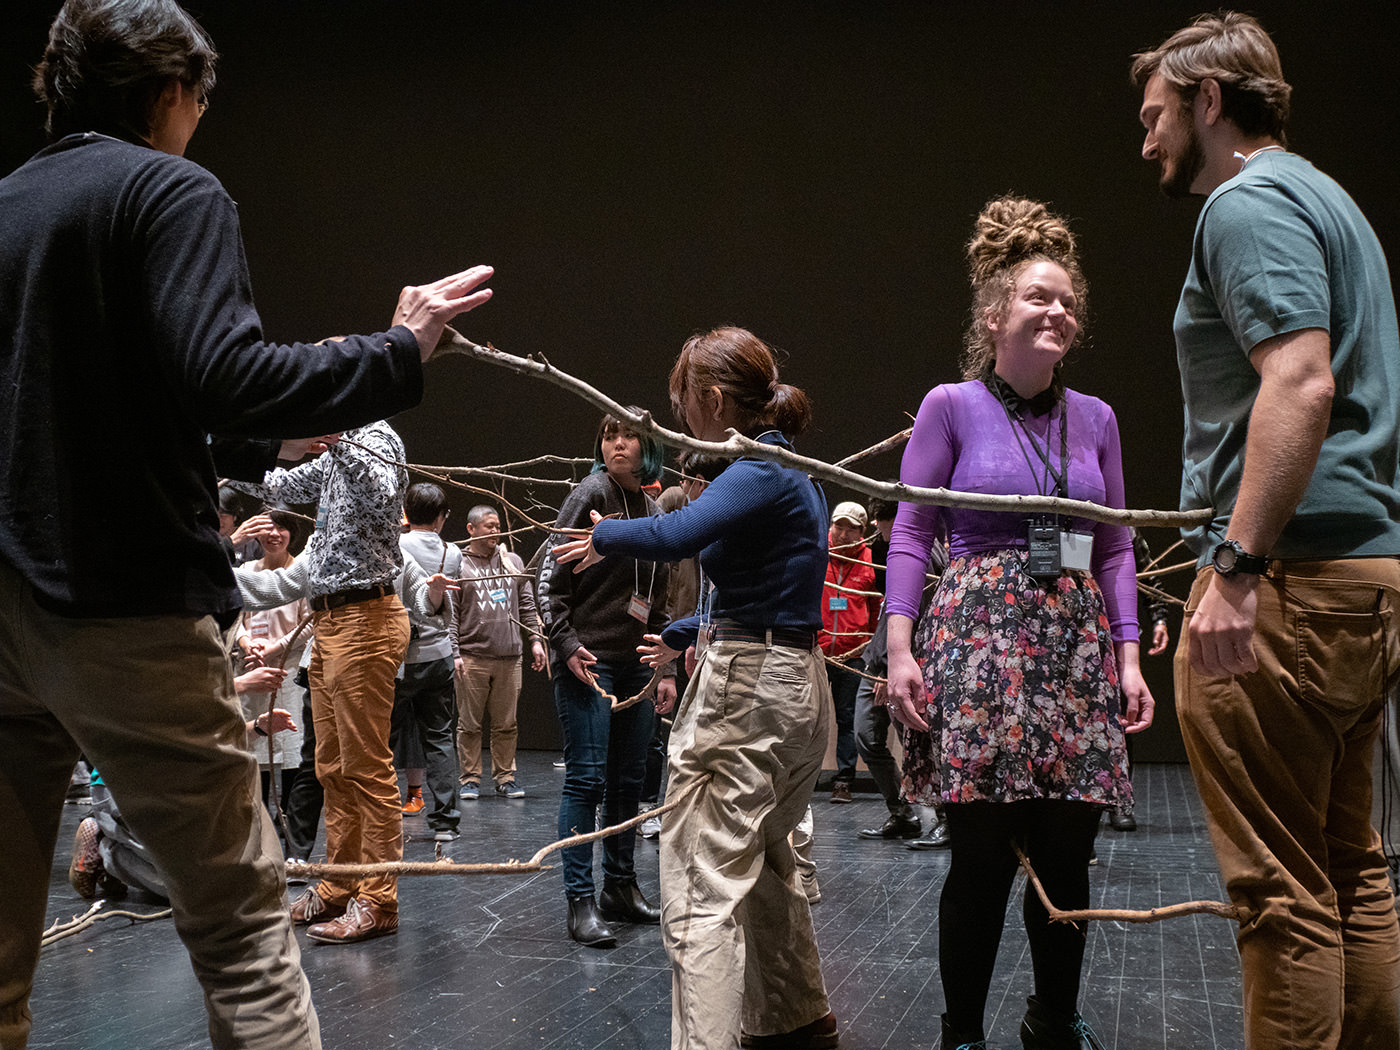
Next, the Osaka-based artist collective called contact Gonzo led an exercise that incorporated team building.
Yuya Tsukahara of contact Gonzo
Known for their hard-hitting performances of clashing bodies somewhere between a fistfight and contemporary dance, the artists explained the exercise in which tree branches were used to connect the participants to each other. The sense of being linked only by branches made the participants strongly aware of each other's existence and initiated a non-verbal dialog among them. Although a very simple exercise, it evoked a mysterious feeling of thoughts being broadened through the feedback of information caused by the branches’ contact.
Using branches of varied length and thickness to connect to each other with as many contacts as possible
Once the venue had warmed up, it was time for self-introductions. The public invitation had resulted in a total of 34 participants from Japan and overseas. All with an interest in biotechnology, this diverse group included researchers, artists, designers, engineers, and high school students who had just completed university entrance examinations.
Hiroo Komine, the first Japanese to be certified by the government of India as an Ayurvedic physician, said, "I want to explore the scientific basis for traditional medicine through DIY biotechnology."Tomoko Hashida, Associate Professor at the Waseda University School of Fundamental Science and Engineering. She engages in research on developing systems that use natural material or natural energy for control.Minoru Ito of the design engineering firm Takram. He decided to participate out of an interest in personal biotechnology and the YCAM community.
While there were some experienced persons, the majority of the participants were beginners with no practical experience. Their titles, ages, and nationalities varied greatly, but what was impressive was the large number of participants who expressed a desire to explore not only biotechnology that is evolving each day, but also its potential that lies beyond.
Experiencing the evolution of genomics through taste, with the "Genome Bento"
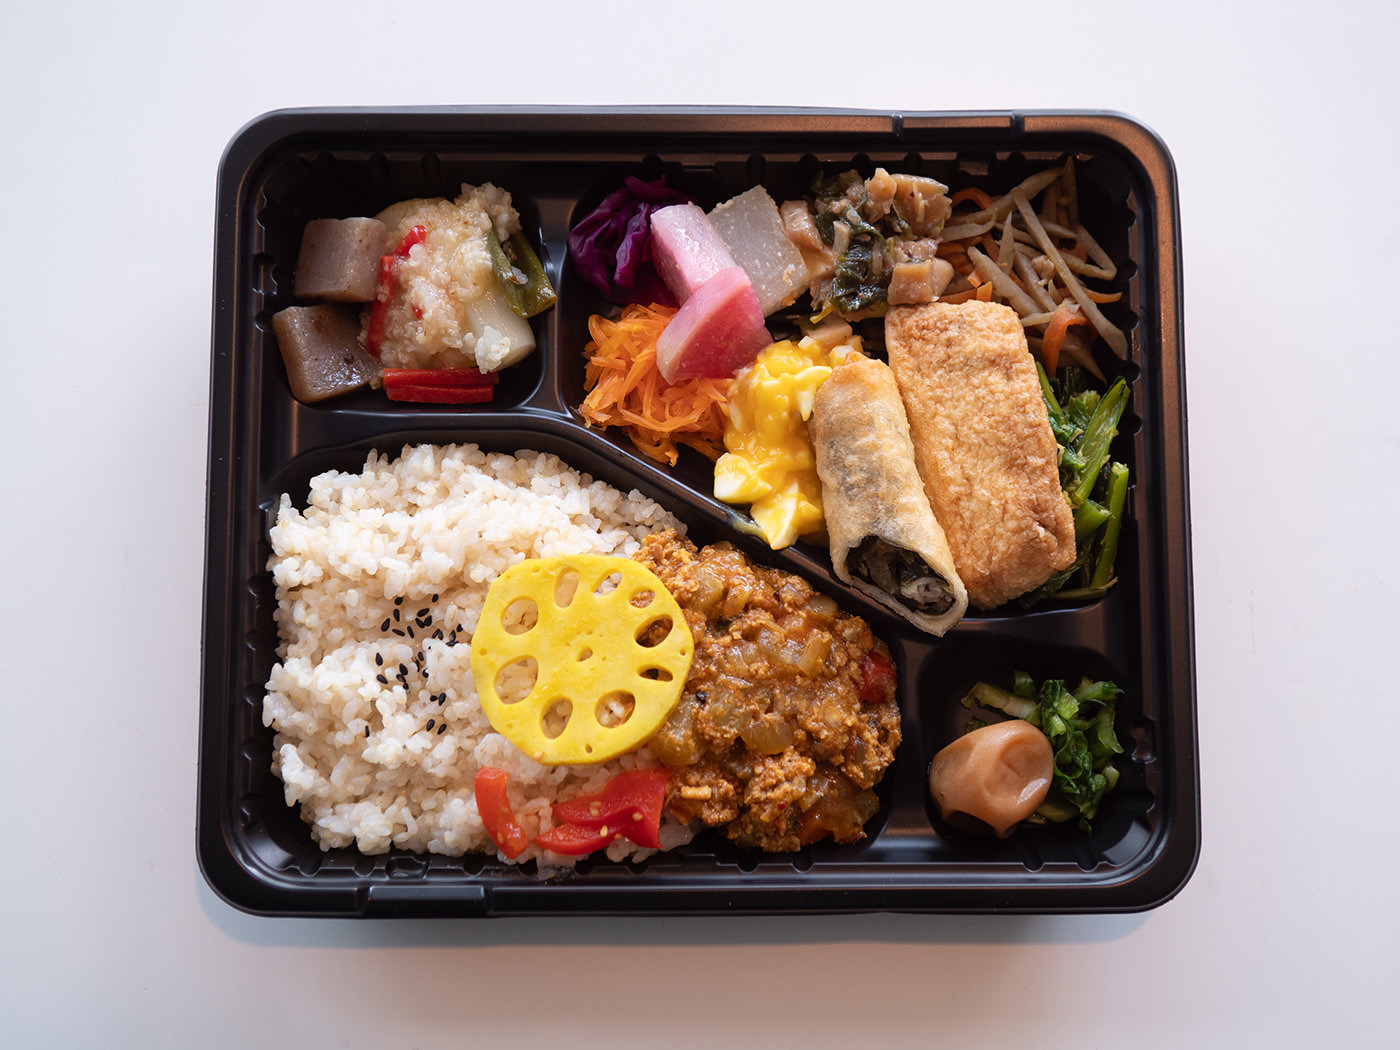
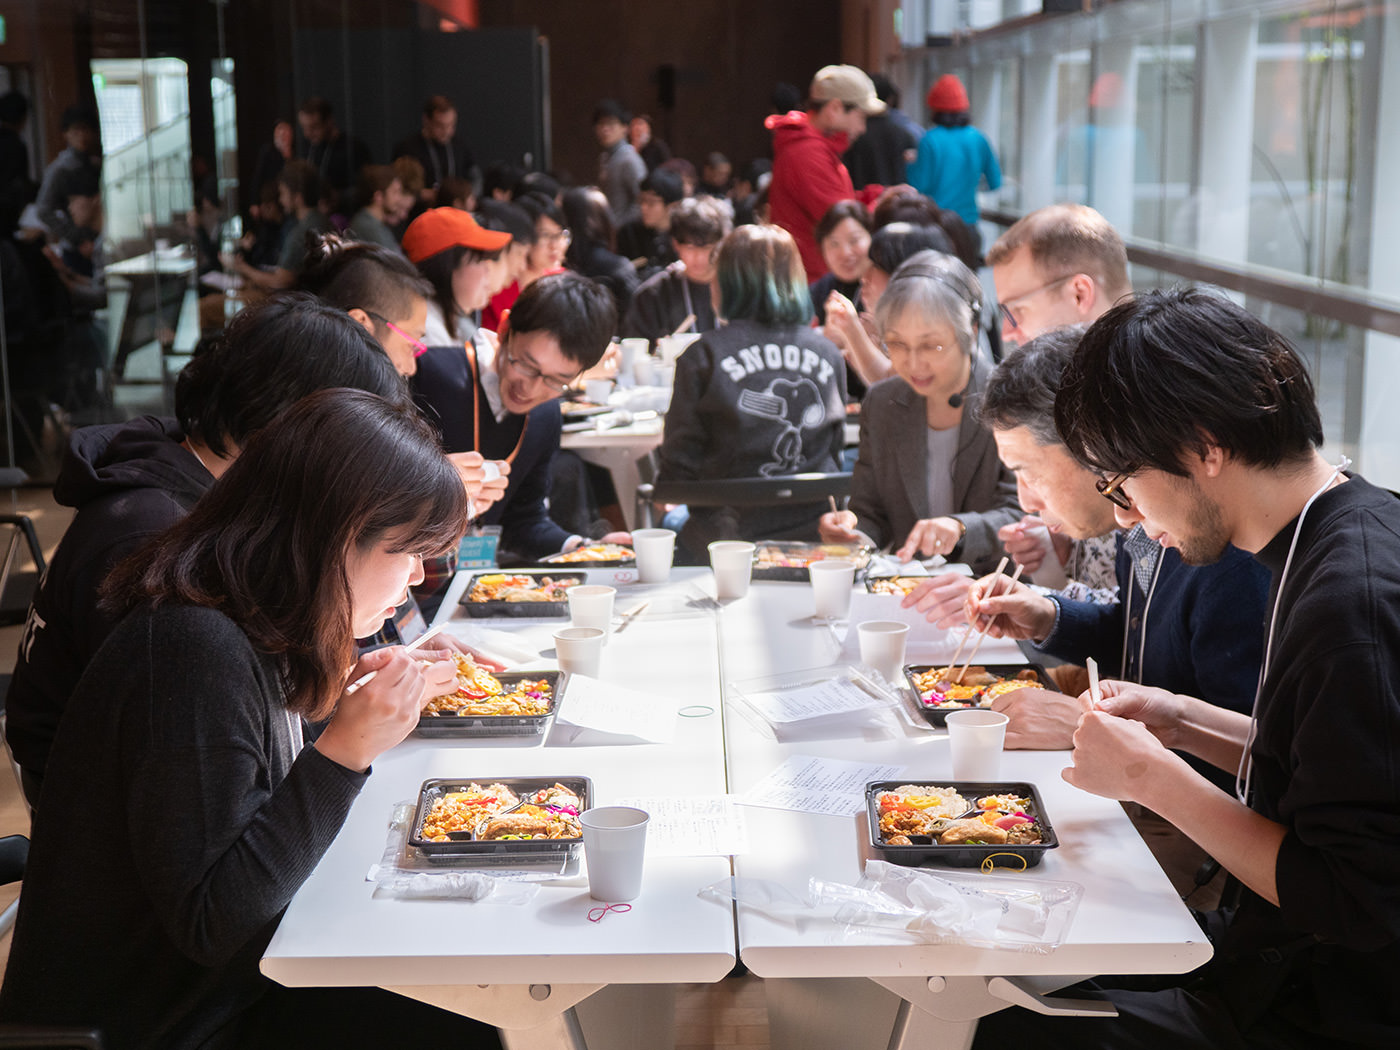
Lunch followed the morning session. The "Genome Bento" (Genome lunch box), created by a collaboration between YCAM and the restaurant Vegetable Cafe ToyToy in Yamaguchi City, was served to those who wished to try it.
Genome Bento is a project to develop bentos in which the only ingredients that can be used is the biological species whose genome has been sequenced. For example, when Genome Bento began in 2016, genomes had been sequenced for more than 9,000 species, a number that is increasing annually. About 100 of the species are selected and used for the menu of Genome Bento.
This day's menu included green onions simmered in olive oil, pickled red cabbage, and keema curry made with over 10 spices.
However, a "Genome-Ignored Spicy Bento" was offered that day. As the name suggests, this was a normal, delicious lunch unrelated to genomes. Atsushi Murata of Vegetable Cafe ToyToy, who was in charge of making the bentos, explained, "I wanted to create a gradation in dining.”
“At present, most of the spices essential for seasoning have not had their genomes sequenced. There are limits in achieving diverse flavoring. So, I thought I would make a menu that ignores genomes on the first day, to let people experience the world of genomic ingredients through the difference in taste."
According to Murata, "From tomorrow we will serve bentos made with ingredients whose genomes have been sequenced." It was also announcement that the lunch on the third day would be served as hors d'oeuvres, which sparked anticipation for the outcome.
Participants shared impressions as they sampled each dish, and enjoyed interacting with each other.
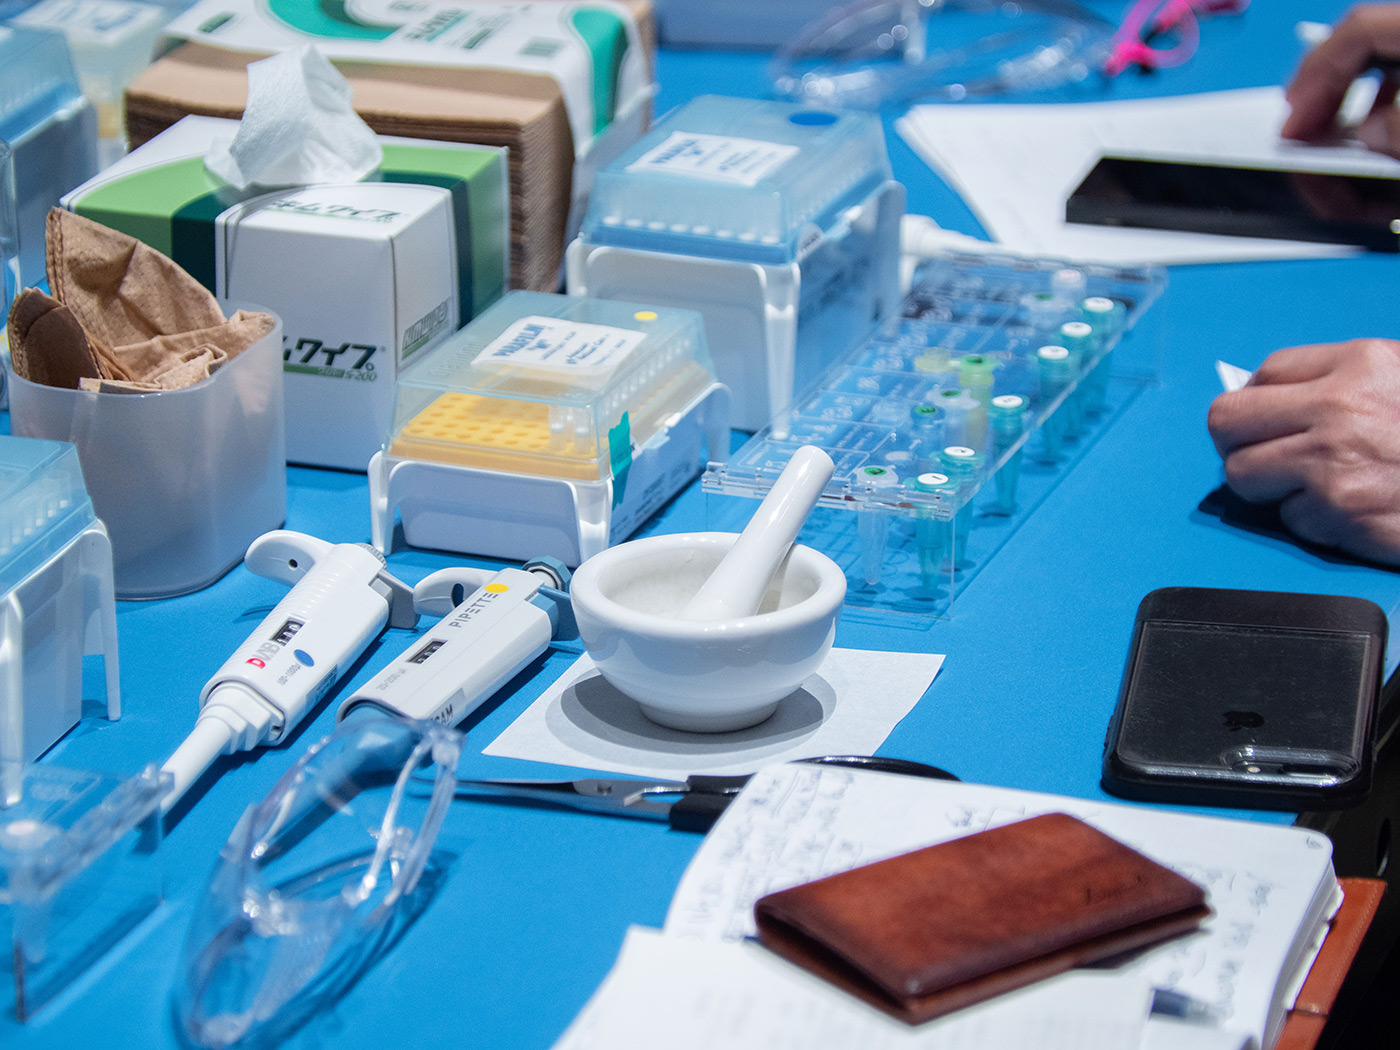
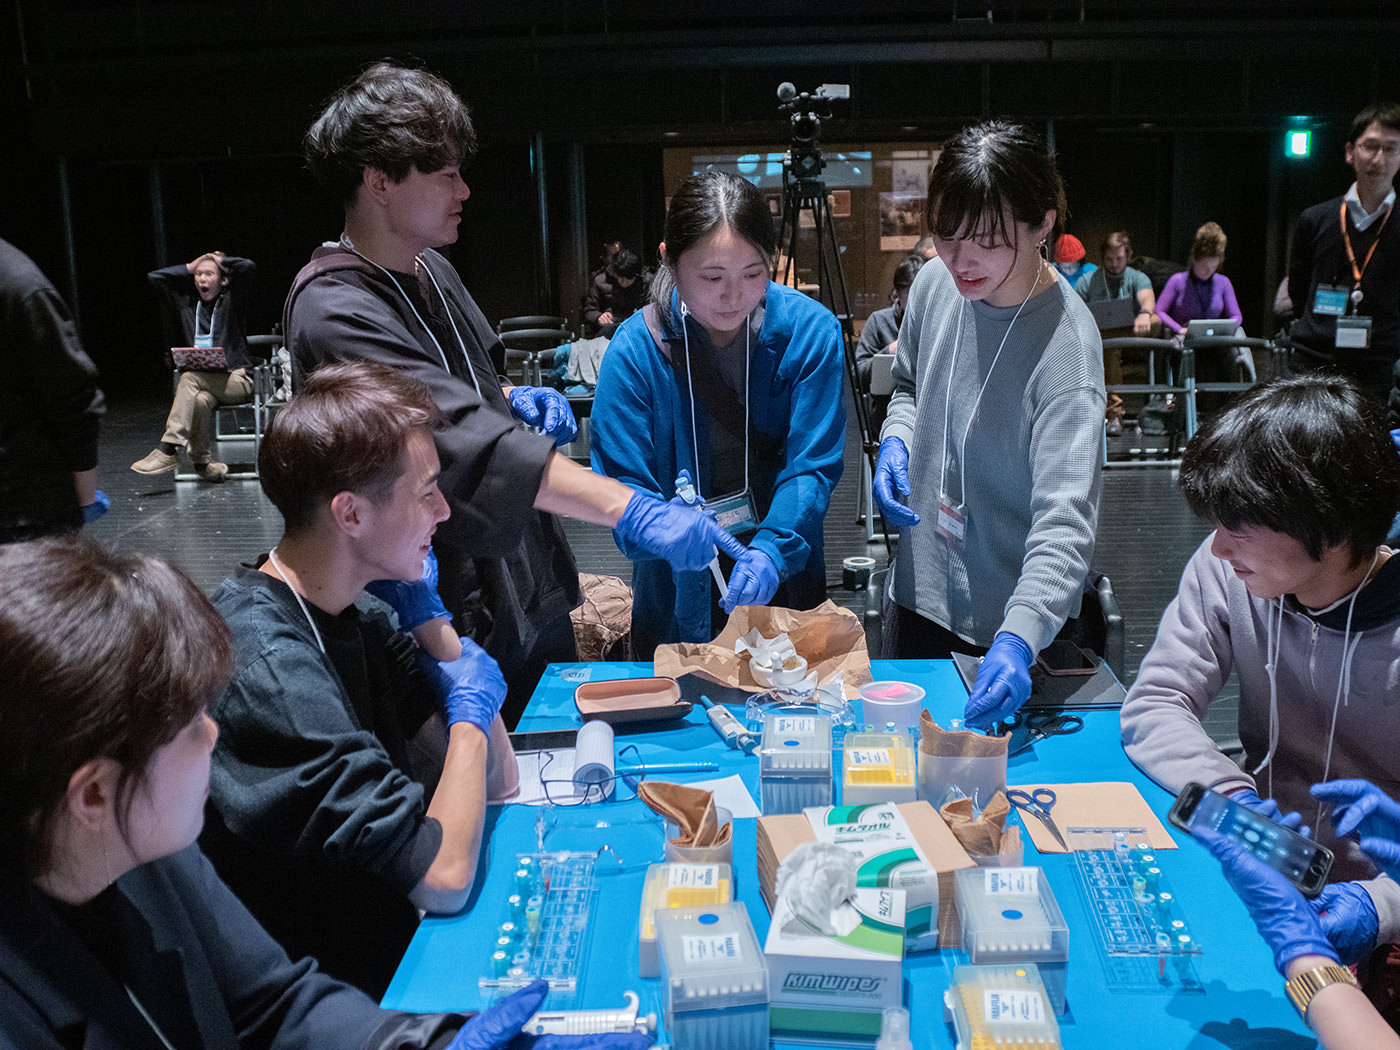
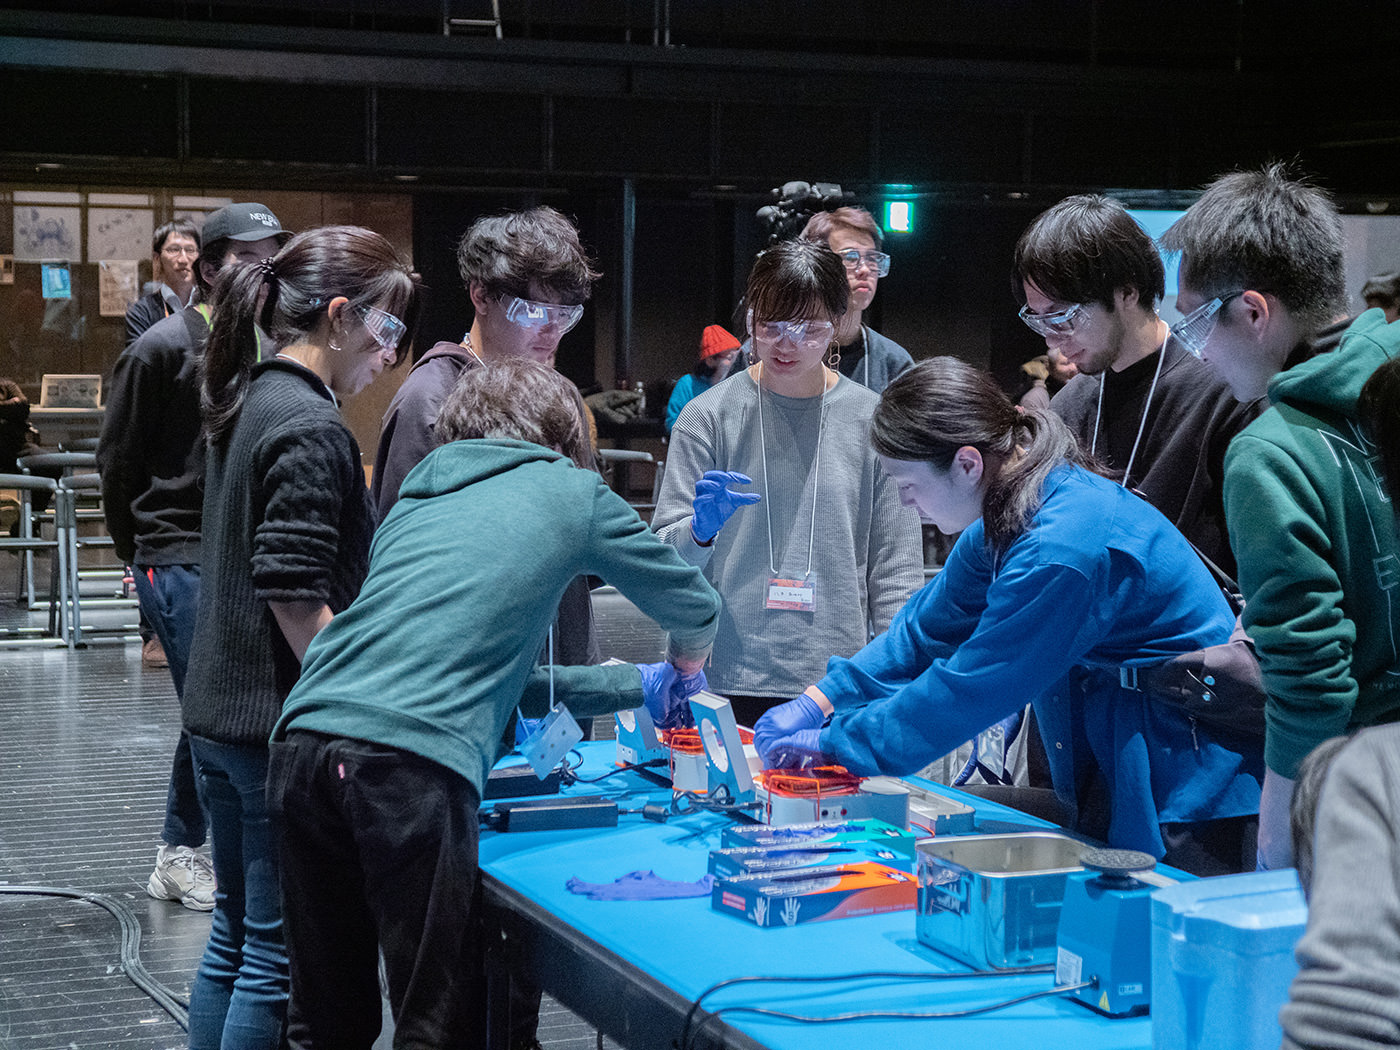
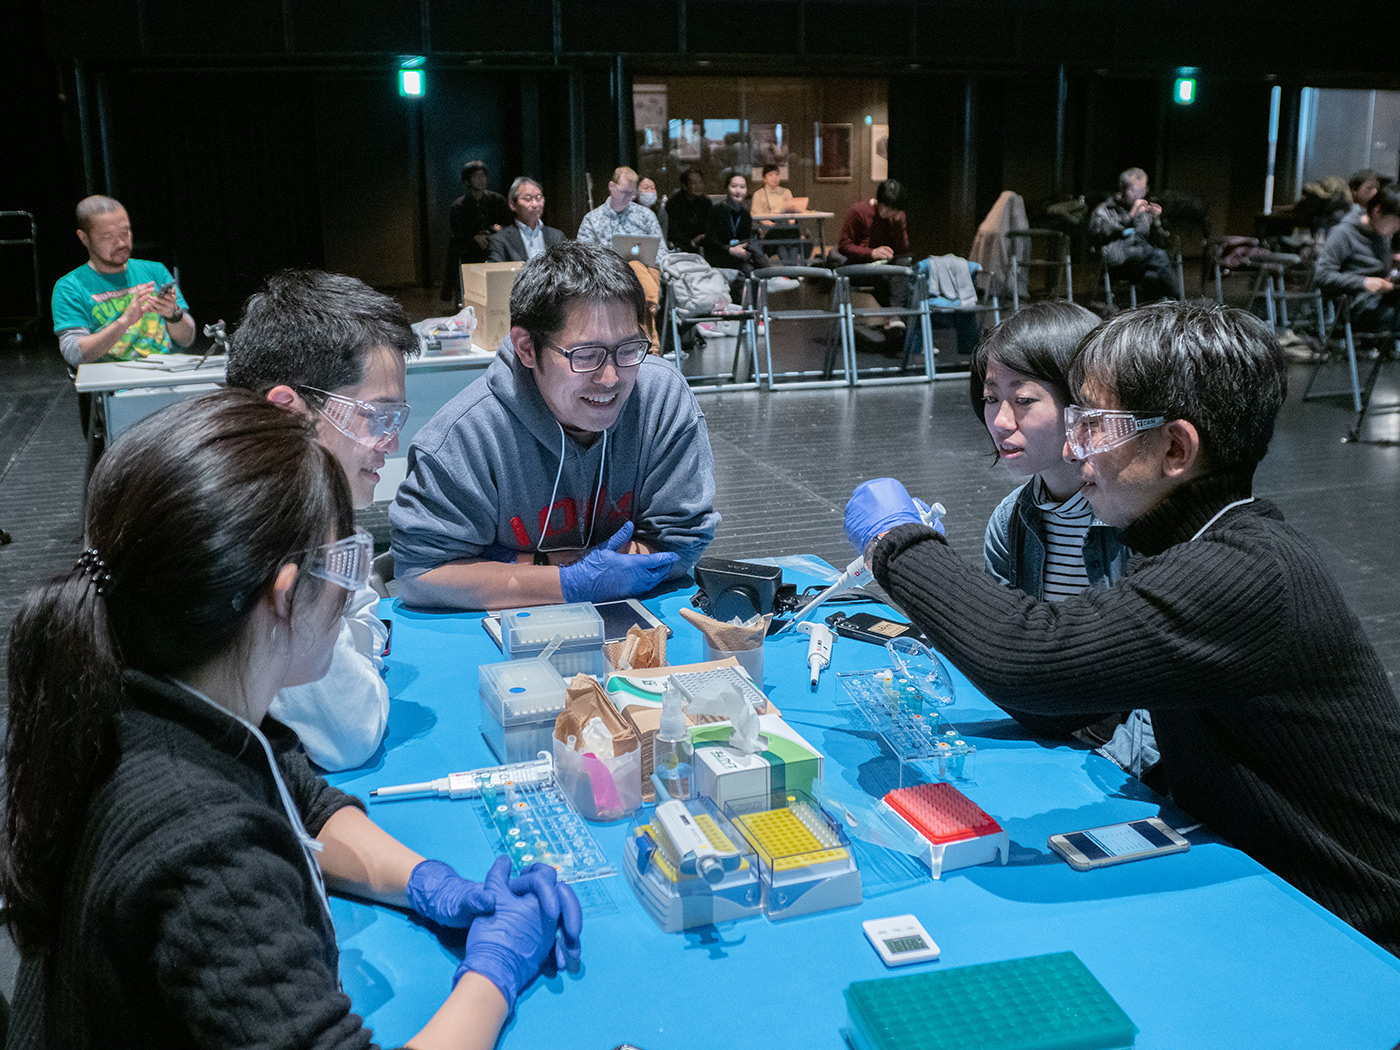
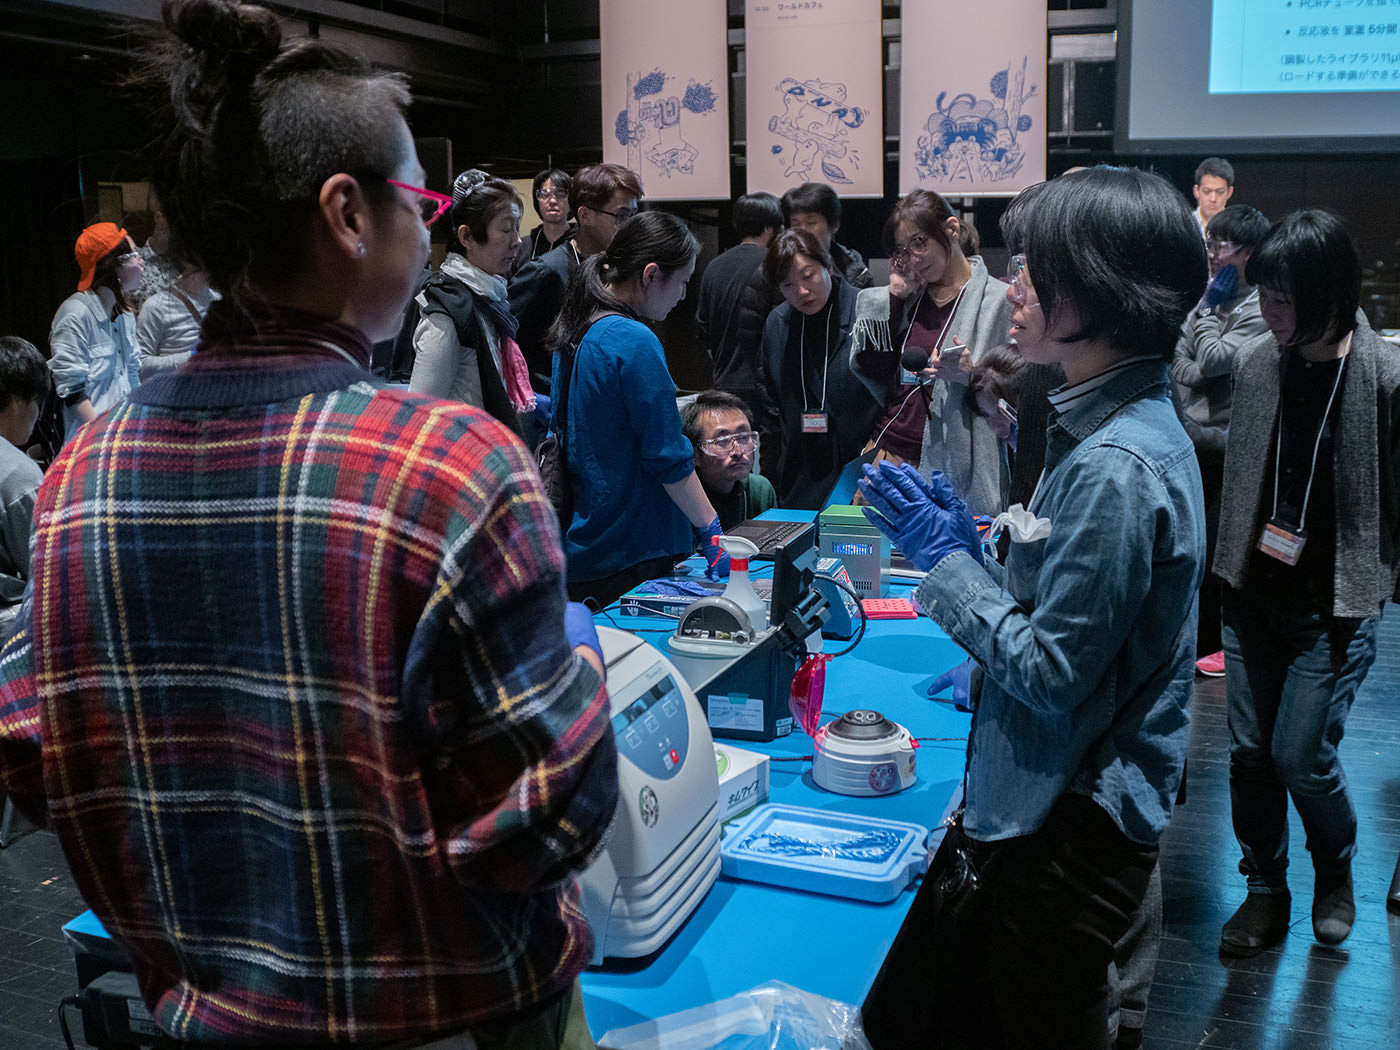
In the afternoon, the process of reading DNA began. Participants separated into six tables, and the experiment proceeded in pairs.
Equipment and reagents necessary for DNA extraction were prepared in advance and placed on the tables.
Kazutoshi Tsuda, a researcher at YCAM and a member of YCAM Bio Research, explained the protocol for reading DNA.
YCAM researcher Kazutoshi Tsuda
"DNA consists of four bases: A (adenine), T (thymine), C (cytosine), and G (guanine). The bases connect in pairs to form a double helix, which folds into chromosomes in the cell nucleus. There is a regularity in how the bases connect: A always pairs with T, and G always pairs with C. This property is called complementarity of bases. The genome refers to the entirety of the genetic information recorded in a cell’s DNA. For humans, the volume of this information equates to about 3 billion bases (about 3 Gb)."
The DNA in the cell nucleus is called genomic DNA. In addition to this, for example, the plant cell also contains the DNA of mitochondria and chloroplasts (organellar DNA).
"In the cell, this information of DNA is copied into RNA (transcription), and proteins are created based on the RNA (translation). In other words, DNA is both substance and information. The substance, that is, DNA, can be used to read the information, that is, the base sequence. This process of “reading” DNA is what you are going to do today."
The process for reading DNA, as indicated by Tsuda, is generally as follows.
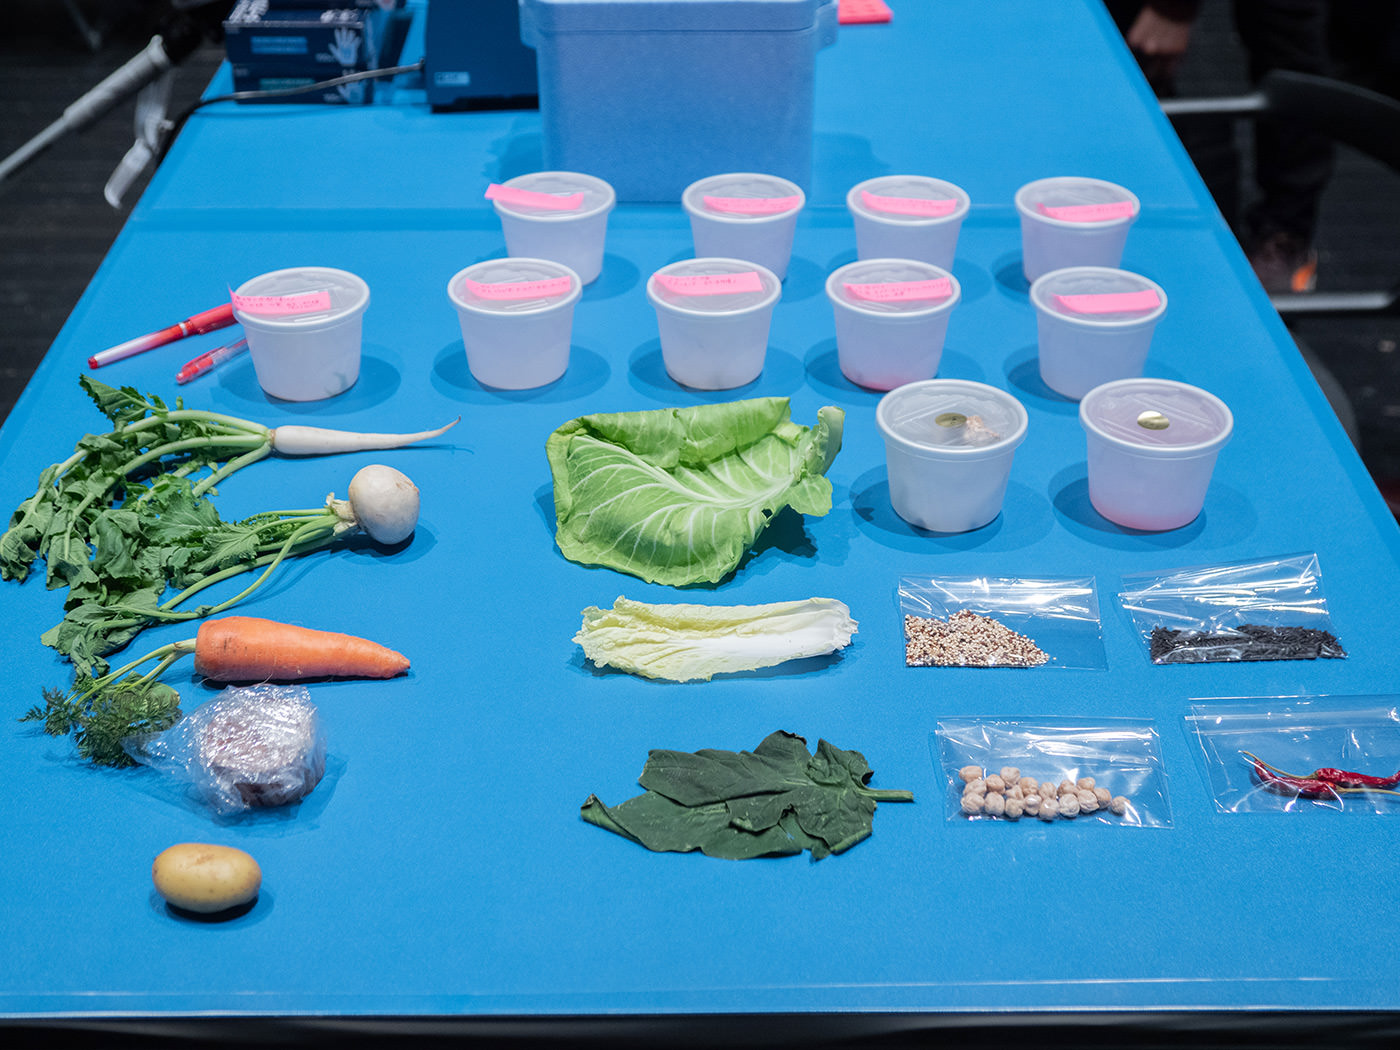
The samples that were prepared for DNA extraction consisted of 14 types of vegetables and 9 cooked foods, the same ingredients and dishes used in the Genome Bento. When it came to reading the DNA of something we had actually eaten, DNA analysis that had once seemed foreign suddenly became more relatable.
The total of 23 samples can be sorted into 3 categories.
(1) Ingredients (6 items whose whole genomes have been sequenced): Tomato, carrot, Chinese cabbage, cabbage, black rice, chickpea (2) Ingredients (8 items whose whole genomes have not been sequenced): Shimeji mushroom, Japanese radish, turnip, potato, onion, lotus root, spinach, quinoa
Regarding the ingredients in (1), as their whole genomic DNA has already been sequenced, it is possible to analyze the ingredients’ genome according to the sequenced data (reference sequence) that has been published. Conversely, since the ingredients in (2) are those of which the whole genomic DNA is incomplete and only partially known, considerable time is required to analyze it by reference to this data (draft sequence). In (3), several different ingredients are mixed, meaning that accurately reading their respective genomes is difficult to begin with. Accordingly, for (2) and (3), instead of reading the genomic DNA, a portion of the chloroplast DNA was read, to attempt to identify the species using a technique called DNA barcoding. This technique identifies species by selecting specific DNA regions that facilitate the identification of each organism species, and creating a database that is referenced like a barcode. In plants, the chloroplast DNA has the matK gene and the rbcL gene which is involved in photosynthesis (about 600 bases) and these genes are typically used as standard barcode regions. In other words, the plant species can be identified by comparing the varied rbcL gene sequences recorded in the database with the rbcL gene regions in the DNA extracted from the food samples. After the explanation, each team moved to the central table and selected samples. Most of the teams chose samples from ingredients group (1), probably figuring that the completed sequencing of the whole genome would make it easier to analyze the genome. Our team, which had a late start, decided to attempt the analysis of carrot salad.
Extracting DNA from samples of familiar food
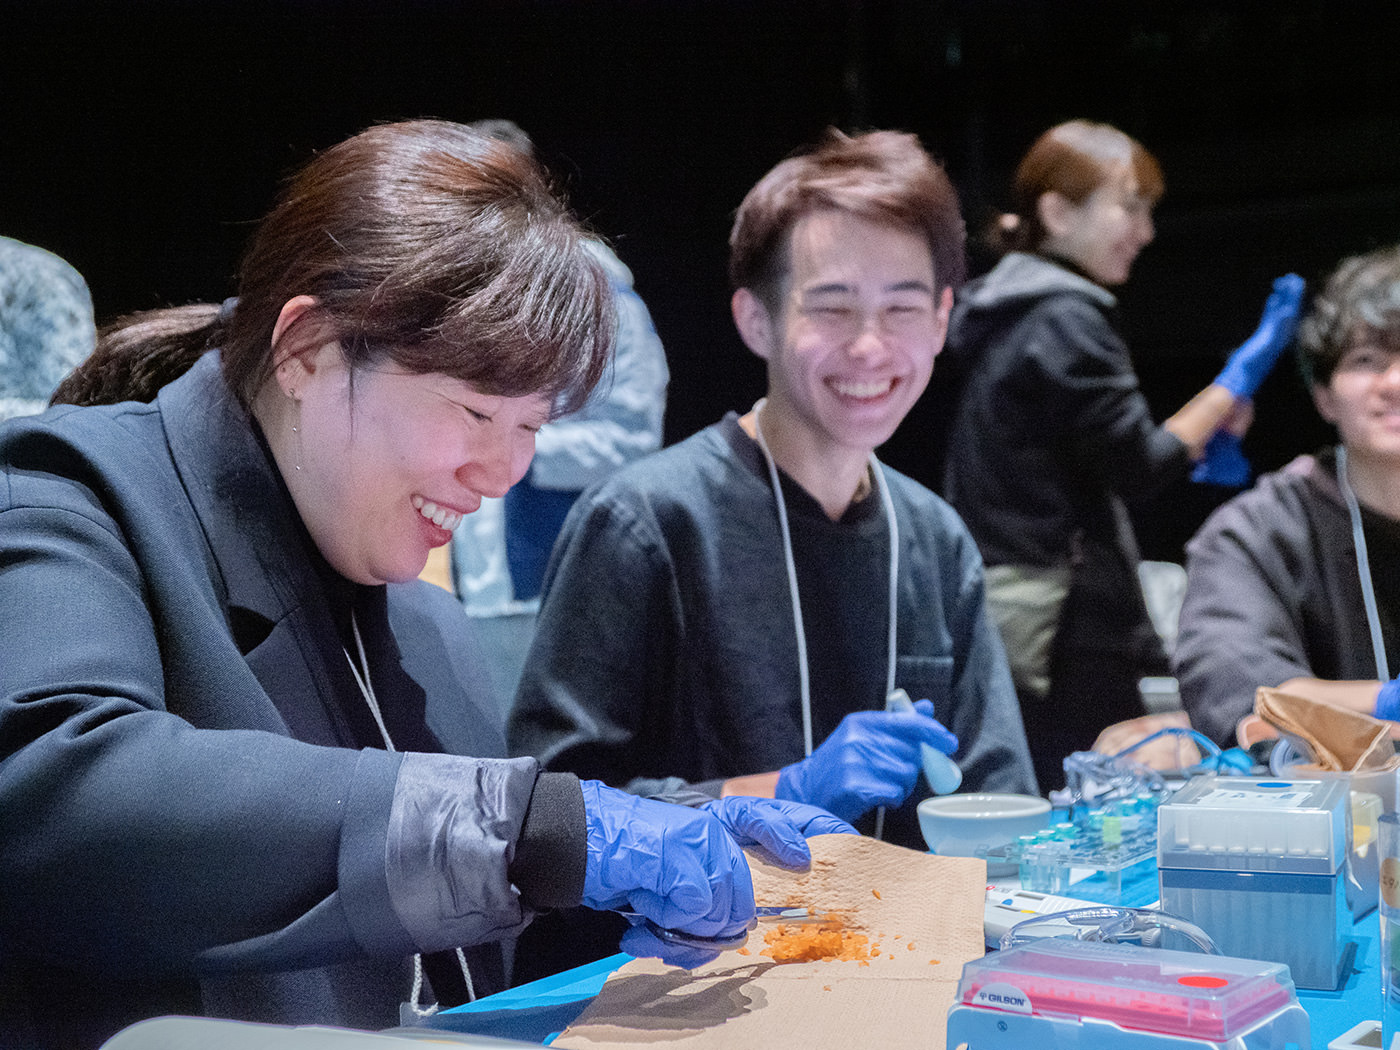
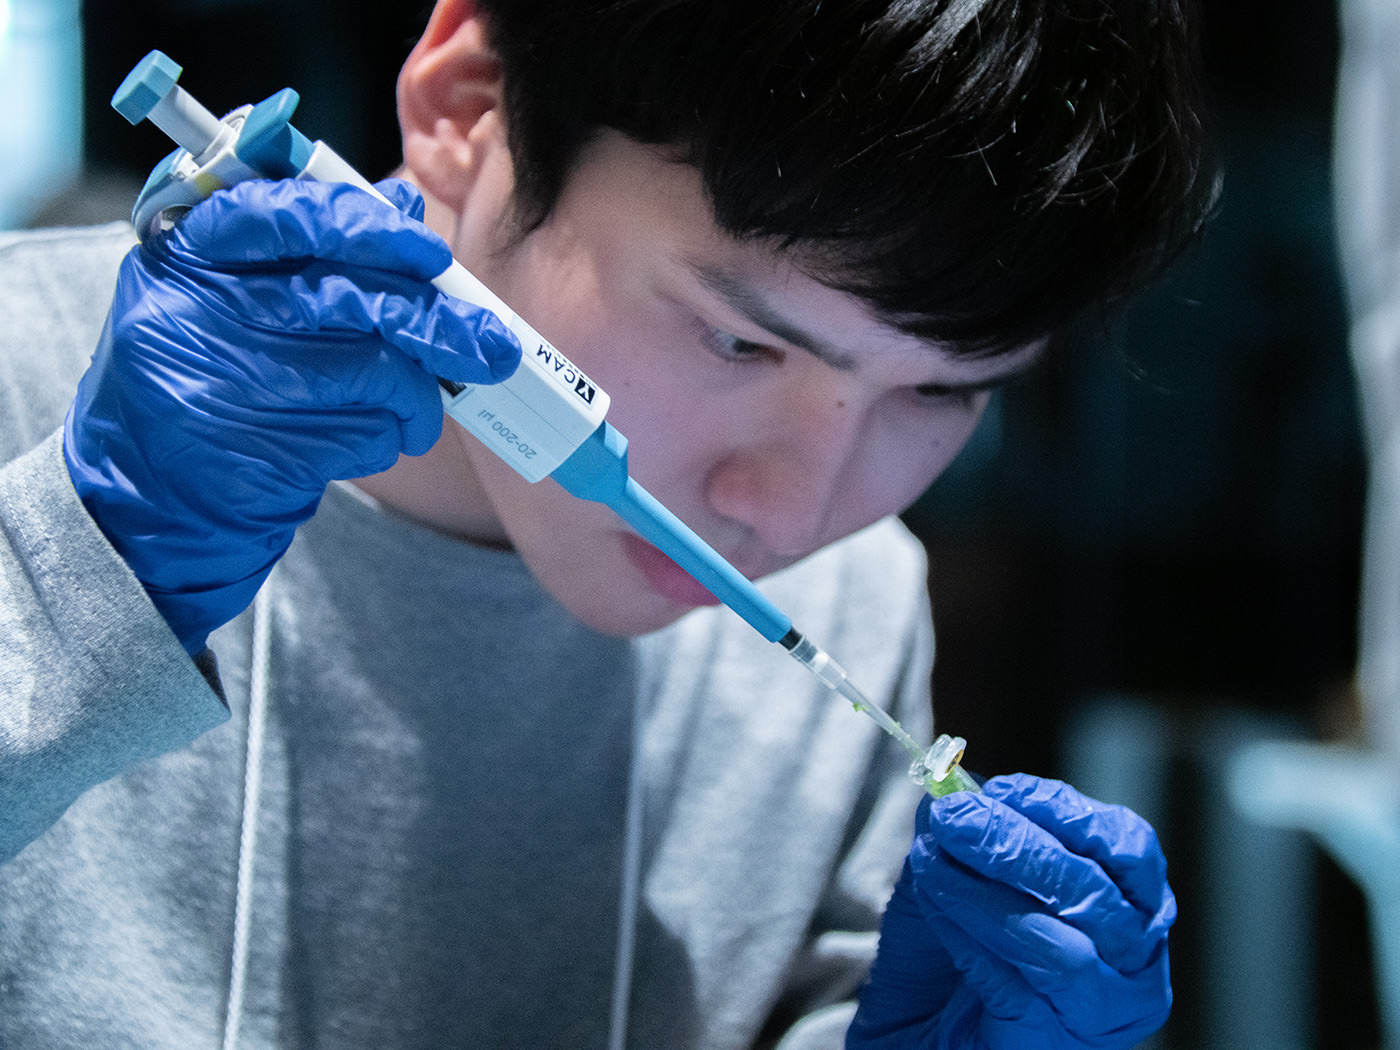
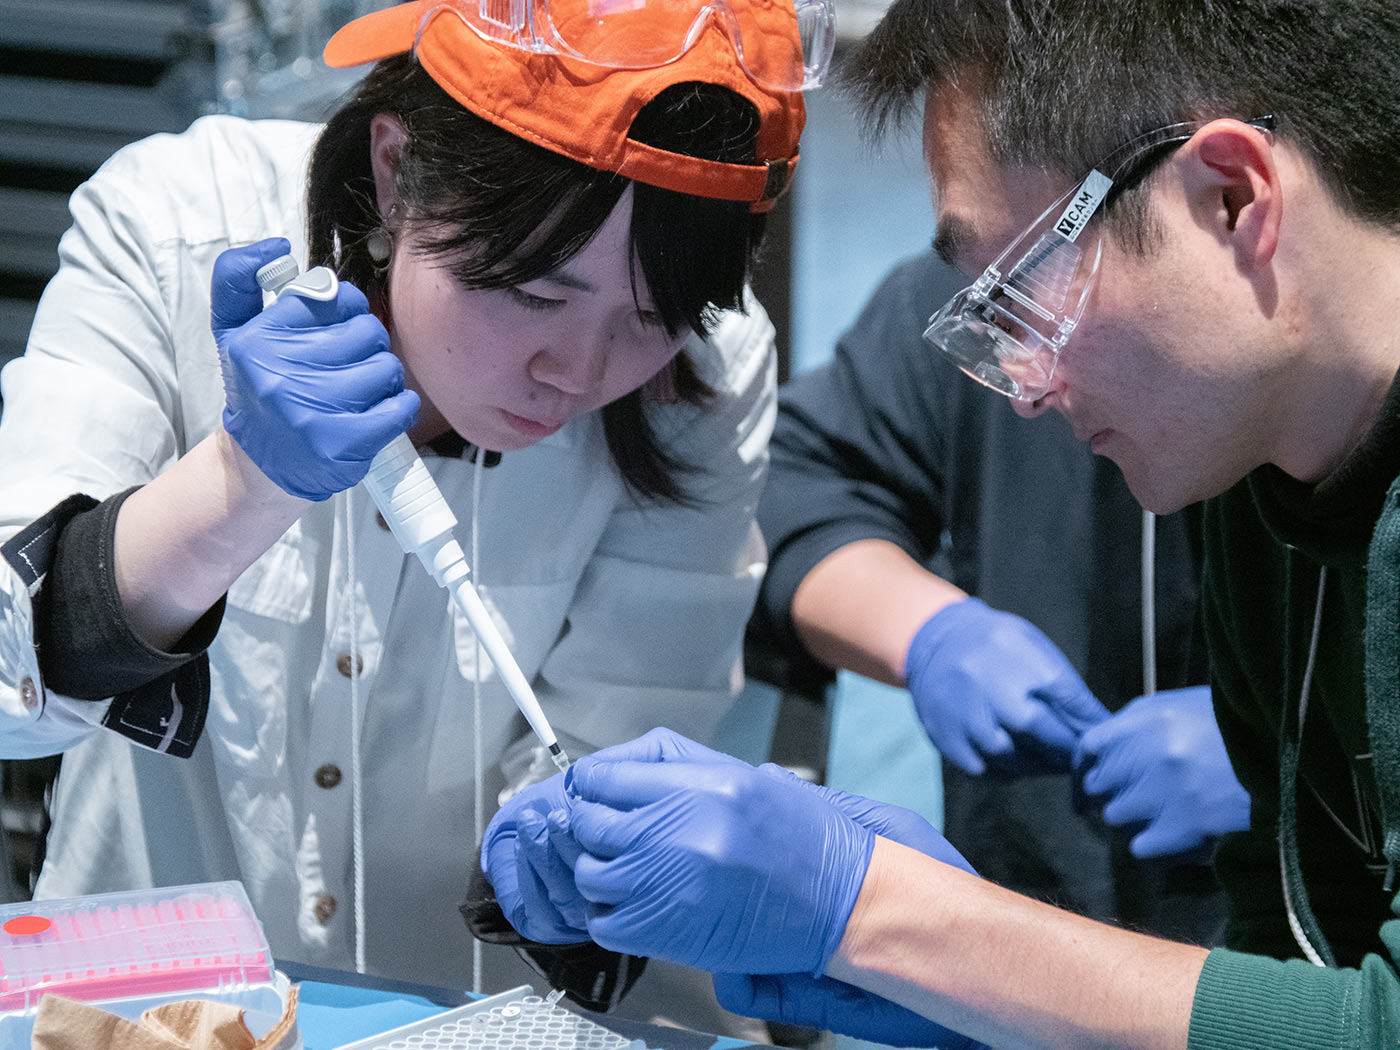
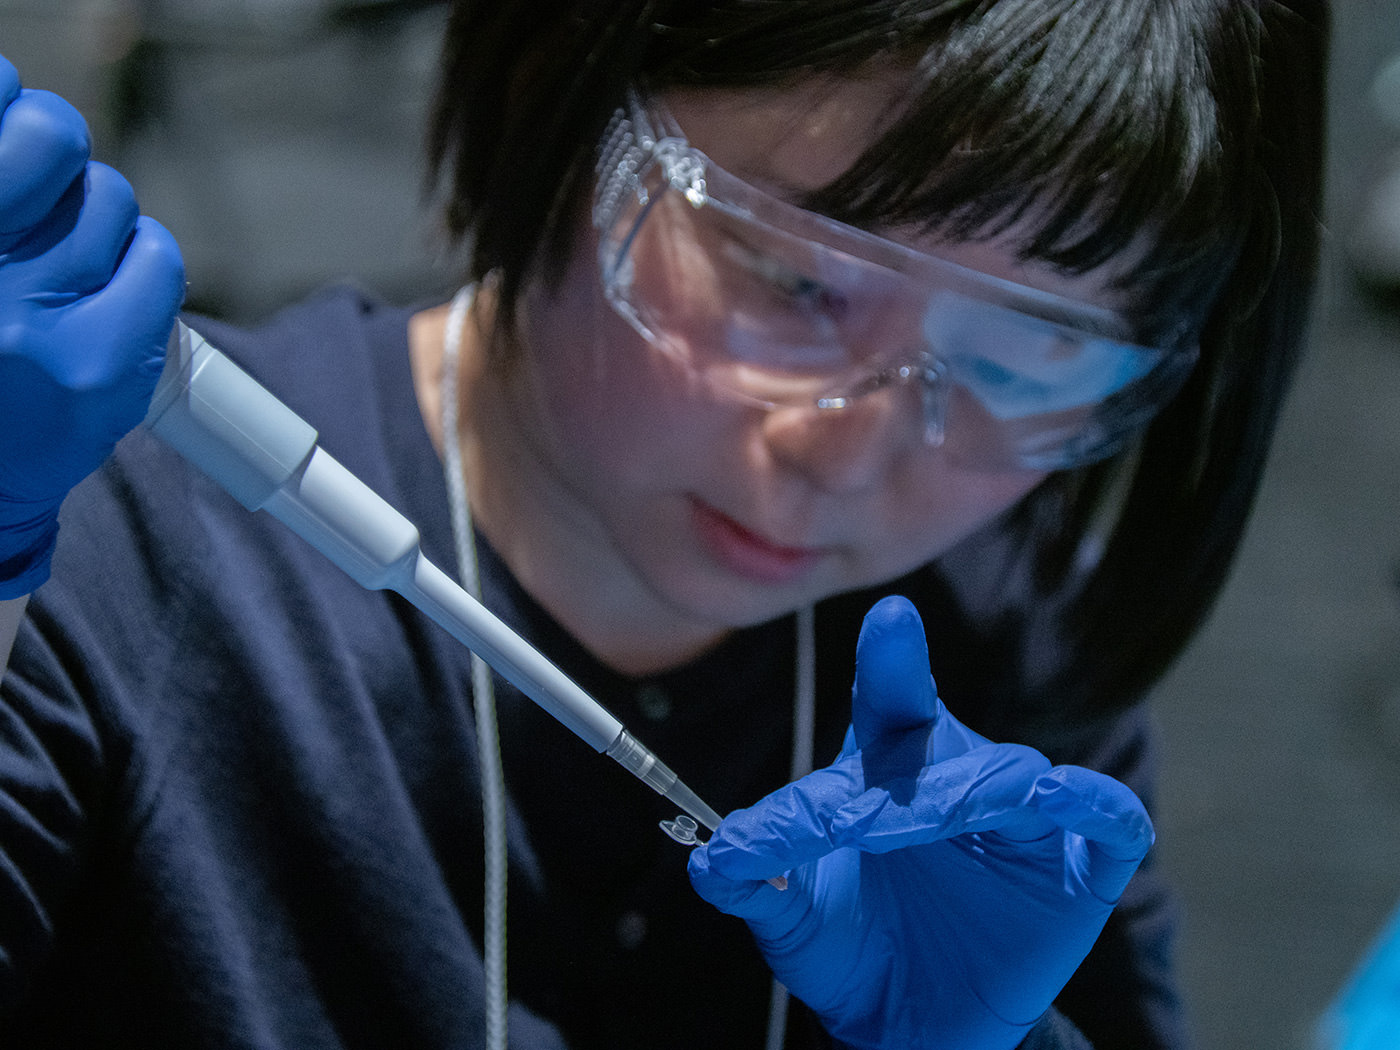
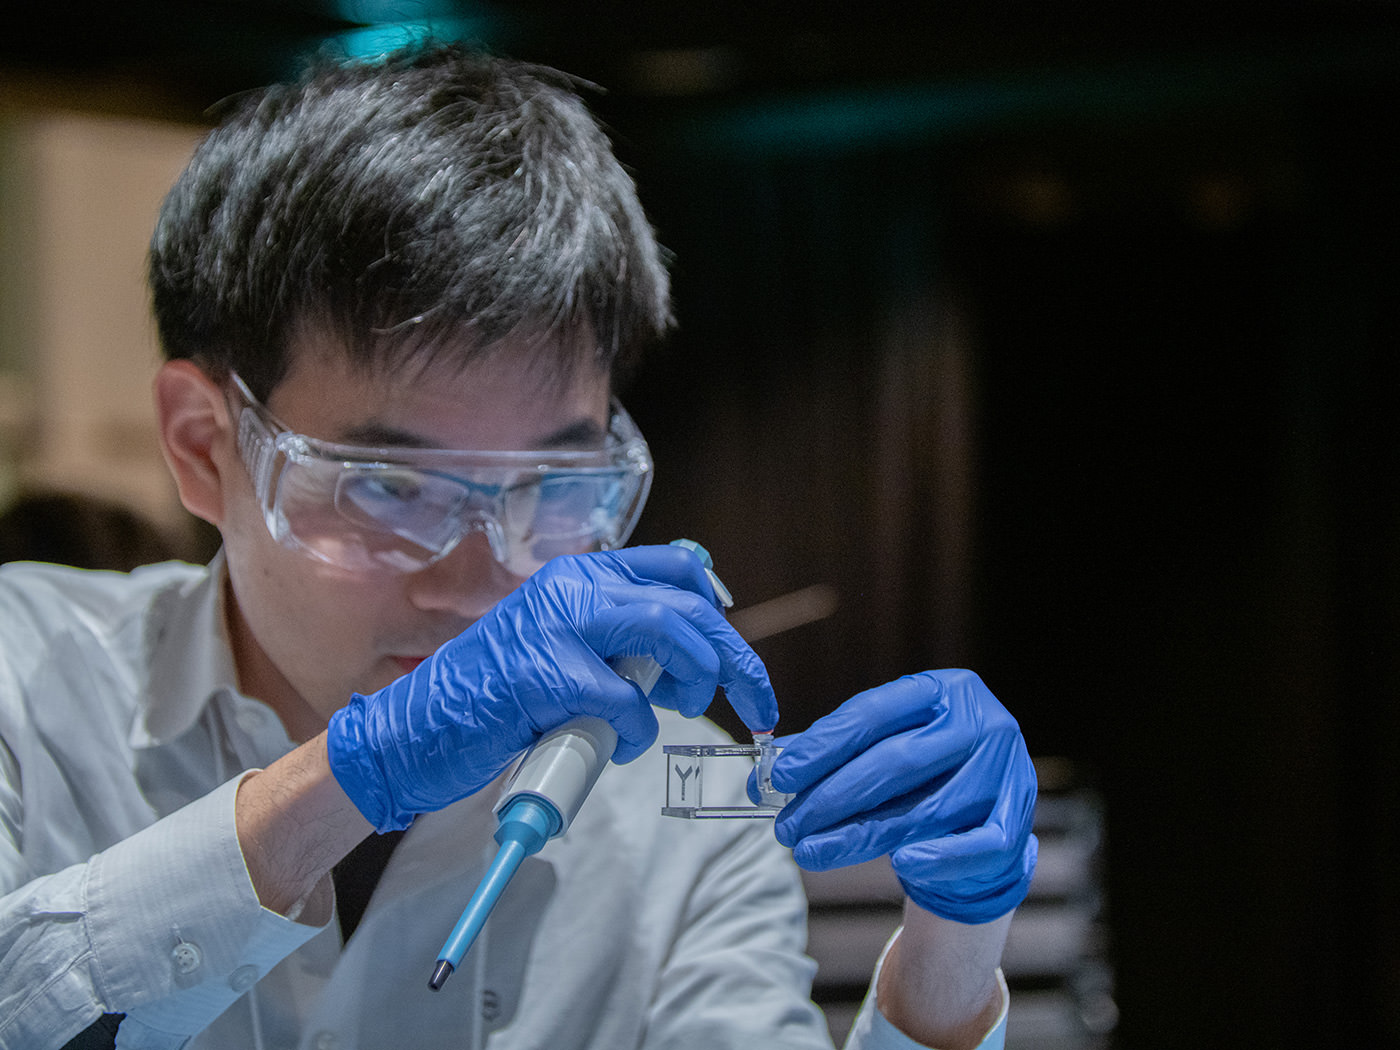
First, the participants put on rubber gloves and cut up their selected samples with scissors.
Artist Seo Hyojun from South Korea and high school student Luca Akaeda from France worked as a pair. They laughed at the fact that it was their first time cutting food with scissors.
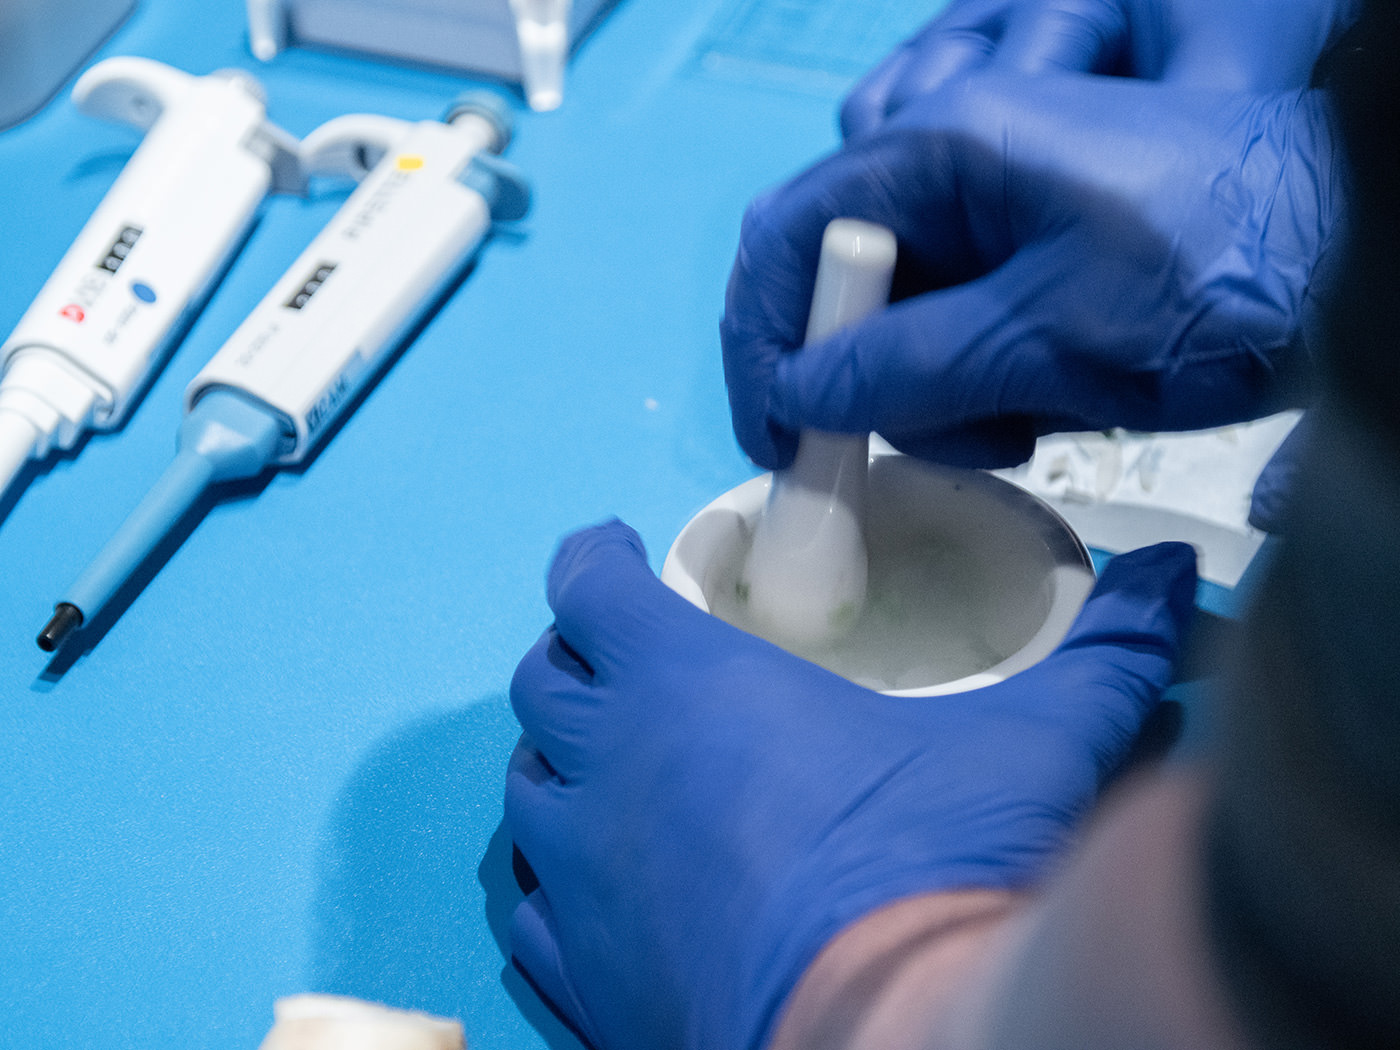
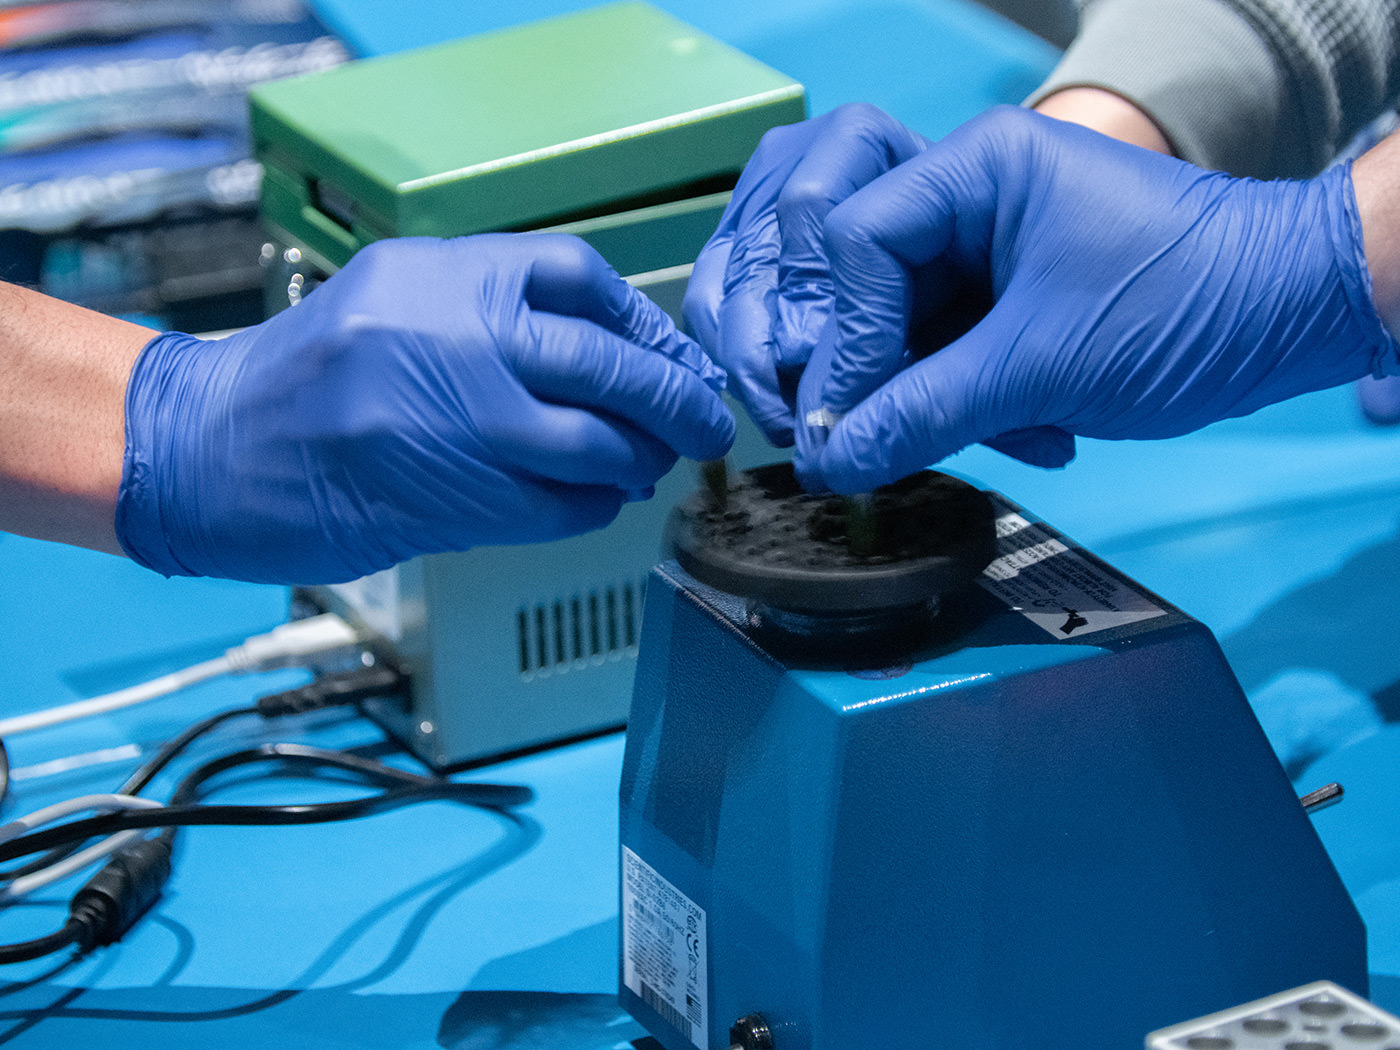
The chopped sample was grounded into a powder with a mortar and pestle, while also adding dry ice (a substitute for liquid nitrogen) to freeze-dry the sample. The ingredients did not easily turn into powder, and this process required an unexpected amount of strength. The contents would fly out if the mortar was not secured.
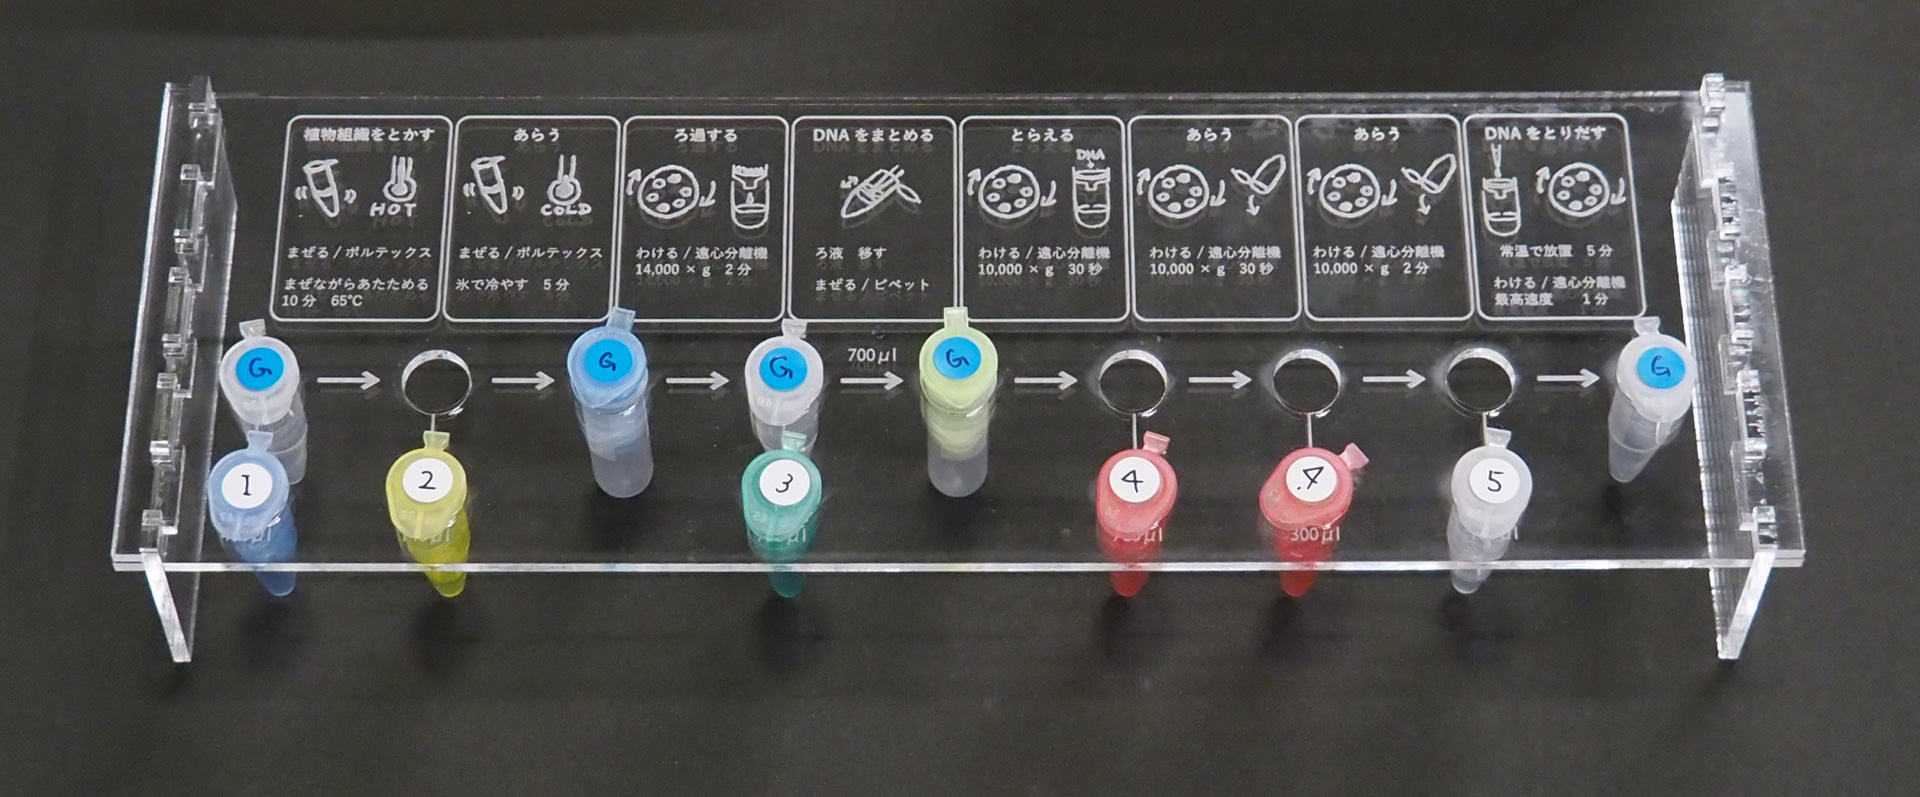
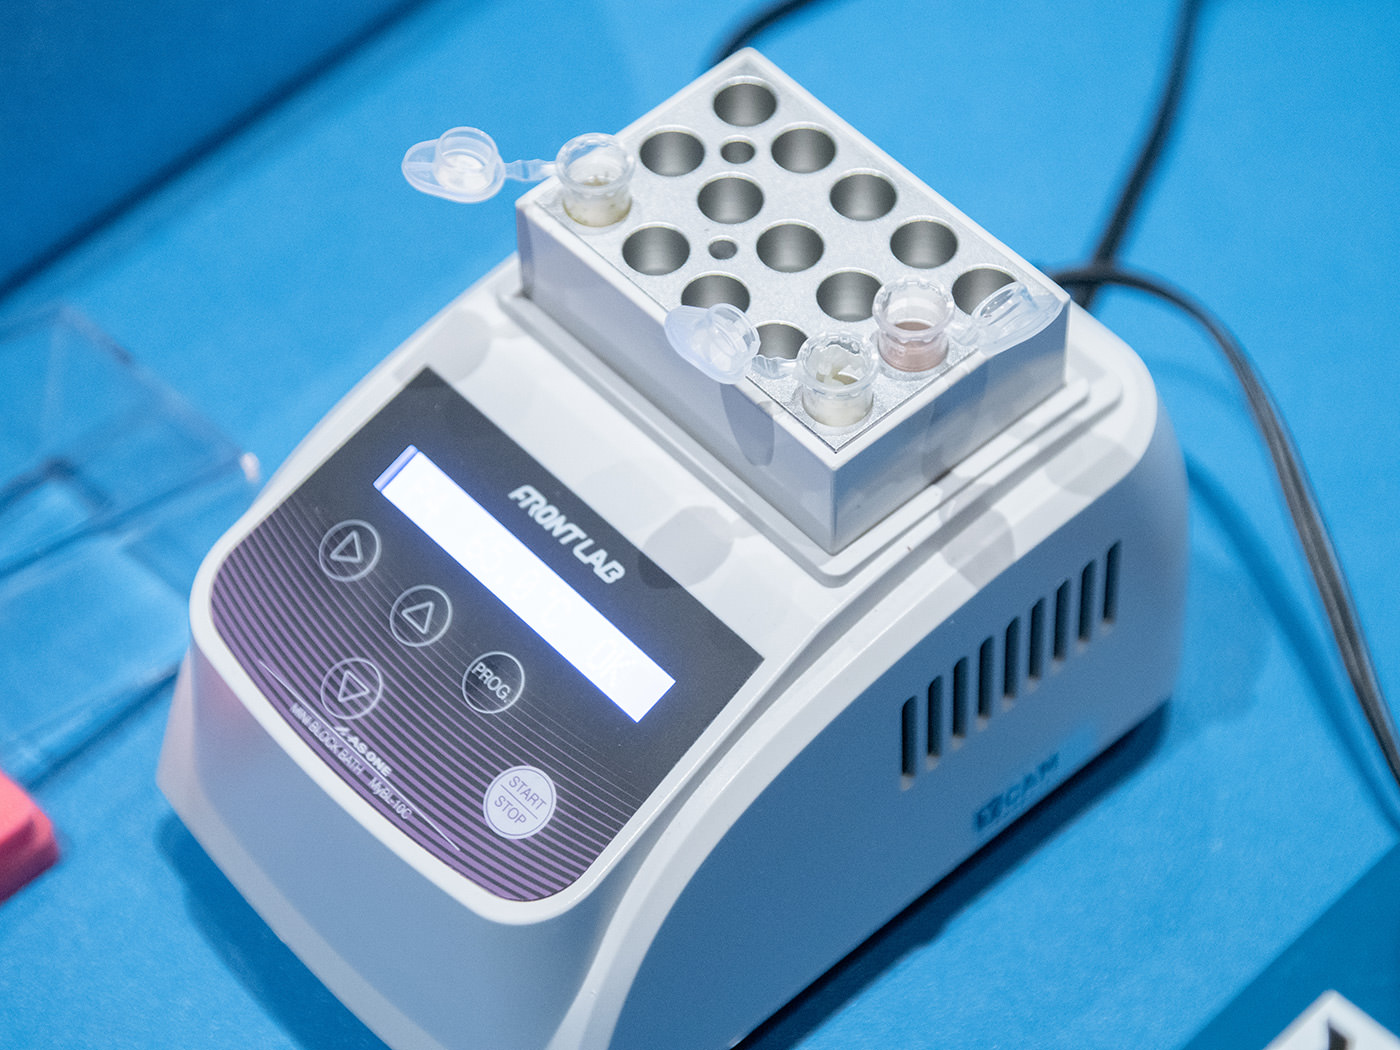
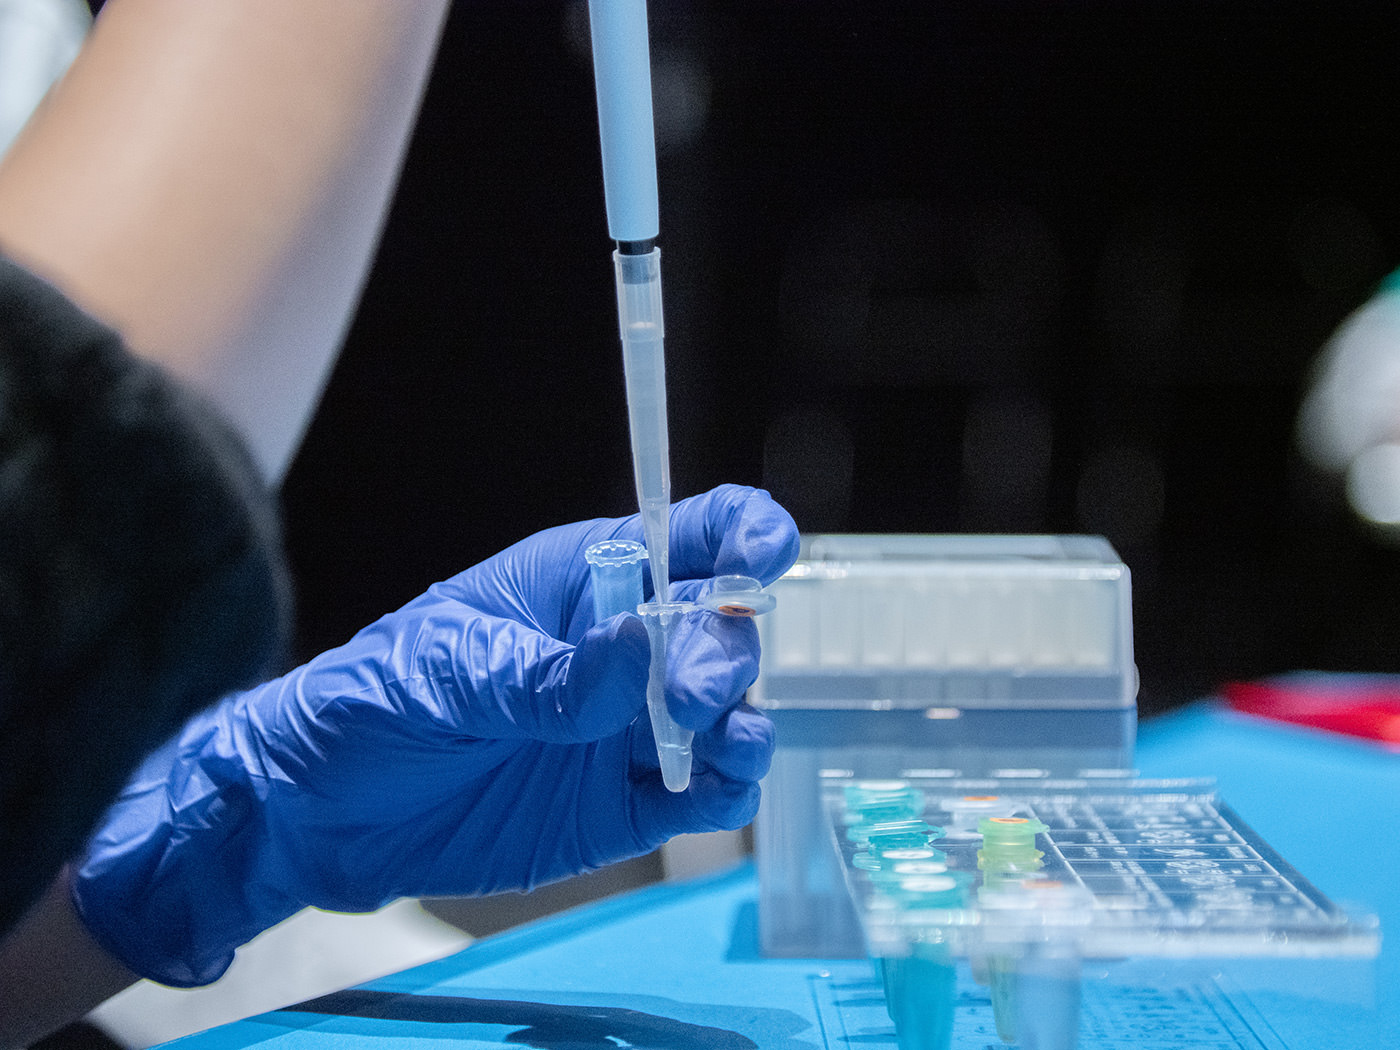
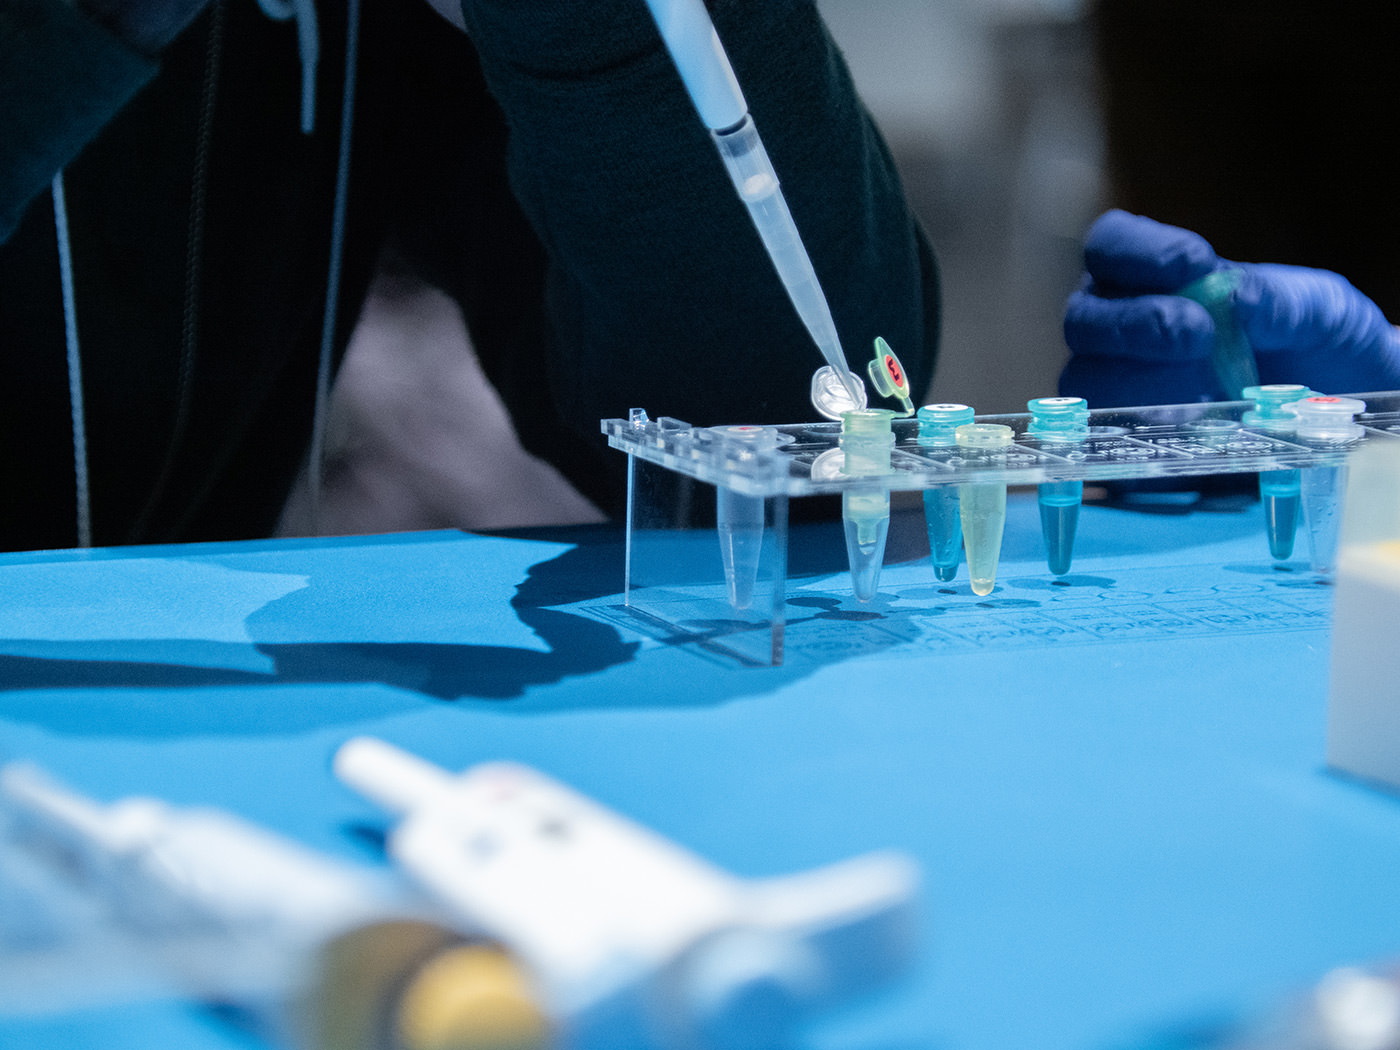
When the sample was mixed with dry ice, it turned into a texture like furikake (Japanese seasoning).The grounded sample was transferred to a prepared microtube.This tube stand was developed by YCAM for the workshop. The staff cut it out of an acrylic board using a laser cutter. As the process progresses, the tube is moved to the right, like a piece in a board game.
The method for DNA extraction normally varies with the type of sample. Because of this, in actual research, experiments and verifications are repeated many times to determine the optimal composition of reagents. However, taking the beginners into consideration, the workshop used commercially available plant DNA purification kits, and the experiments were conducted using reagents prepared in advance. The lids of reagents and tubes were also labeled with alphabets assigned to each team to prevent mix-ups of samples, which showed how the workshop organizers had planned every detail with consideration.
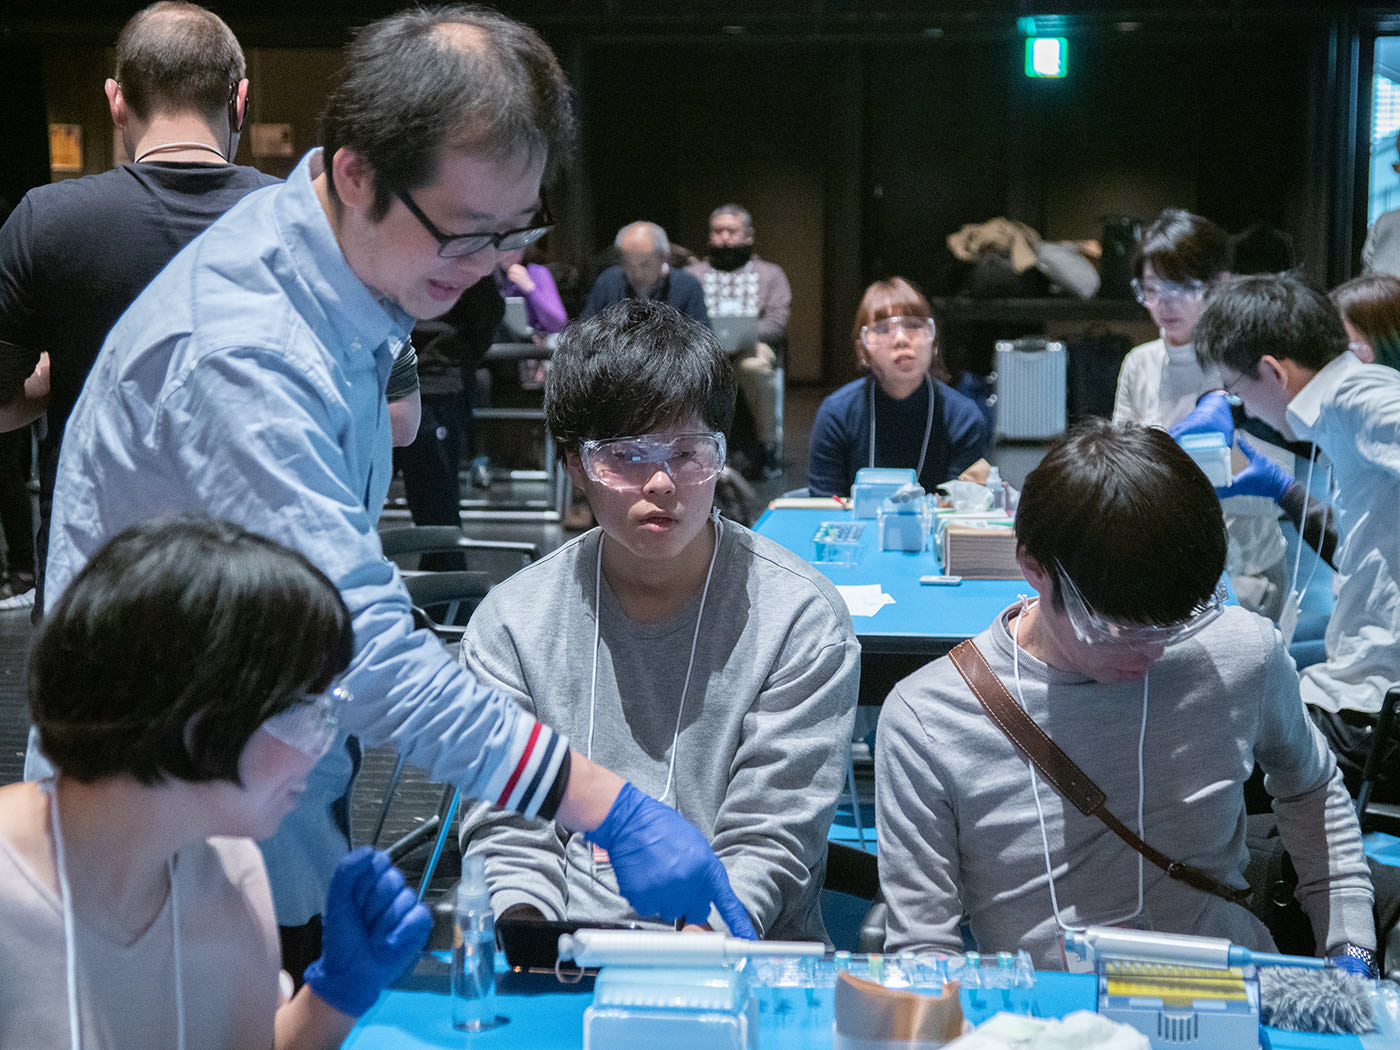
Each table had one YCAM staff to give precise instructions on the procedure. Excellent support was provided.Ito moving around the venue, busy supporting the teams
Next, the microtubes were heated with a device called a heat block to vaporize the dry ice. The heat block is typically used for thermal treatment and enzyme treatment.
The lid of the tube was left open to prevent the evaporating dry ice from pushing the closed lid open and spattering the sample.
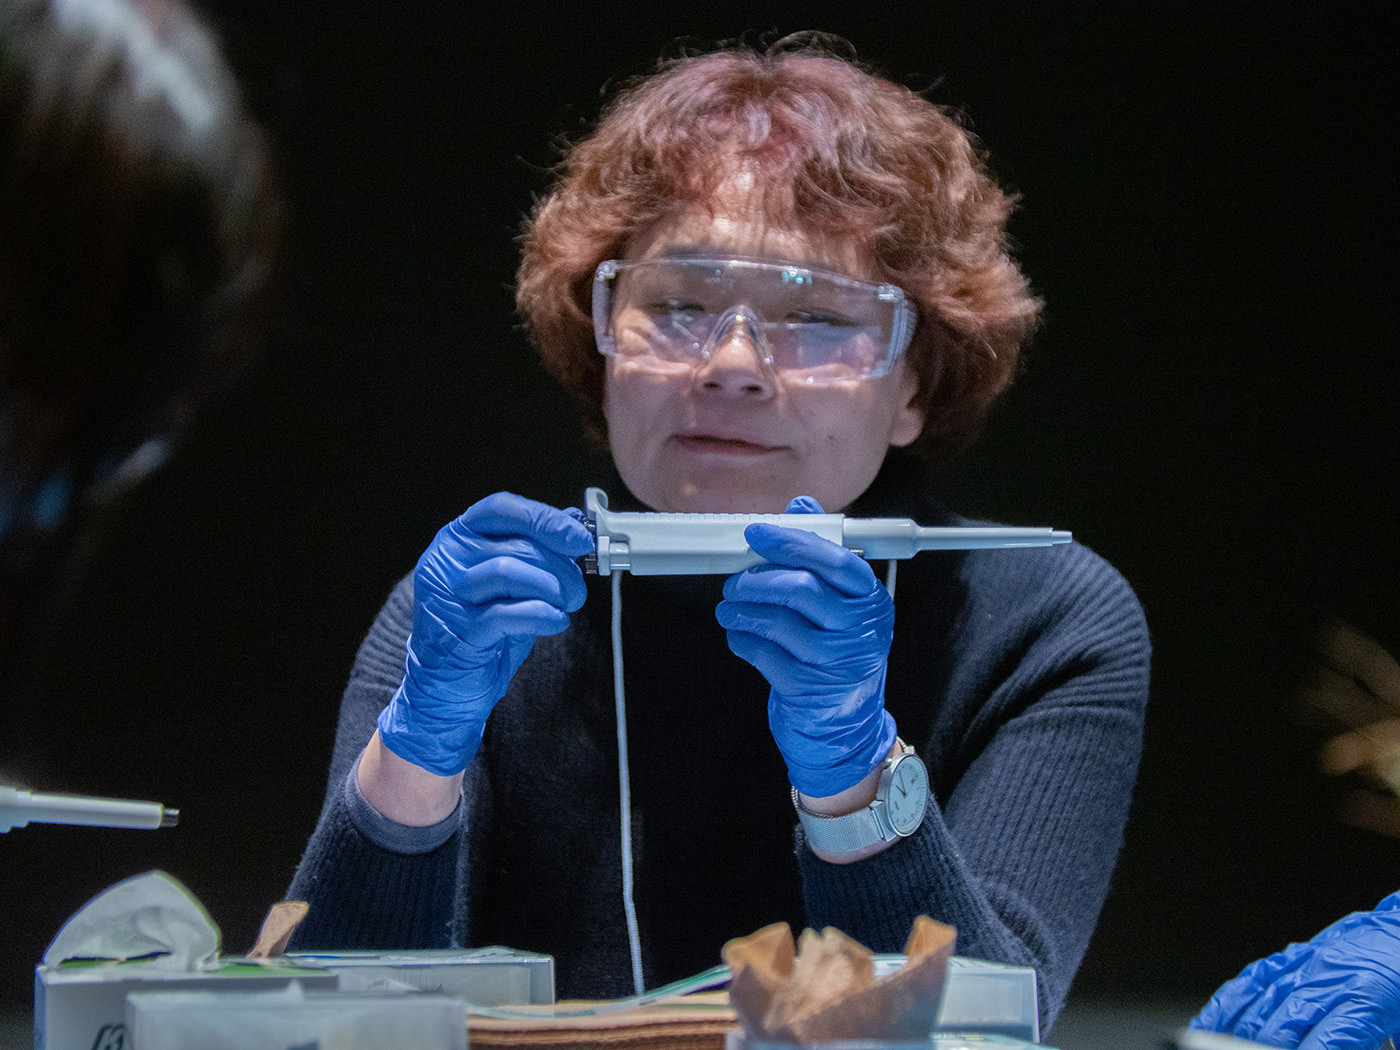
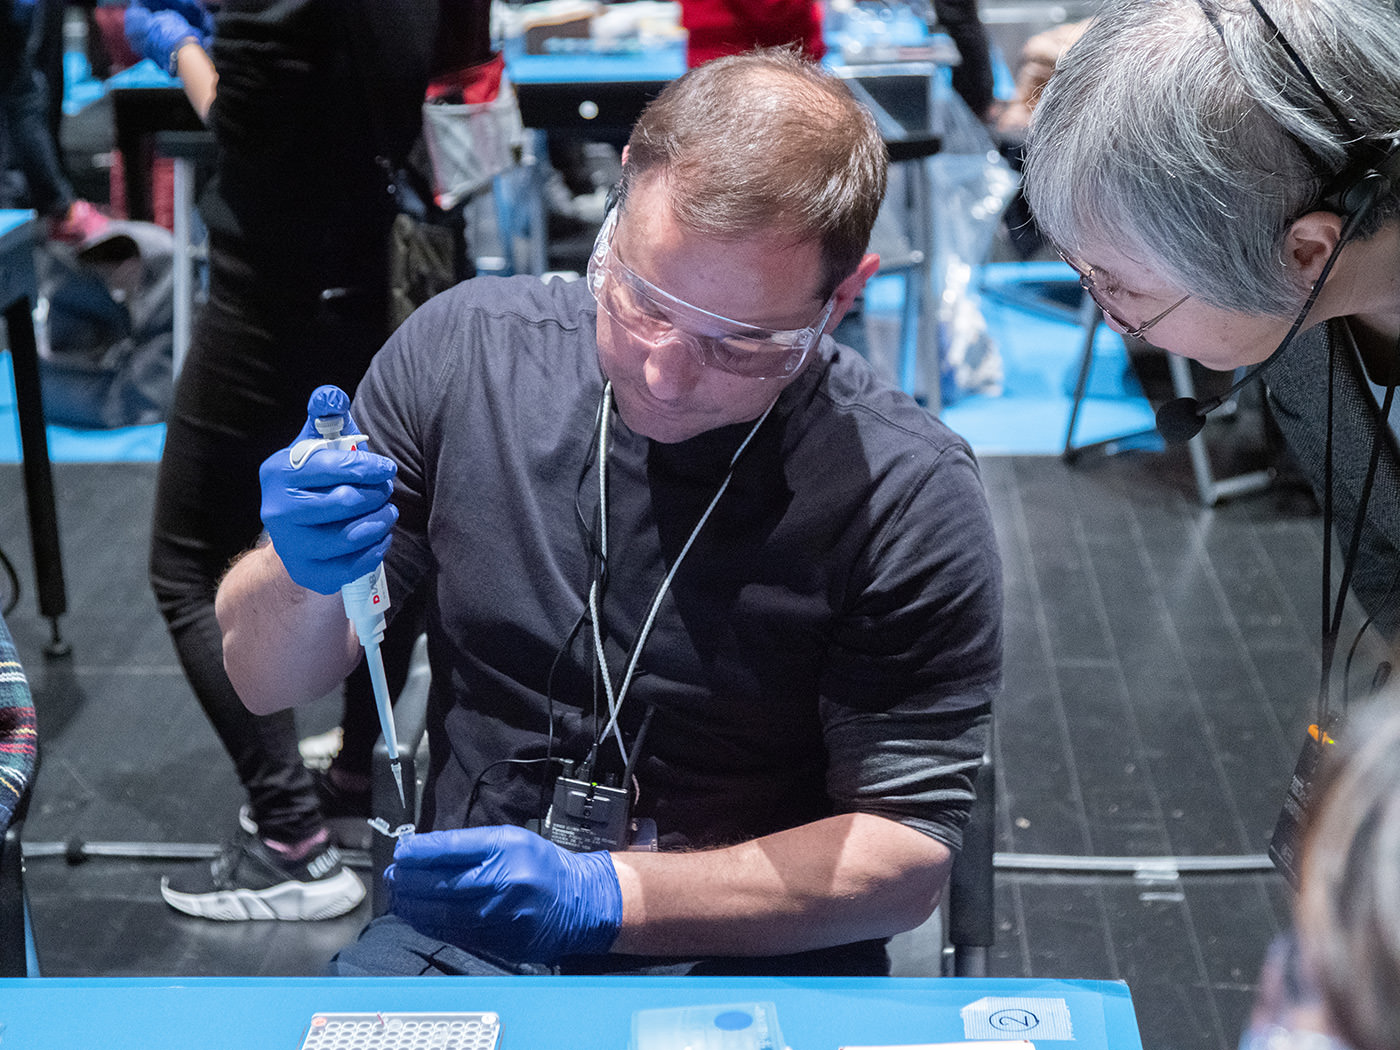
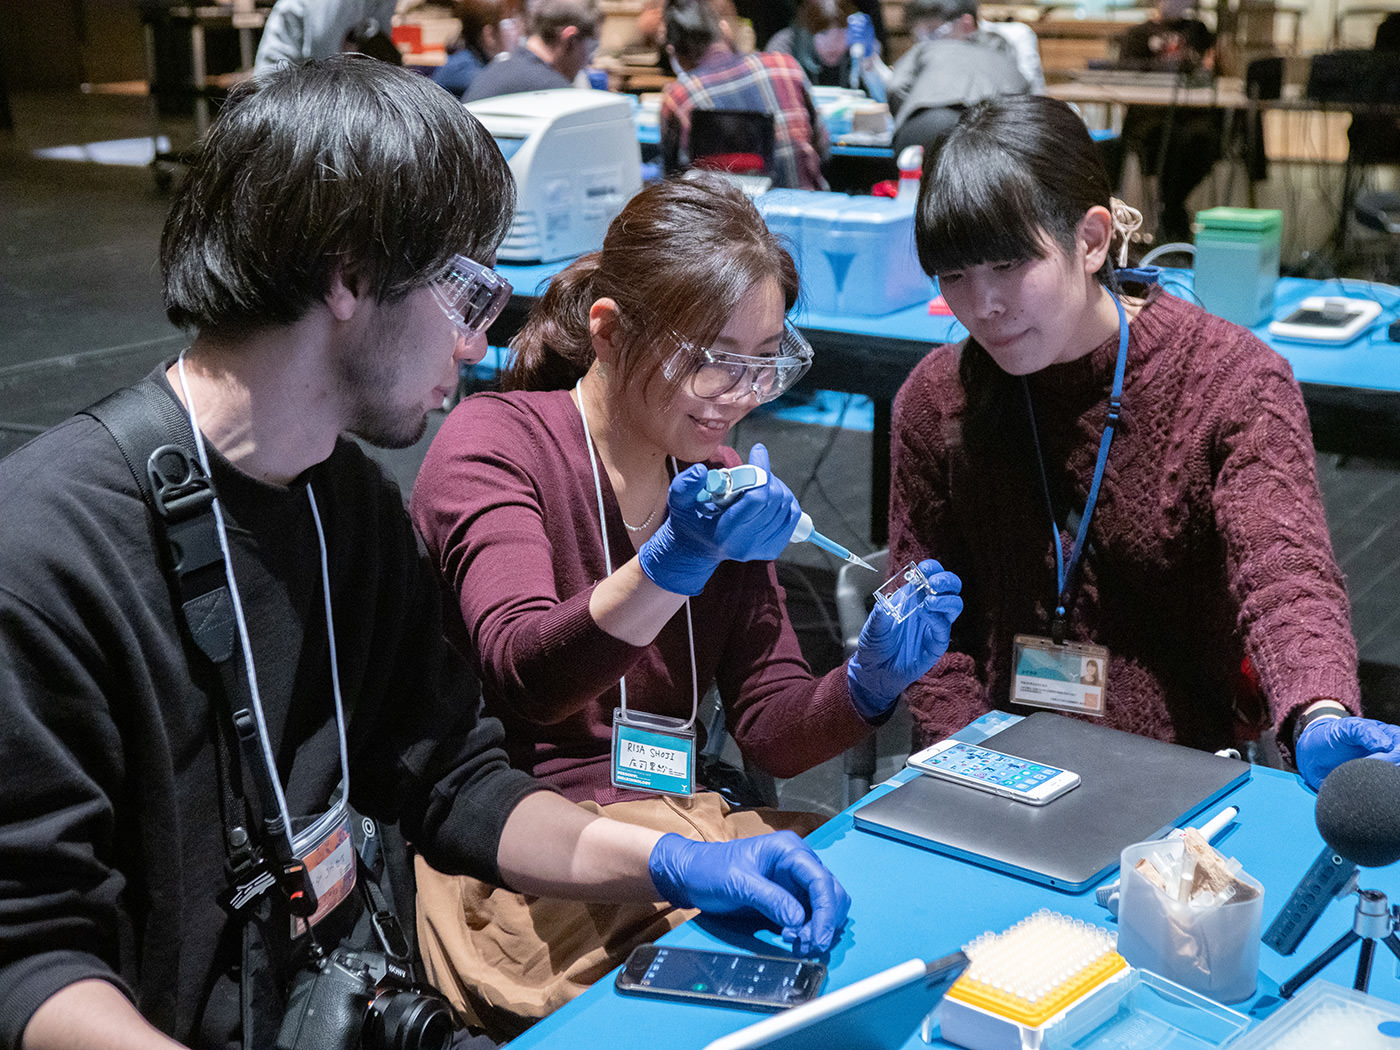
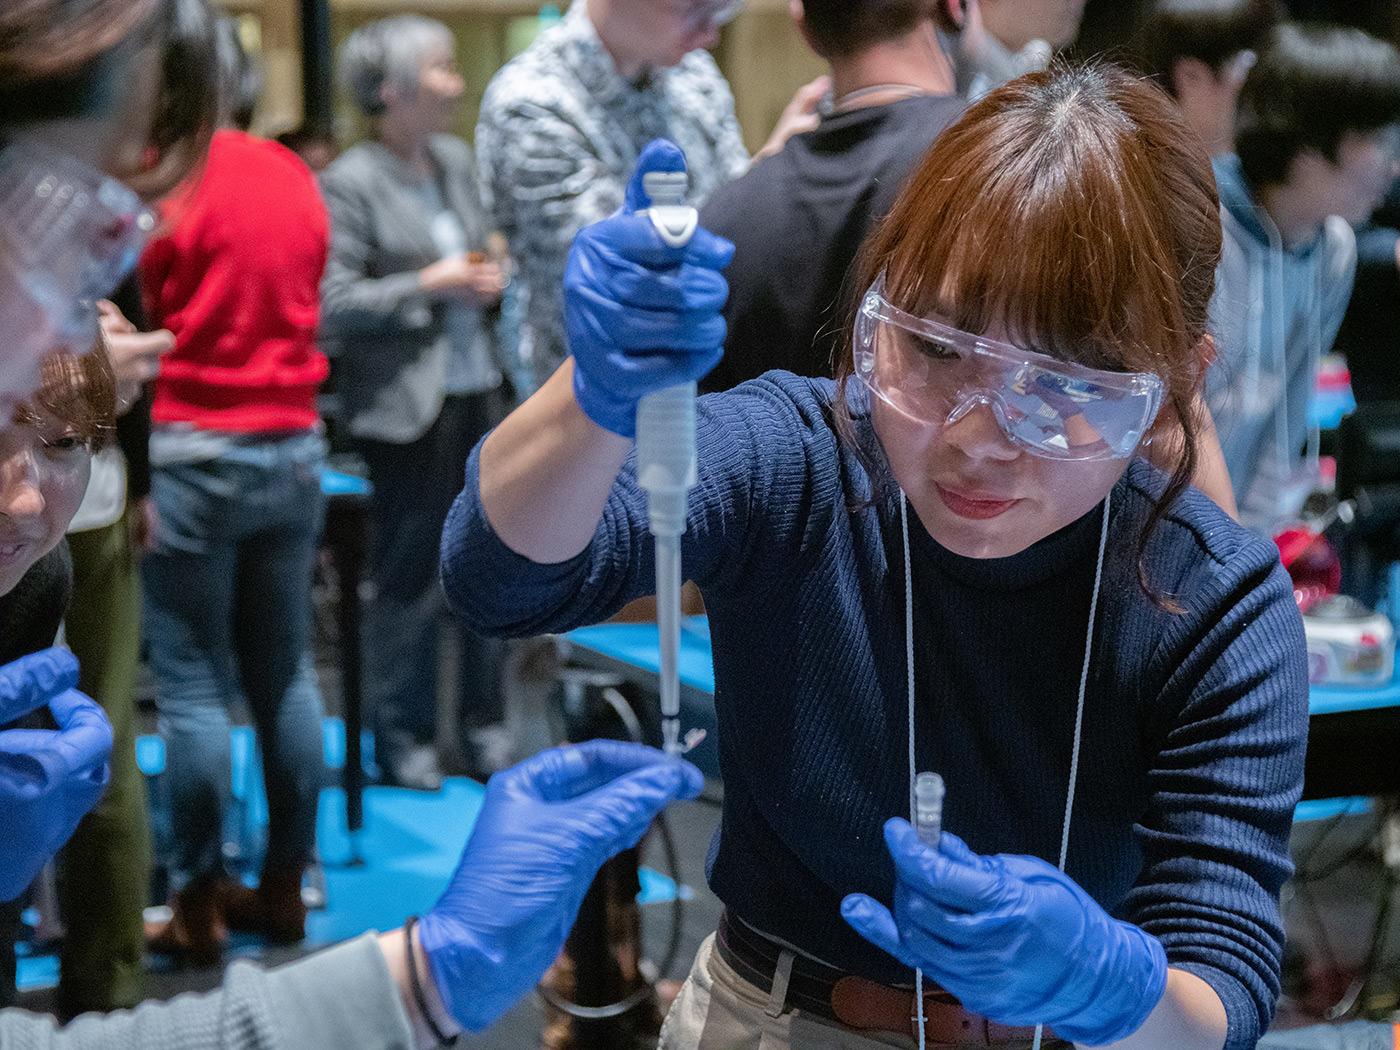
While waiting for the dry ice to evaporate, the participants practiced using micropipettes.
Turning the rotating plunger to finely adjust the micropipette’s volume.
The micropipette is an optimal tool for measuring minute amounts of liquid in units of μℓ (microliter, or a millionth of a liter). It is used by attaching a disposable pipette tip to the end of the micropipette.
The pipette tips are sterilized.
Once becoming familiar with handling the micropipettes, the participants made sure that the dry ice had melted and used micropipettes to add the prepared buffer solution to the samples.
The extraction buffer is a mixed solution of surfactant and EDTA (ethylenediaminetetraacetic acid). It dissolves the cell membranes and extracts DNA from the nucleus. In addition, the enzyme RNase A (ribonuclease) is added to degrade any RNA mixed in the sample.
The sample containing the reagents was stirred with a vortex mixer.
When the bottom of the tube is pressed against the rubber head of the vortex mixer, it generates a vibration that mixes the tube’s contents. The vibration felt surprisingly strong.
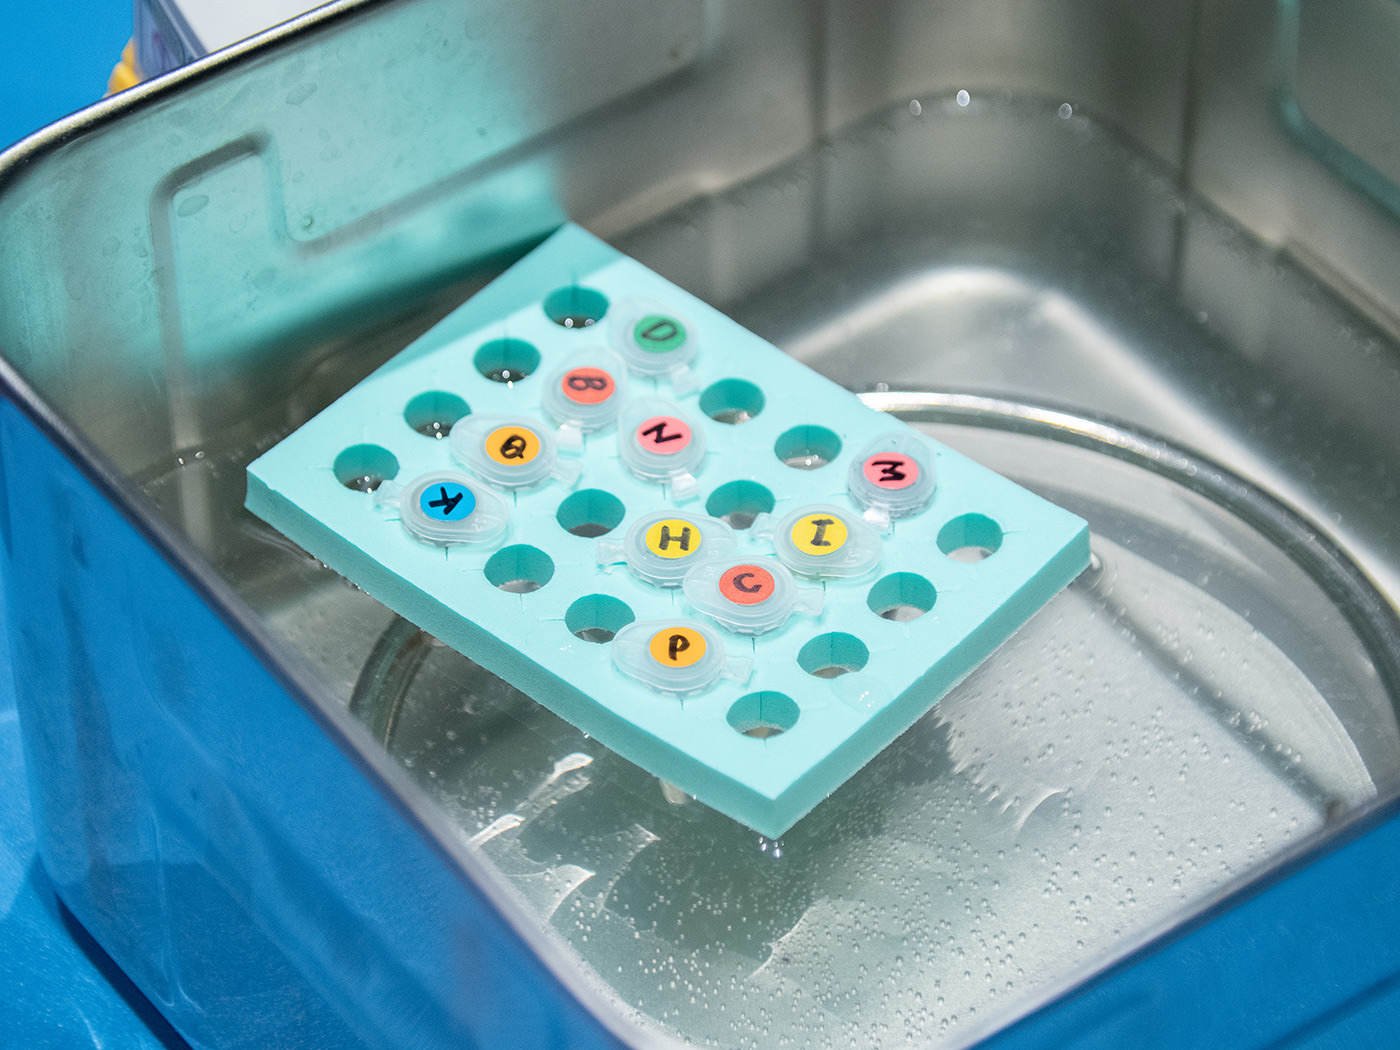
The agitated tube was warmed in a water bath for 10 to 15 minutes to dissolve the cell tissues and degrade the RNA.
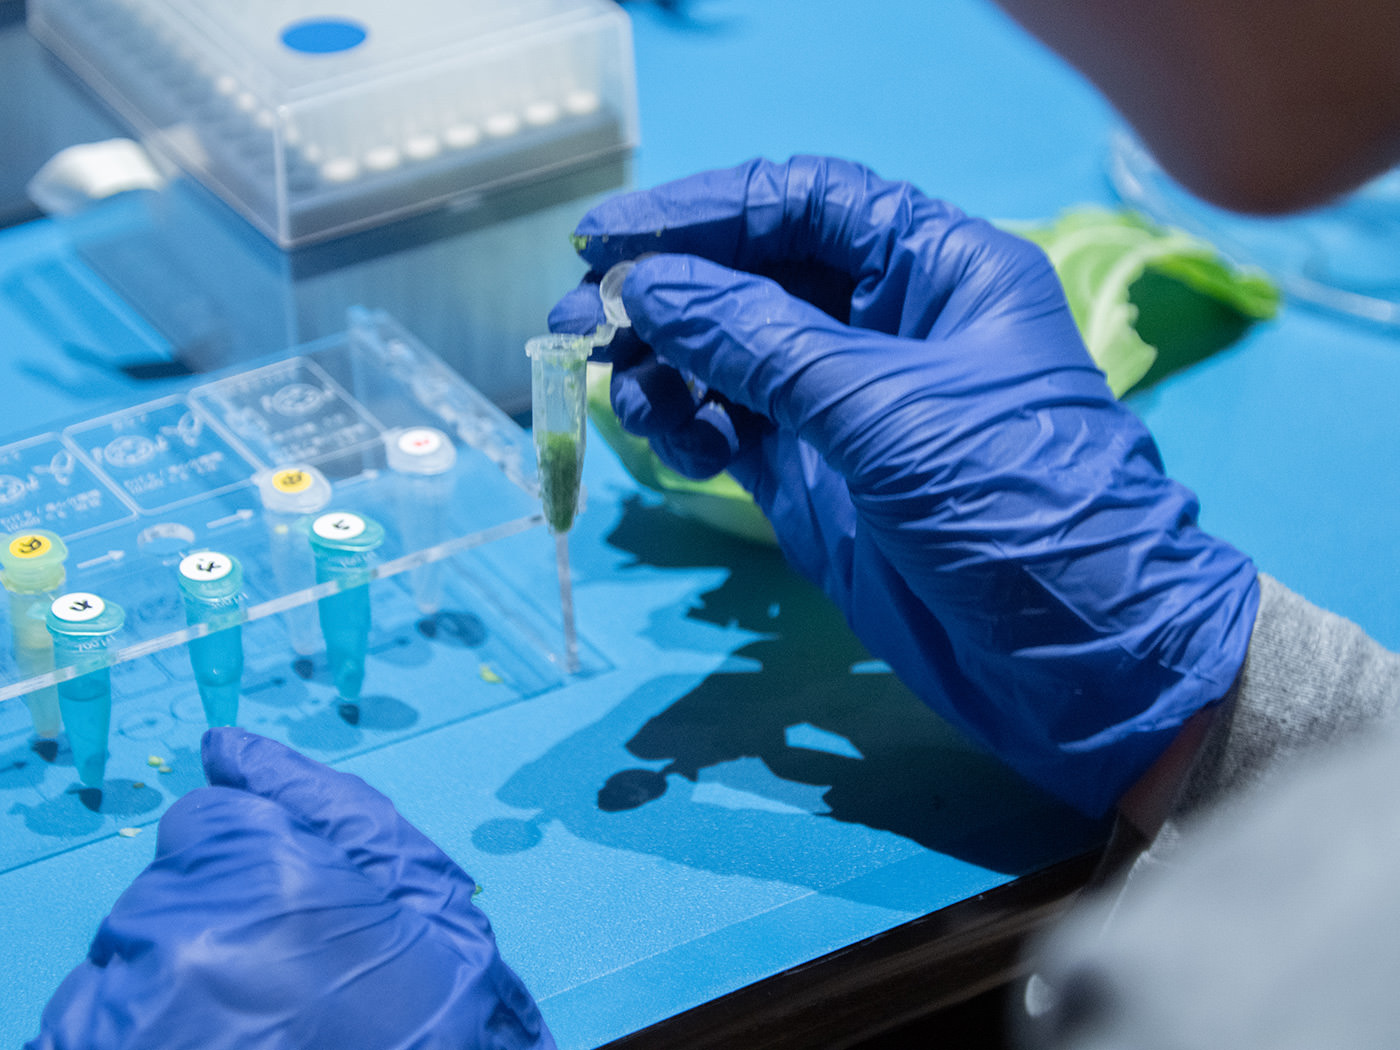
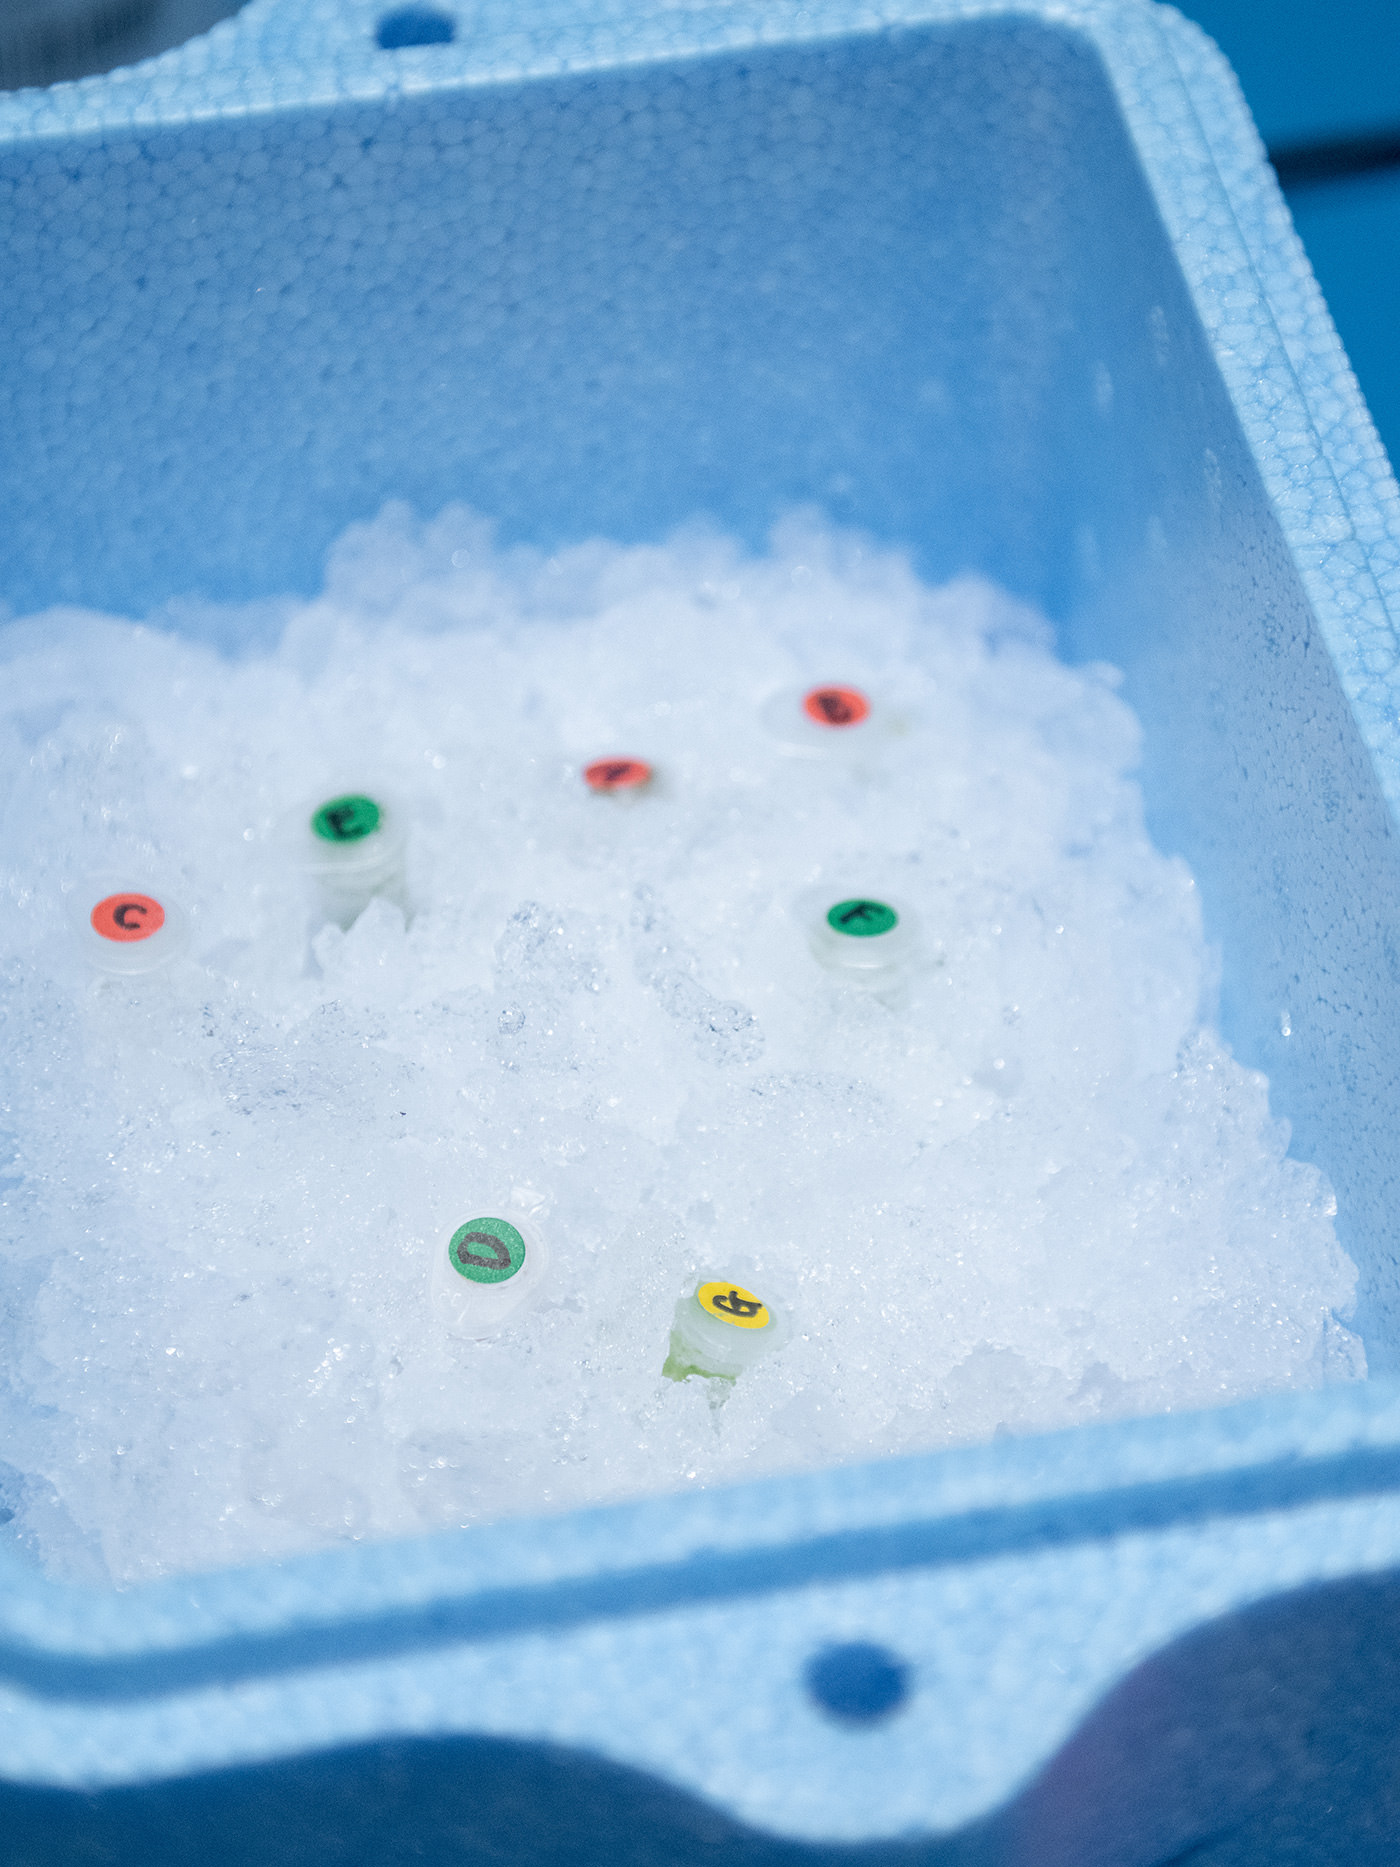
After heating the sample, we proceeded to a process called column washing, in which proteins are separated from DNA. The sample in the warmed tube seemed to have slightly changed in color. A buffer of acetic acid, potassium acetate, and potassium chloride was added to the sample. After mixing, the tube was placed in ice.
Many processes in DNA extraction make use of temperature change.
Trying out the personal biolab called “Bento Lab”
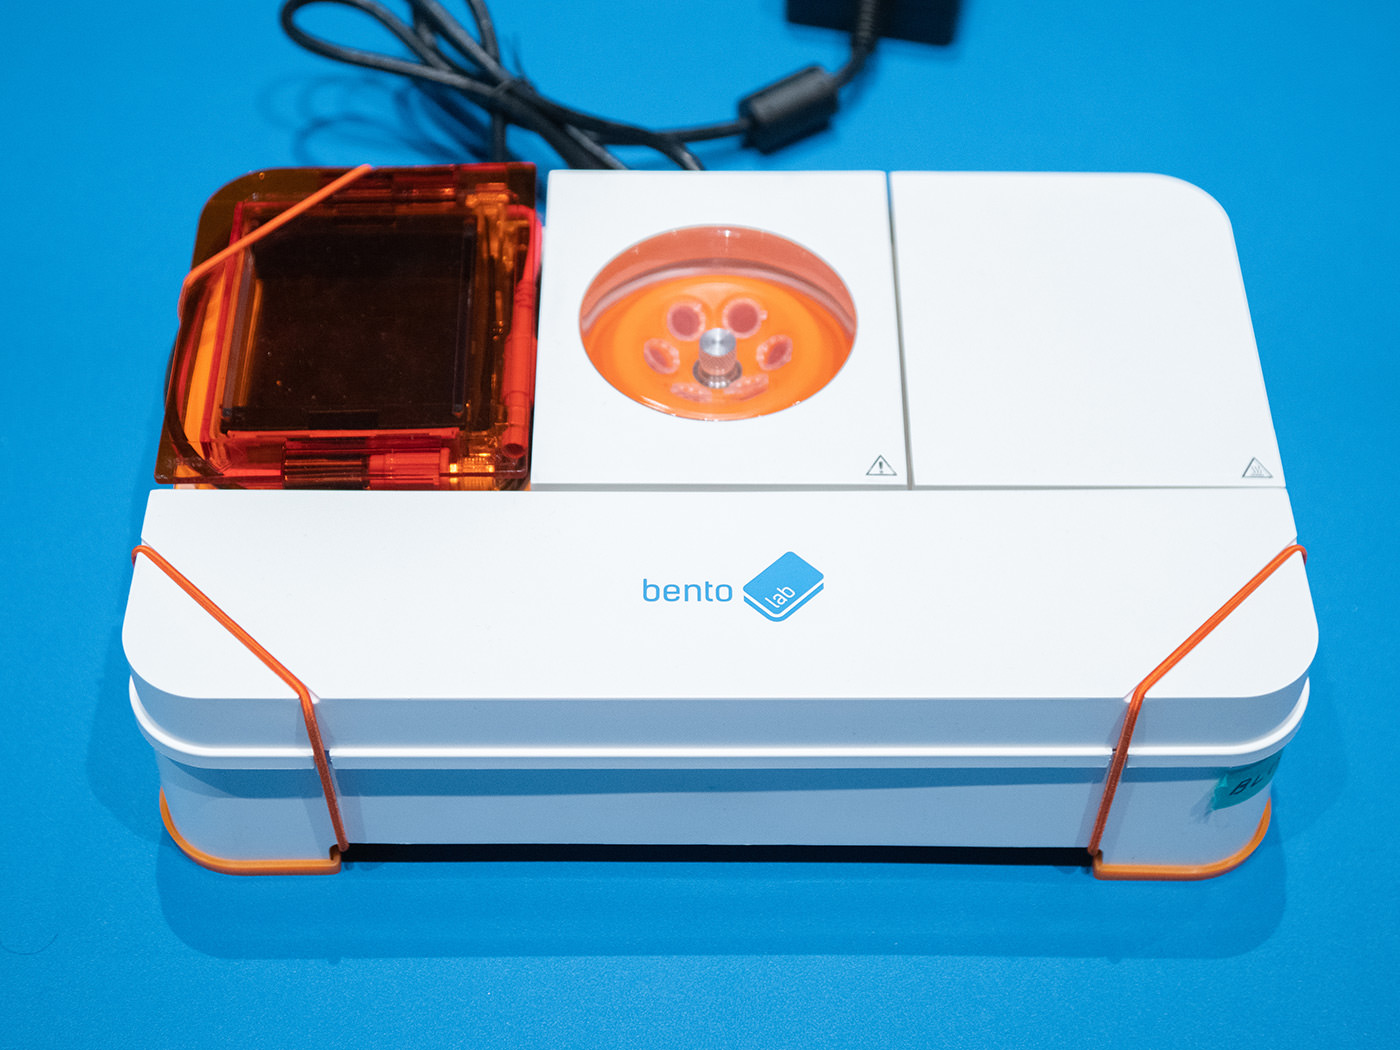
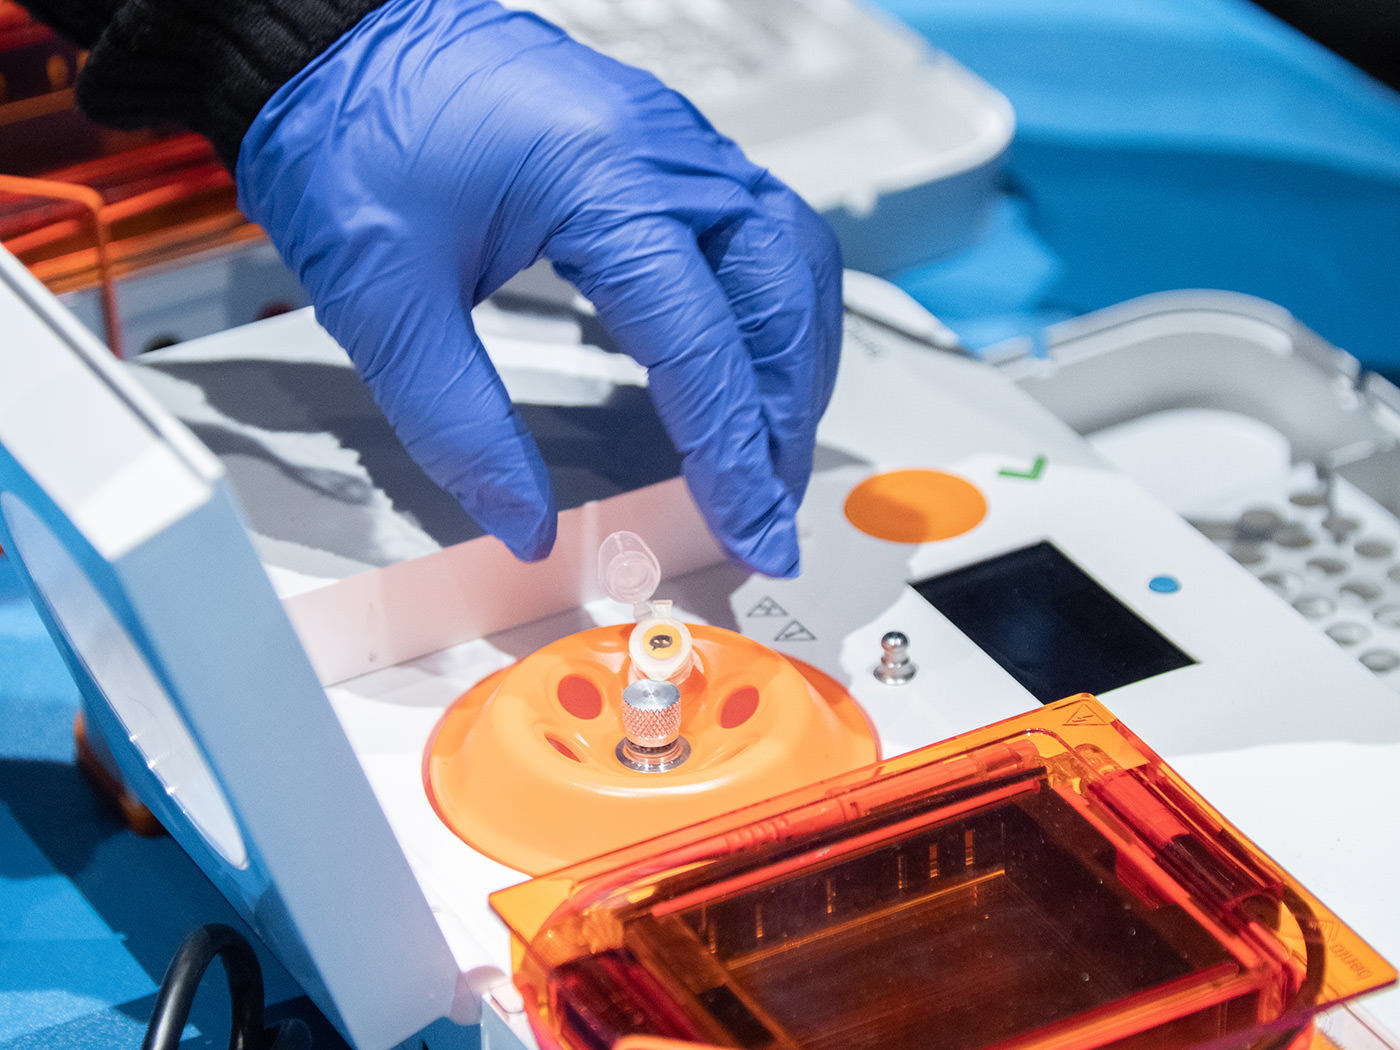
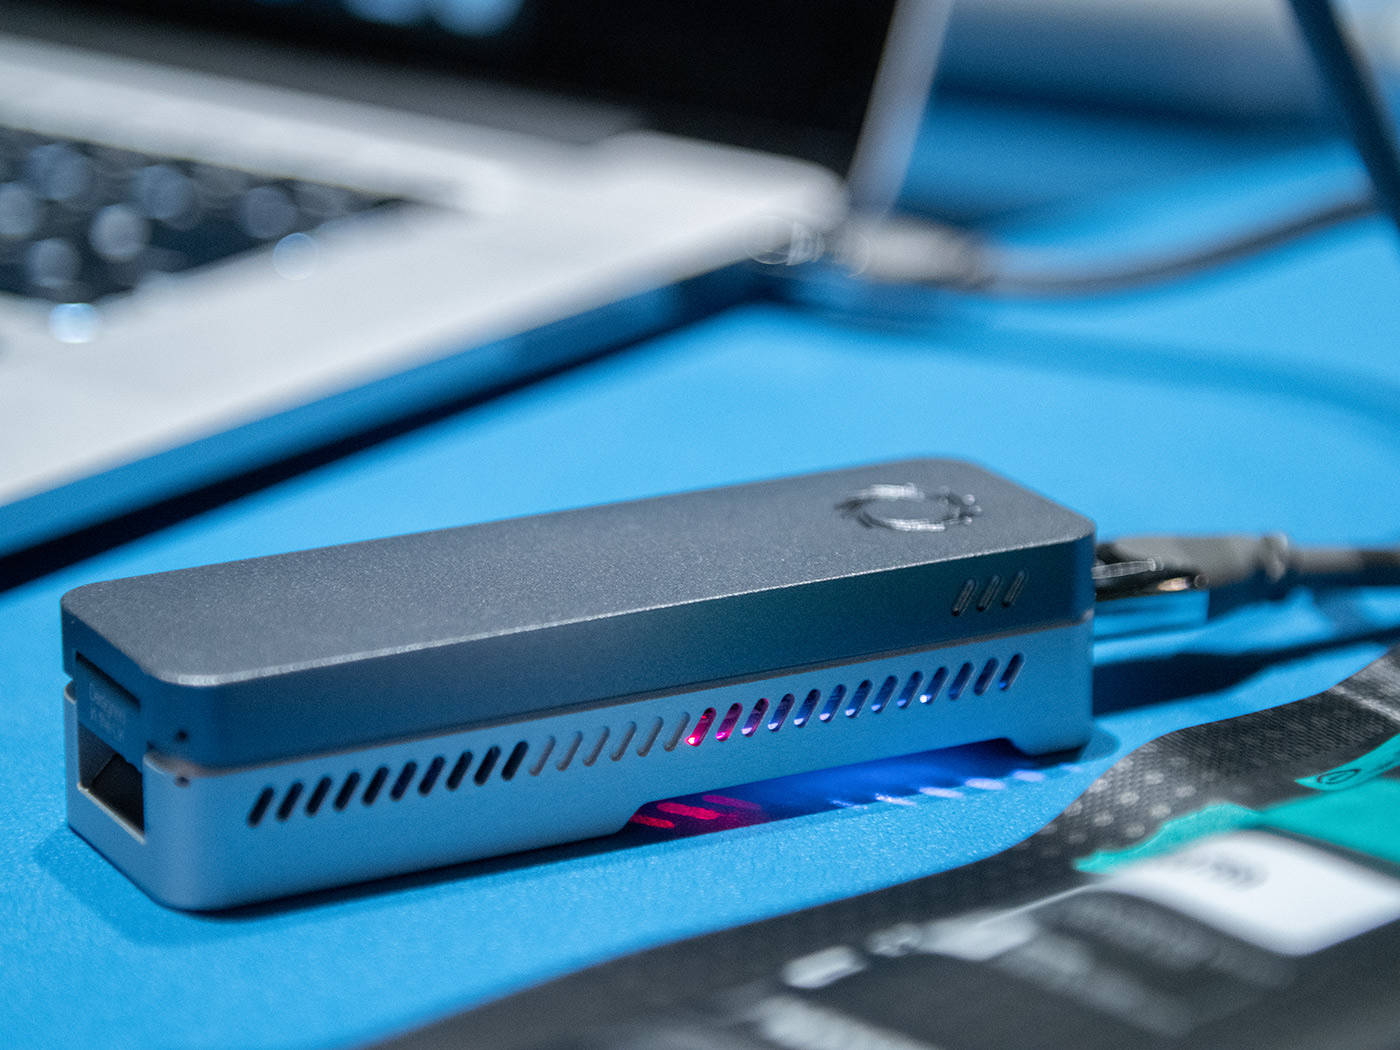
After cooling the tube, the sample was transferred to a two-layer filter tube and run in the centrifuge. For this, we used the Bento Lab, a bento box-sized device equipped with three functions required for DNA analysis. Having been developed in the context of DIY bio, Bento Lab was chosen for the workshop since its theme was "Personal Biotechnology."
When the centrifuge started, the motor made a loud whining sound, and the participants raised their voices in wonder.
The tube was loaded in the centrifuge and was spun to a maximum of 8000xg (8000 times the gravitational acceleration).
After centrifuging, the solution that collected at the bottom of the tube (supernatant) was no longer cloudy and was nearly clear, as impurities had been filtered out. While being careful not to disturb the pellet (sediment containing impurities) that passed through the filter and gathered at the bottom of the tube, the supernatant alone was carefully drawn out with a micropipette and was transferred to new tubes.
The next process was collecting the DNA dissolved in the solution. A buffer containing ethanol, which extracts DNA, and guanidine hydrochloride, which causes denaturation of proteins, was added to make the DNA aggregate. The amount of buffer added was 1.5 times that of the supernatant.
The contents of the tube was mixed by gently pipetting the liquid up and down. It was mixed thoroughly.
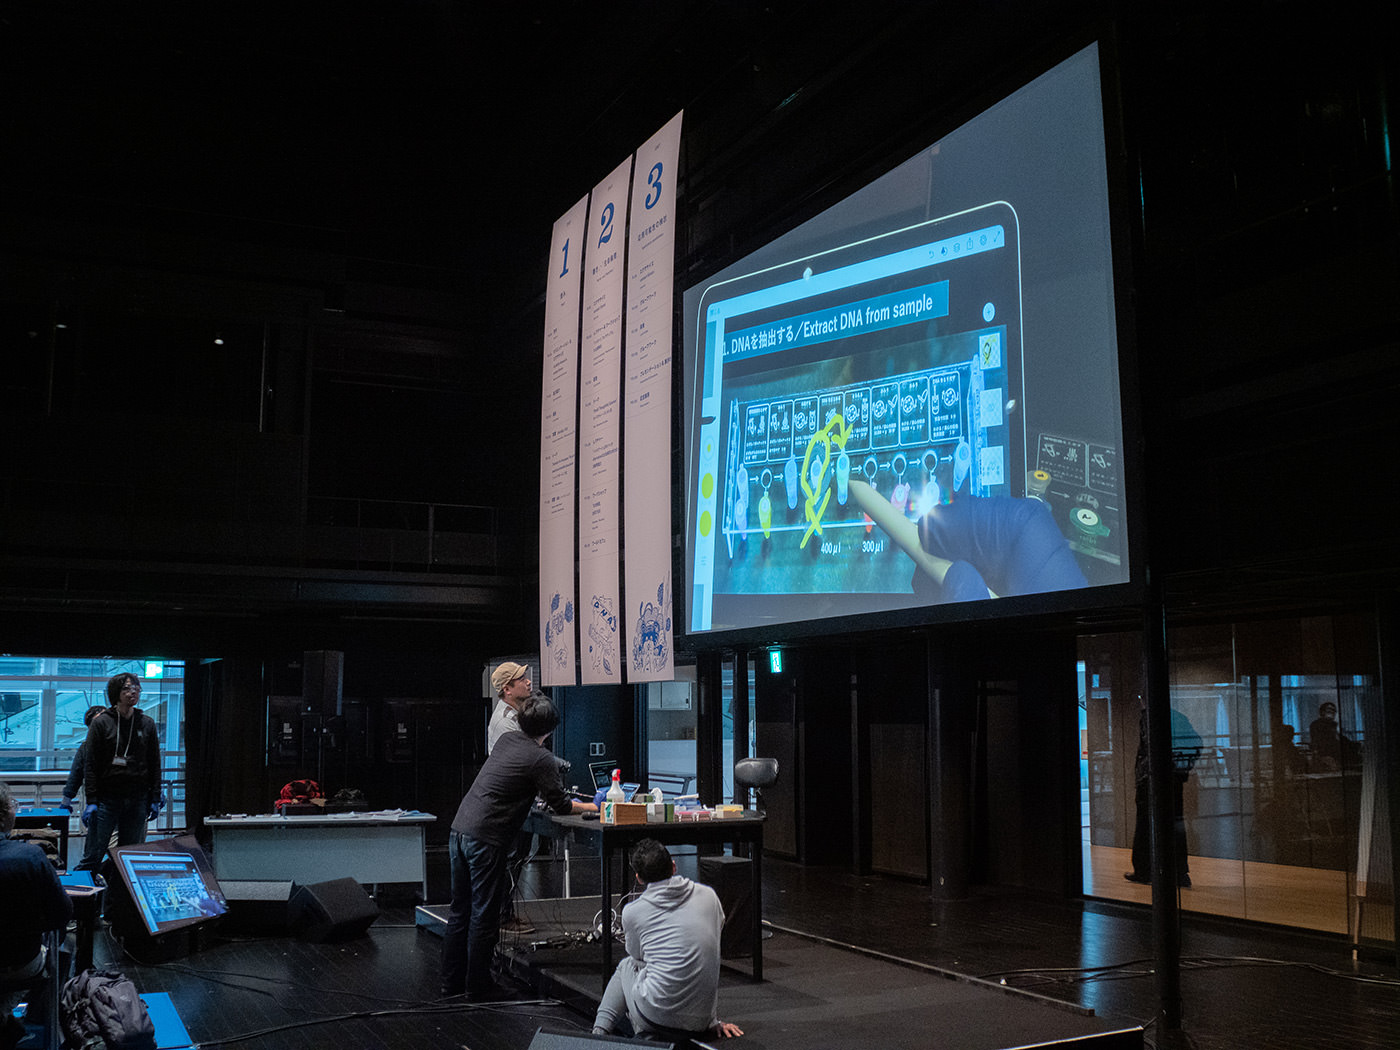
Using a micropipette, 400 μℓ of the supernatant and buffer mixture was transferred to a yellow filter tube. This was then centrifuged again for 30 seconds using the Bento Lab. As opposed to the previous step, the filter that collected the DNA was kept, and the filtered liquid was discarded. Then, 300-400 μℓ of the supernatant and buffer mixture was added to the filter again. The same process was repeated to increase the amount of extracted DNA.
Apparently, this process is usually performed only once, but due to the Bento Lab’s size, this process was partially changed to be performed in two steps.From the stage, Tsuda explained the changes in the process.
Ethanol washing and centrifuging were performed repeatedly on the filter that collected the DNA to remove adhered impurities.
Around this time, the participants became used to using the micropipettes and equipment, and a relaxed feeling spread among the participants.
After washing twice, only the filter with the collected DNA was removed and transferred to a new microtube. Following that, taking advantage of the water-soluble property of DNA, a buffer that elutes DNA was dispensed on the filter, and it was left for 5 minutes to increase the amount. The DNA extraction process had finally approached its last stage.
The tube containing the filter was centrifuged for 1 minute. The clear solution, that had been filtered, gathered at the bottom of the tube. Apparently, DNA had eluted into this liquid.
Although it lacked a sense of reality due to the inability to confirm this visually, the process of extracting DNA had finally completed. The time by then was already around 4 pm, but there was a sense of relief in the venue. However, when Tsuda announced that we were only about 35% of the way through the whole process, the participants, who had felt a sense of accomplishment, laughed wryly.
Amplifying the amount of DNA in specific regions using PCR
We proceeded to the next step of amplifying DNA using PCR (polymerase chain reaction), a method for amplifying only specific regions of the sample DNA. For this workshop, PCR was used to amplify the rbcL gene region, which is a part of the chloroplast DNA. "When DNA is exposed to a high-temperature, the double-stranded DNA’s bonds break and the DNA separates into two single strands (thermal denaturation). Following that, when the temperature is slightly lowered, short DNA fragments of about 20 bases, called primers, bind to specific parts of the single-stranded DNA (annealing). When the temperature is then raised again, the enzyme known as DNA polymerase begins DNA replication (extension), starting from where the primers bonded. By repeating many cycles of these reactions caused by three temperature changes, DNA can be amplified exponentially in a short time," explained Tsuda.
Two types of primers, a forward primer and a reverse primer, are designed to match the DNA region intended to be amplified, and they are used as a set. In PCR, it is important to design these primers to be complementary to the DNA to be amplified. The reason is that when a primer binds to the target region of the original DNA (template DNA), it serves as a sign for the DNA polymerase which begins to make copies. In principle, every time the cycle is completed, the amount of DNA in the region to be amplified doubles. In other words, by repeating 30 cycles, the amount of DNA increases by a factor of about a billion.
The thermal cycler, a device that changes in temperature according to the preset program, is used for PCR. For this workshop we used the thermal cycler built in the Bento Lab. First, a cycle of temperatures was entered into the thermal cycler: a temperature at which the DNA separates into single-strandes (98°C), a temperature suitable for annealing (45-72°C), and a temperature required for DNA elongation (72°C). This cycle was set to repeat 30 times. Next, the participants began to prepare the reaction solution necessary for PCR.
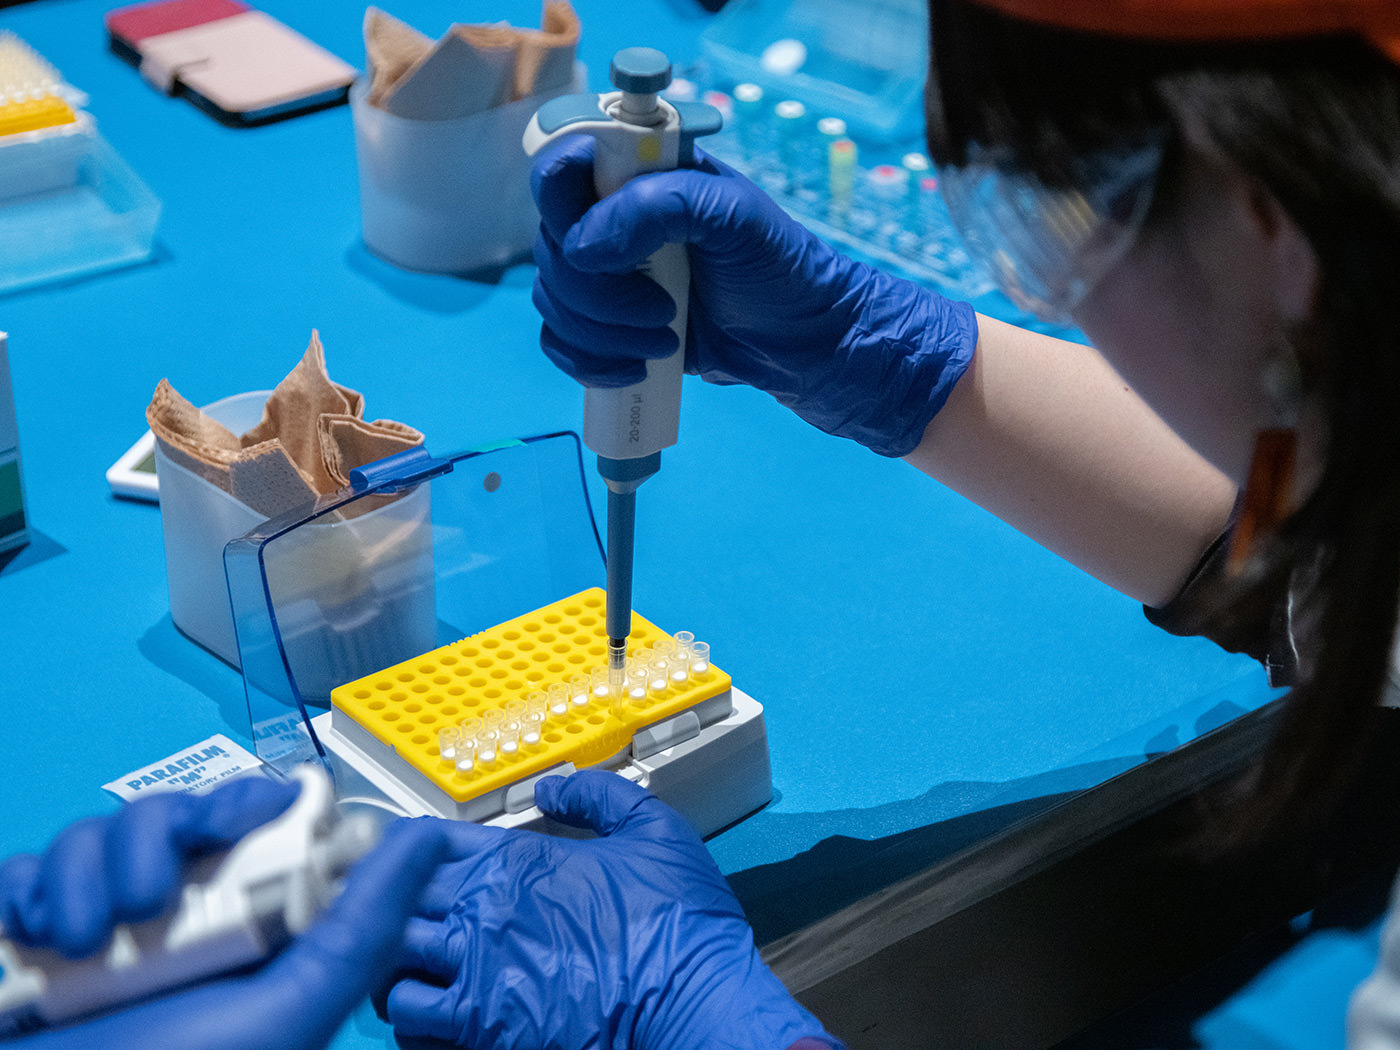
Particularly deliberate pipetting is needed to handle a minute amount of reagent of 10μℓ or less.
A PCR master mix, which includes heat resistant DNA polymerase and other materials for DNA synthesis such as dNTP set (A’s, T’s, G’s, and C’s), was used to prepare the reaction solution. This reagent, along with pre-designed primers and purified water were added to a tube, in that order.
The series of tasks required concentration, but proceeded with well-coordinated teamwork
Finally, the DNA solution (template DNA) which was extracted in the previous process was added to the tube to complete the reaction solution. From the DNA solution that had been extracted through so much effort, only 1μℓ was used for PCR. Such patient efforts are surely being made behind the scenes of cutting-edge science on a daily basis. That is what I had come to realize through the process so far. When the teams placed the tubes containing the completed reaction solution into the Bento Lab’s thermal cycler and pressed the button, the PCR began without fault.
Cheers and applause erupted at the tables. However, this was only halfway through the whole process, with still a long way to go.
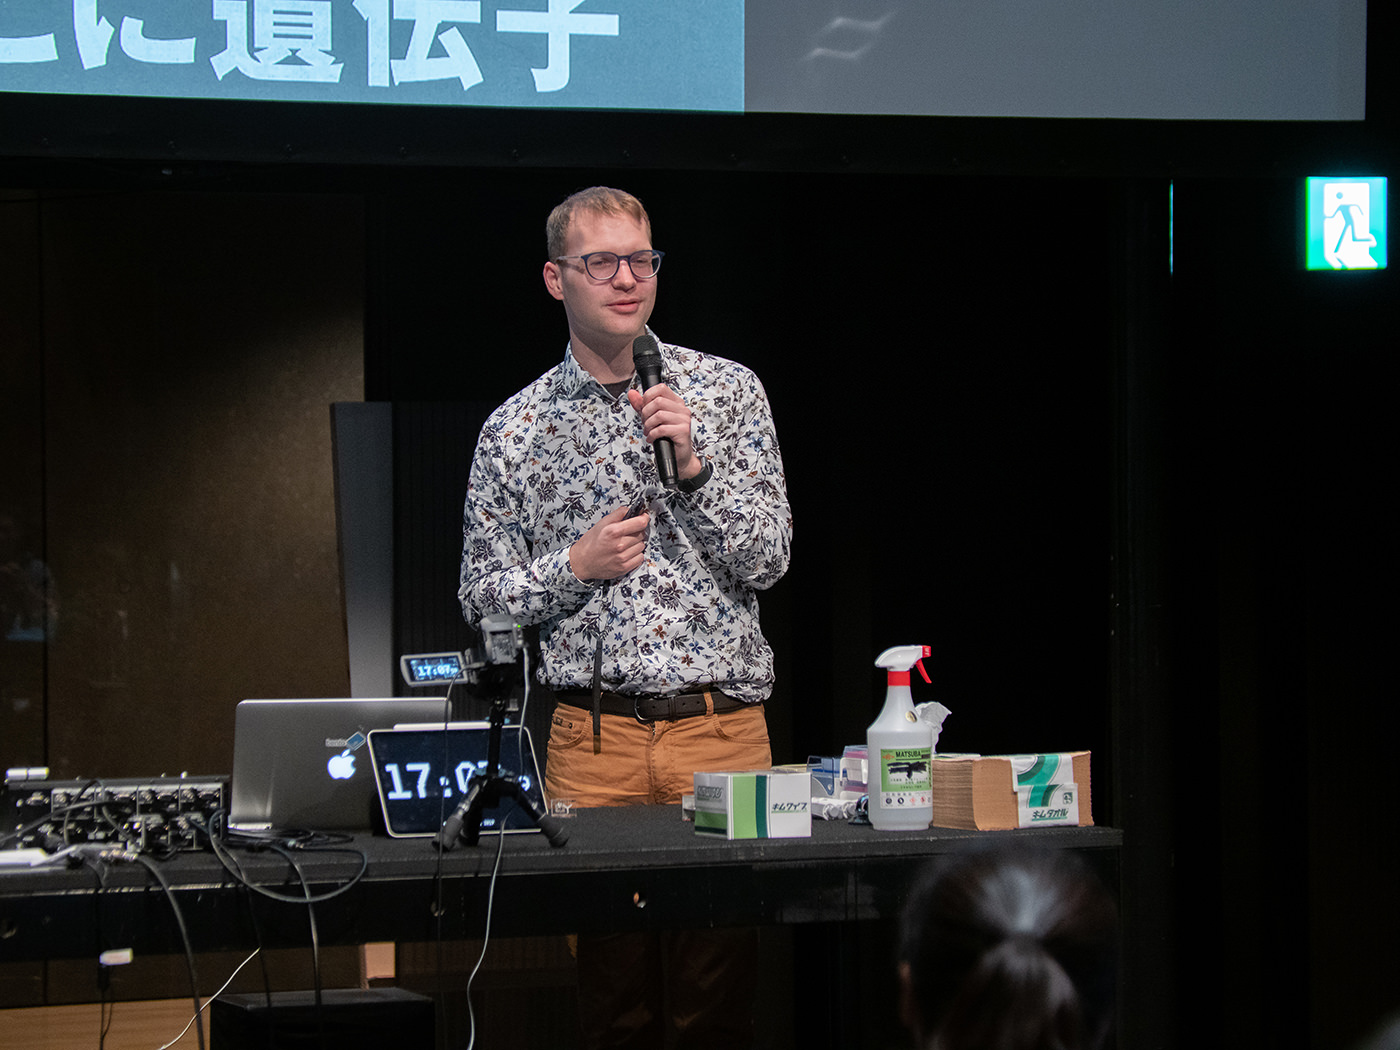
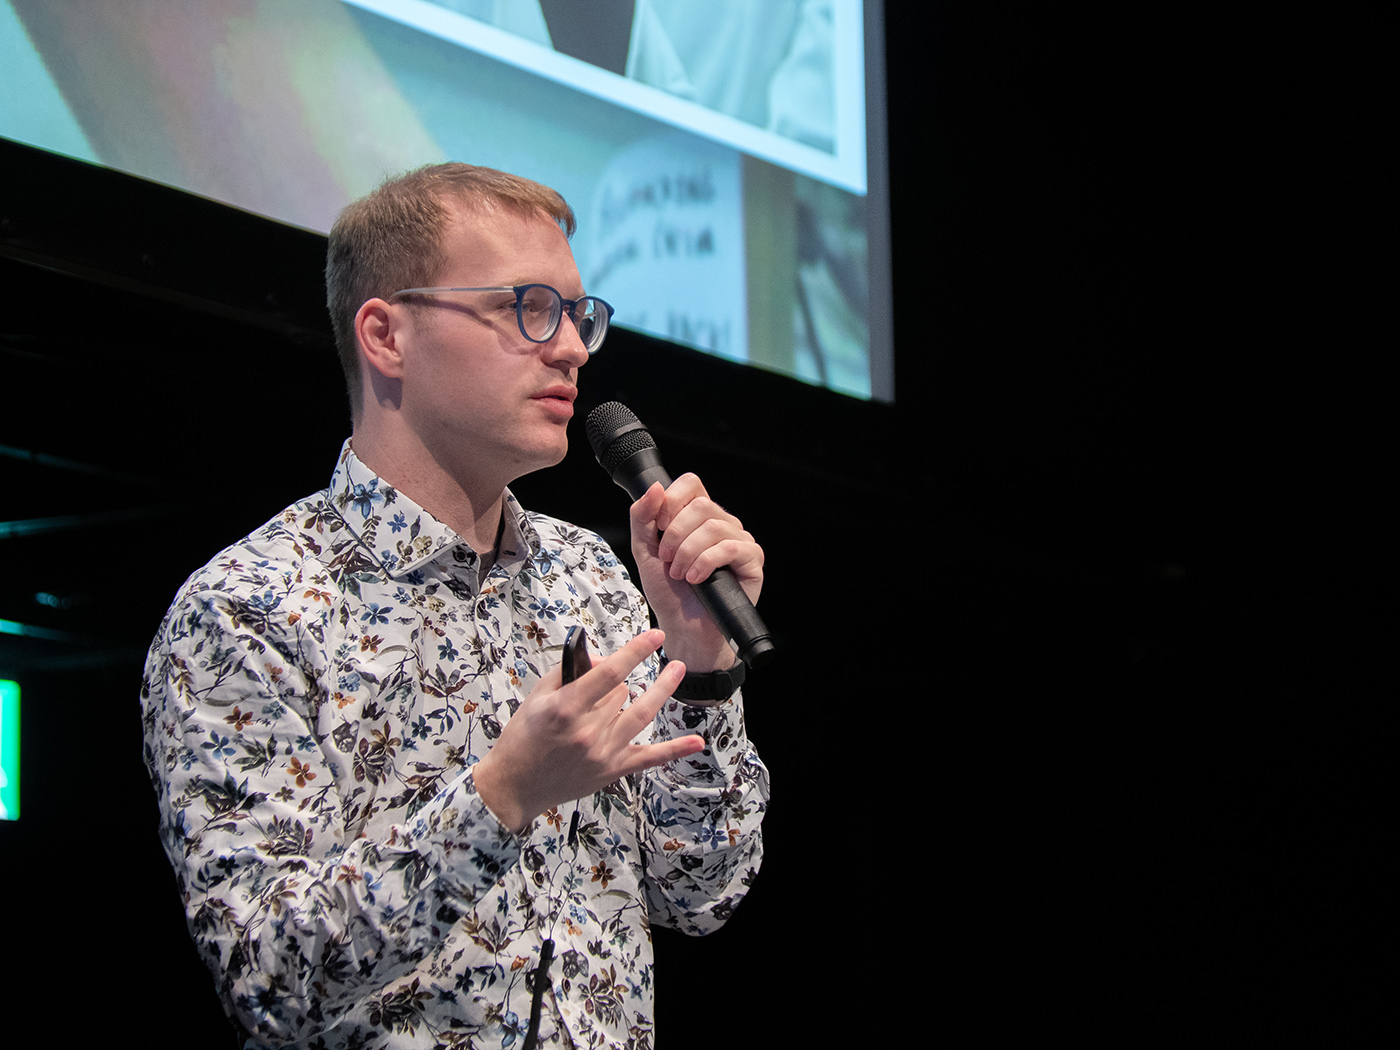
4Talk“Genetics for Everyone: The journey towards accessible bioscience” by Philip Boeing
Bento Lab's aspiration for a world where anyone can engage in biotechnology
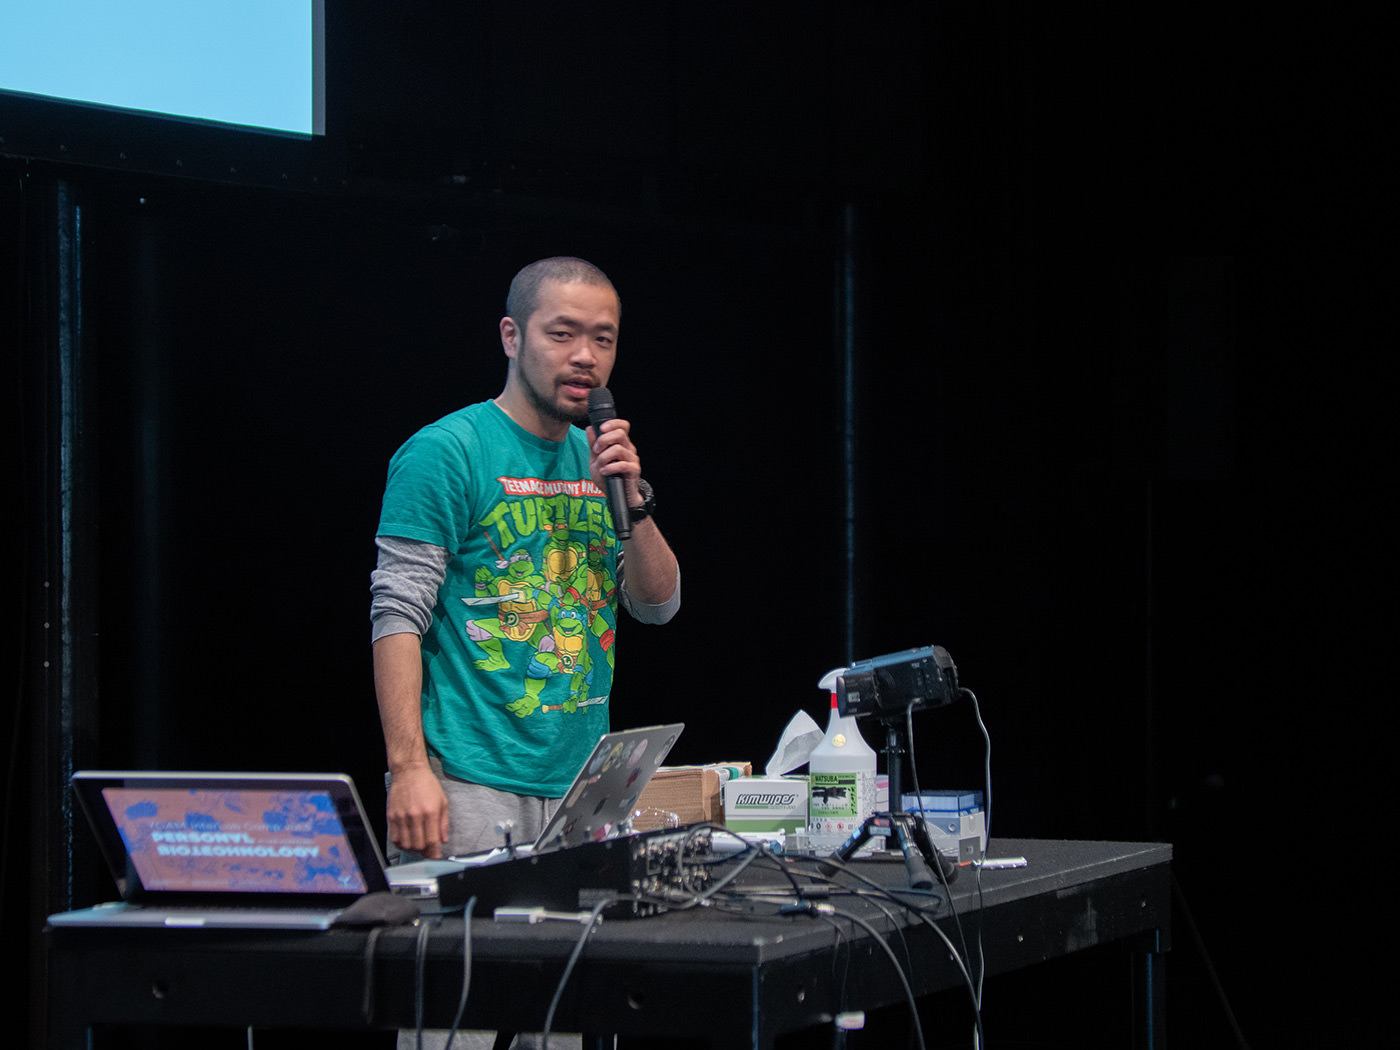
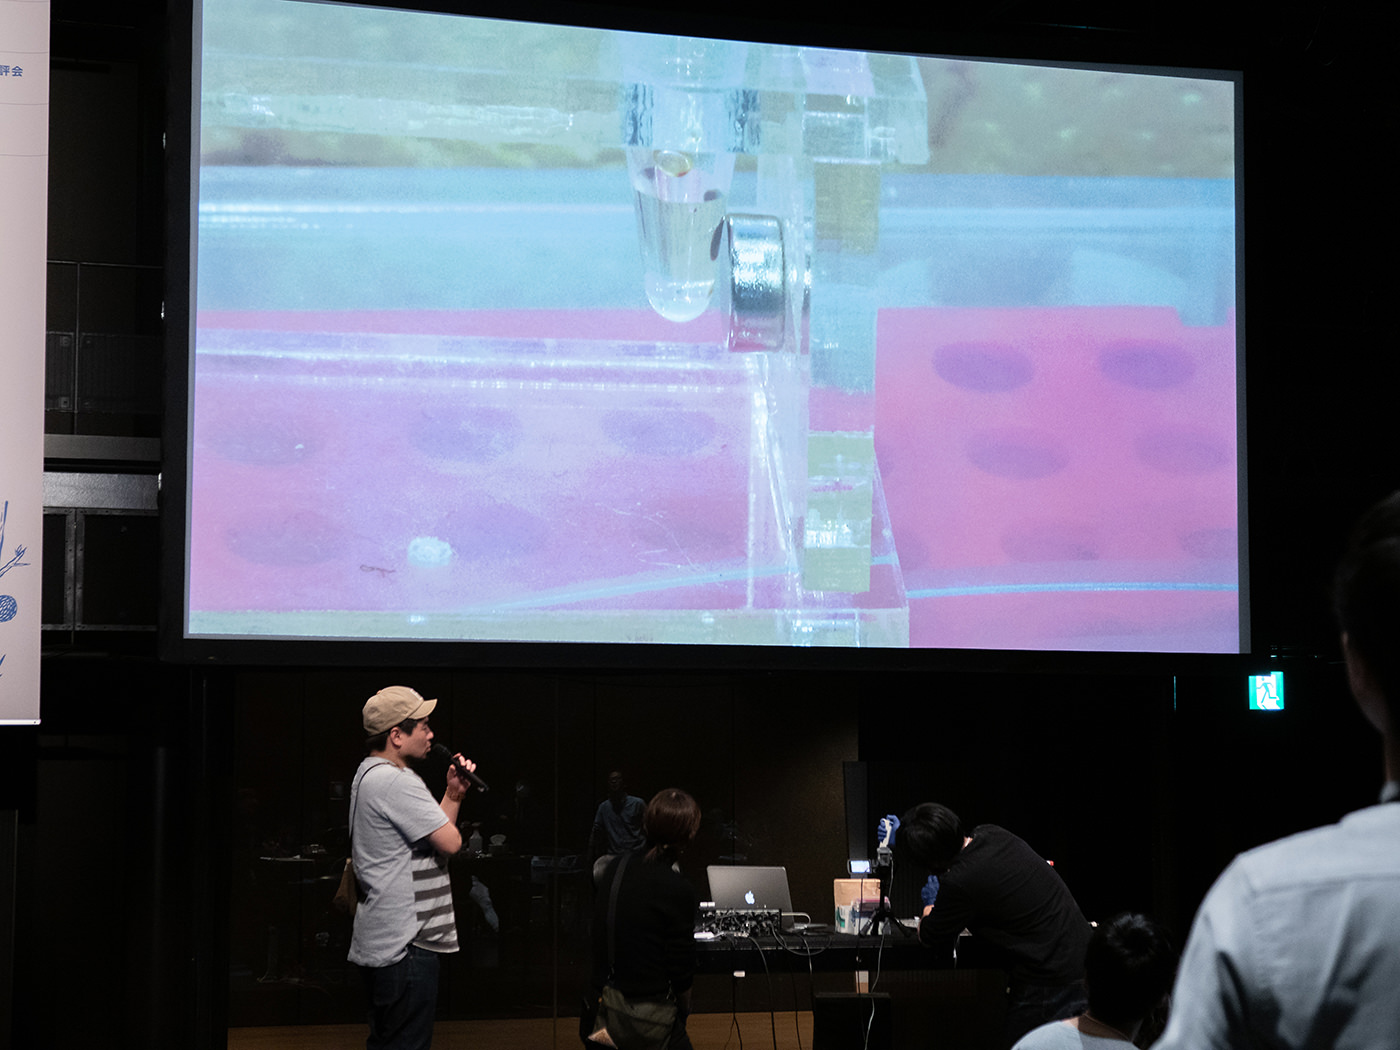
The PCR process takes about 90 minutes to complete. While waiting for the reaction to finish, Philip Boeing, developer of Bento Lab, gave a talk.
Working in the UK, Boeing is also a member of the artistic research framework called BCL, which conducts a variety of artistic activities based on biotechnology.
While studying computer science at university, Boeing learned about a project which grew biofilms using E. coli that had been given photosensitivity through genetic manipulation and envisioned a future in which organisms could be programmed. Later on, he become involved in the International Genetically Engineered Machine Competition (iGEM) and met many biohackers with unique ideas. One of them was Bethan Wolfenden, the co-developer of Bento Lab. Boeing, who had learned the DIY bio movement through his activities with iGEM, began to engage in DIY bio himself. However, biological research required special equipment. He visited bio-hacker spaces around Europe and the US, and learned that setting up a lab was not easy. What could be done to create an environment where anyone can get started with DIY bio, even by people who are not researchers? With the development of Raspberry Pi and Arduino, electronic engineering has become more familiar. Boeing thought that a similar platform must be needed in the field of biotechnology.
With that thought, they started to work on the idea for developing a biolab that would let anyone experiment with bioengineering anywhere. The development of Bento Lab started in 2012 and faced various hurdles and technical issues, but the product finally reached a stably shippable state at the end of 2018. According to Boeing, in addition to developing the hardware for performing biological experiments, they have also been focusing on the activities that can be done with the Bento Lab. They have conducted many workshops as part of the Bento Lab project and are working on developing online tutorials using videos and starter kits that let people start immediately and establish biotechnology as a hobby and a personal activity.
“Genetics for Everyone: The journey towards accessible bioscience” by Philip Boeing
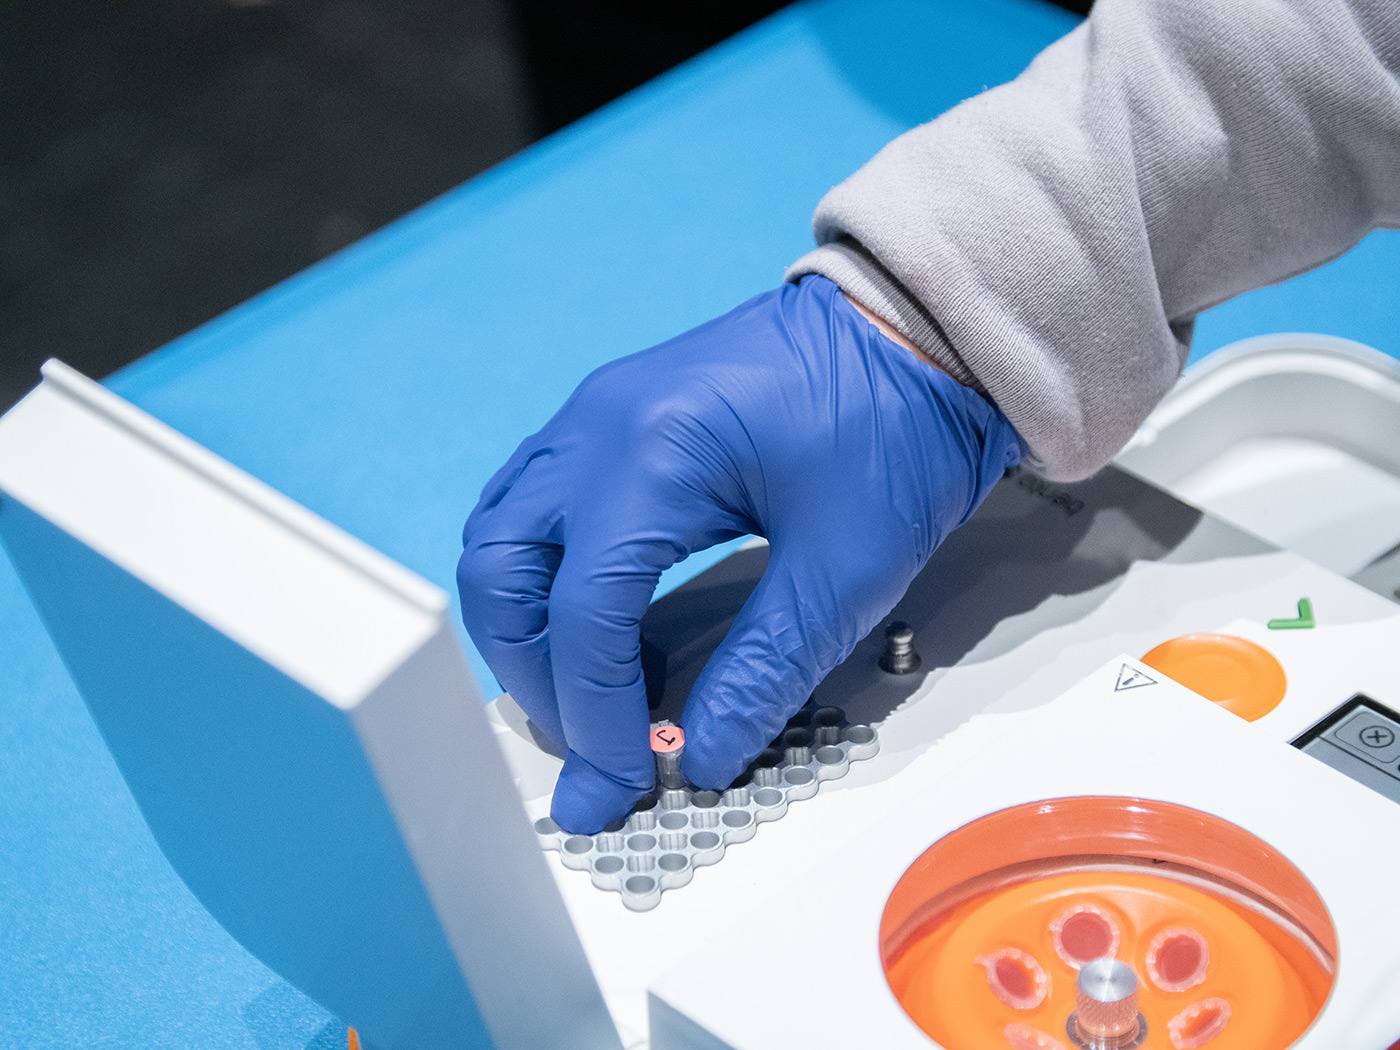
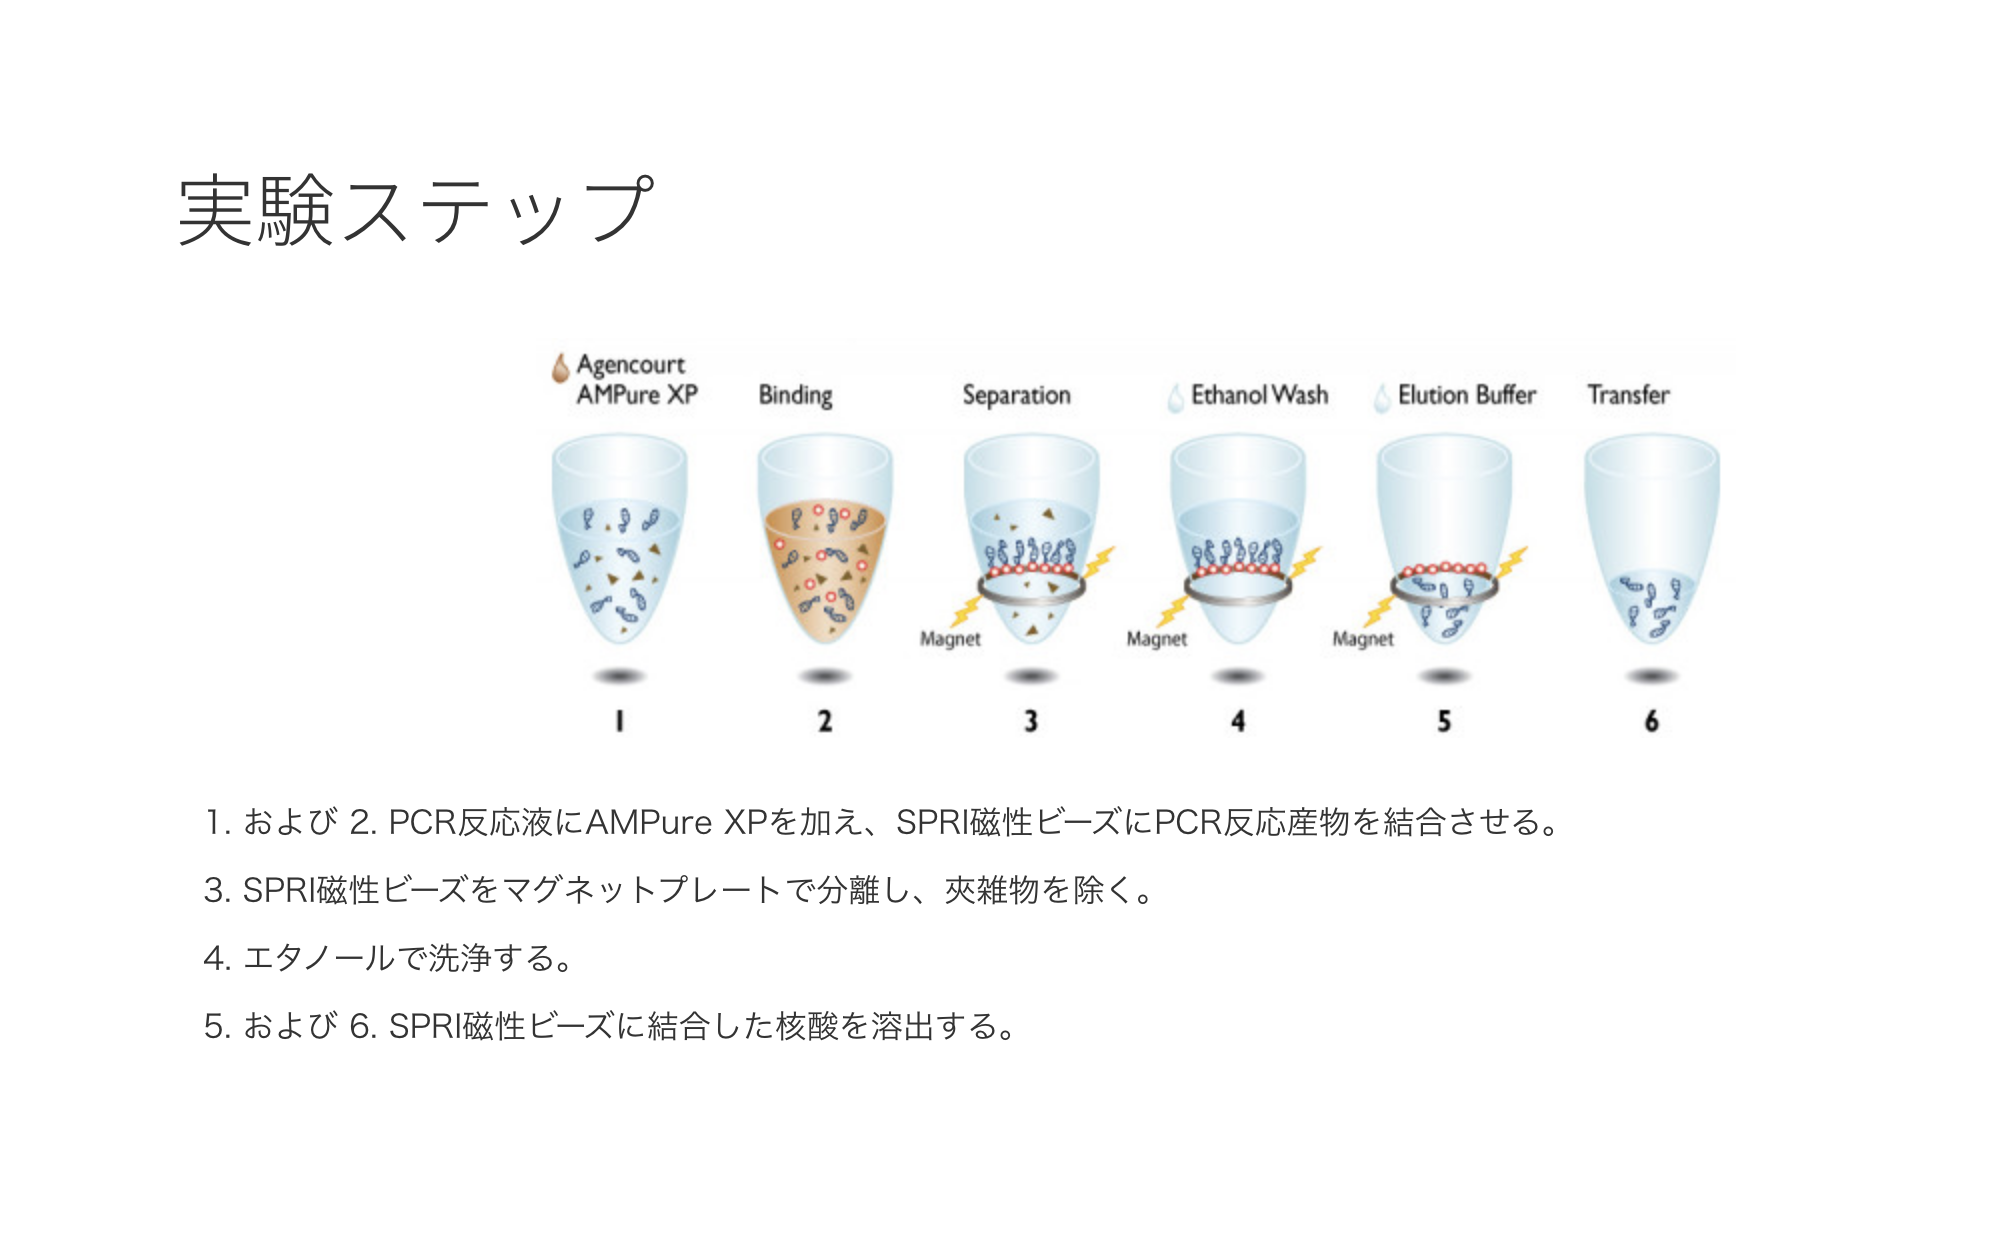
At almost 7 pm, the PCR had completed. The next step was the process of purifying DNA from the PCR product. The goal was to remove impurities (contaminants) such as the enzymes and primers added in the PCR process and to enhance the purity of the DNA, in order to analyze it more accurately. Gel electrophoresis, a method for separating and analyzing DNA using the property of negatively charged DNA, is sometimes used for DNA purification. However, this workshop used a different method of purification that makes use of magnetic force and special magnetic beads to which DNA fragments bind.
The magnetic beads used for purification are coated with a special polymer and are able to reversibly bind DNA. In addition, as the design allows the length of the binding DNA to be 100 bases or longer, it has the advantage of removing unnecessary DNA fragments, such as the primers used in the PCR process. After the PCR tube was removed from the thermal cycler, a reagent containing magnetic beads (AMPureXP) was added to the tube and was mixed by pipetting.
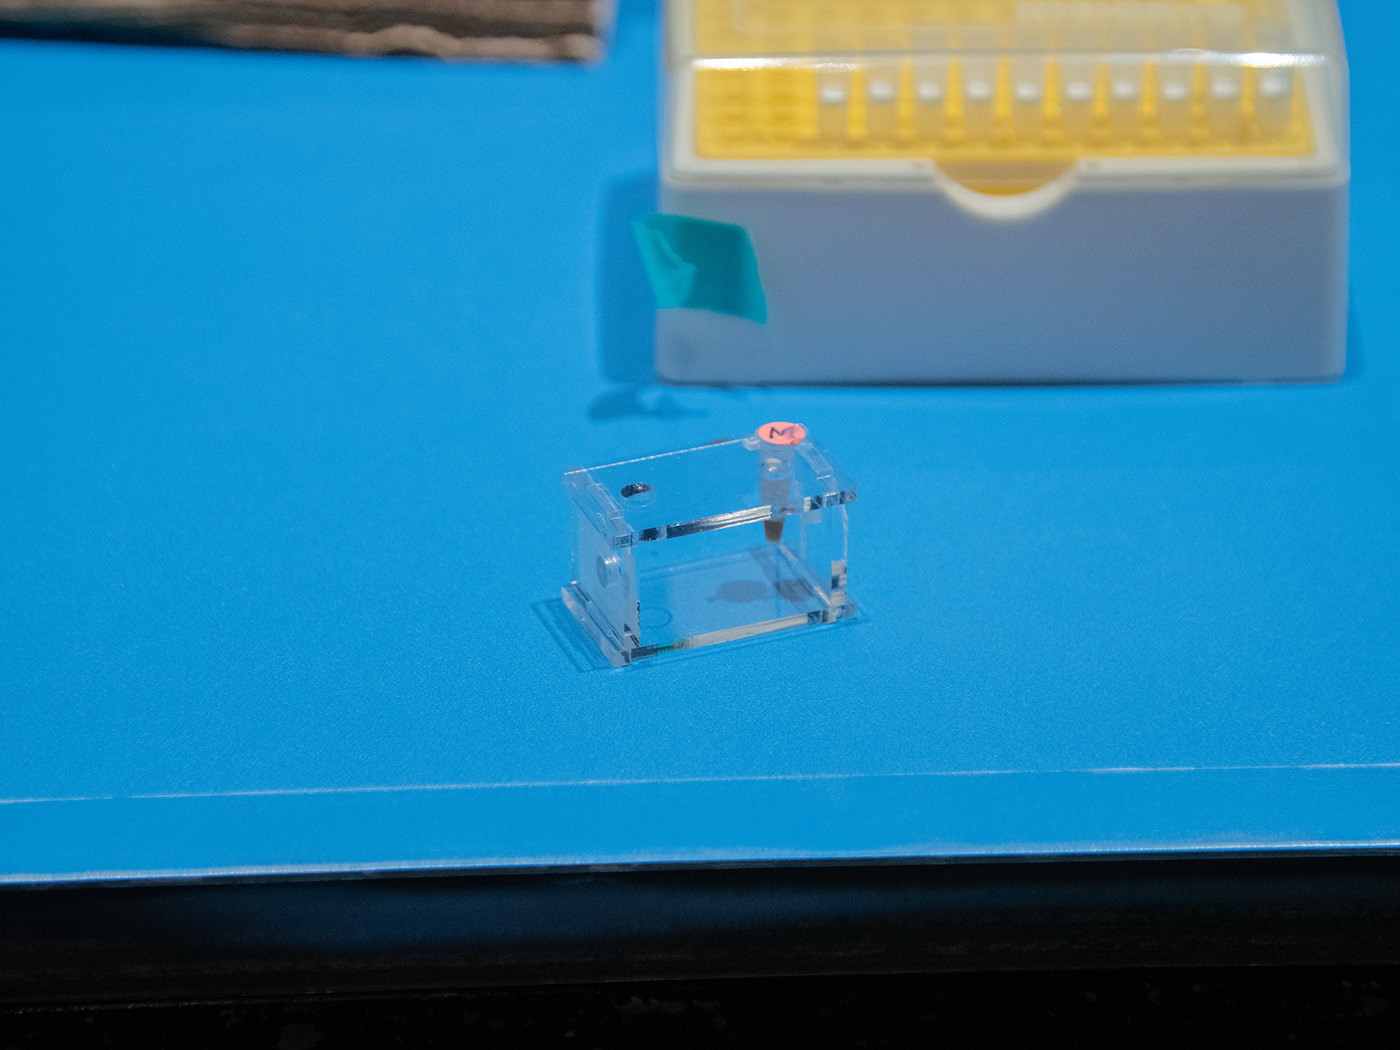
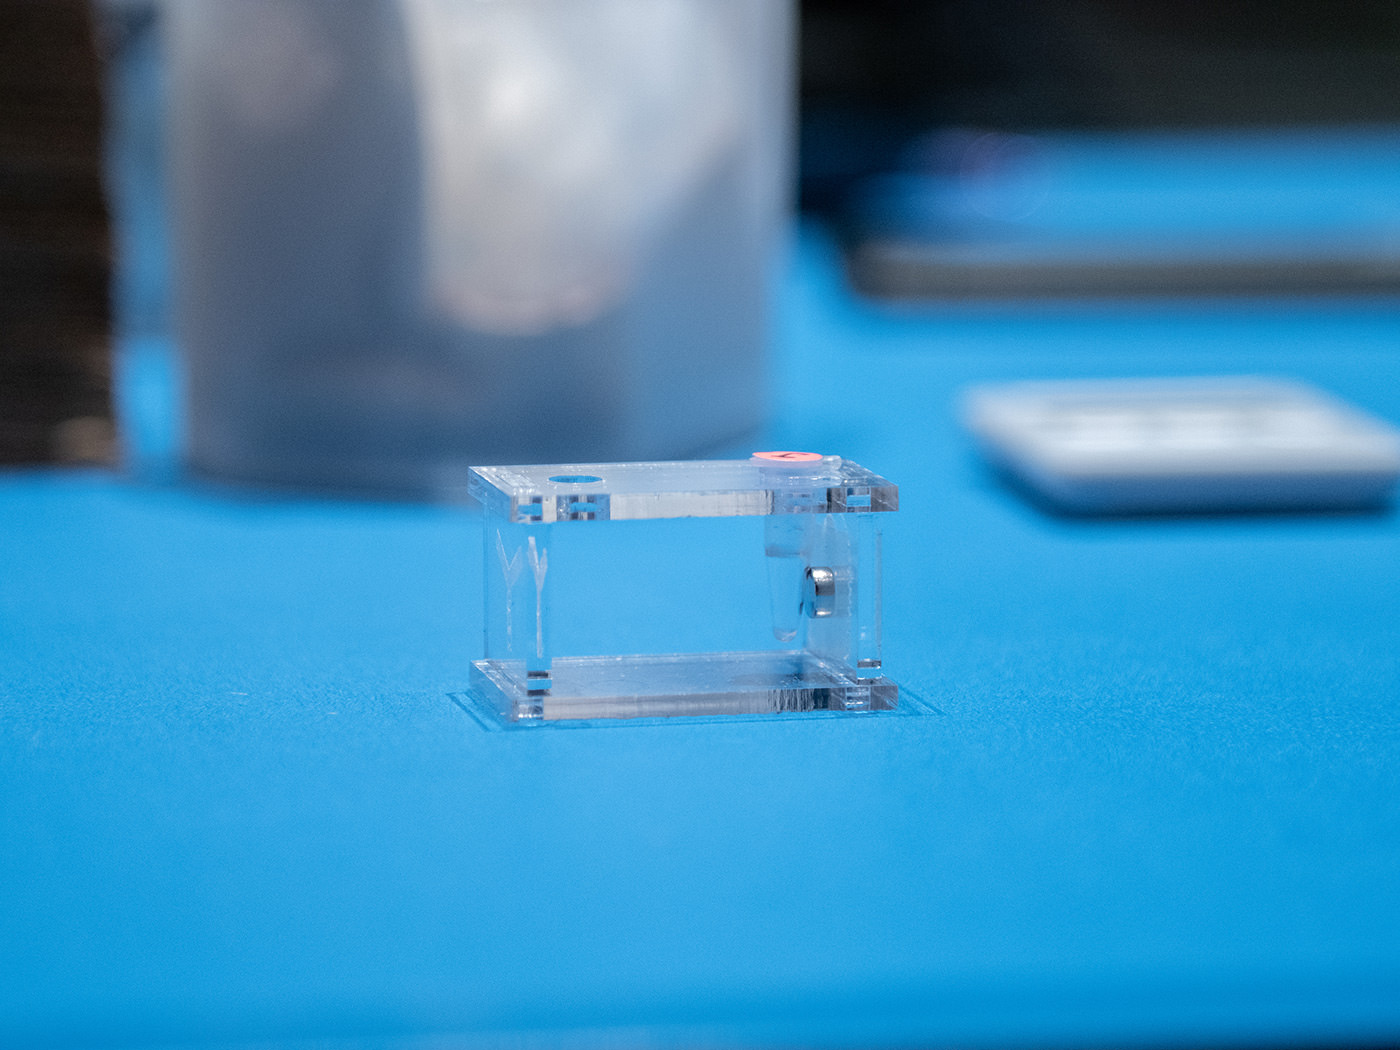
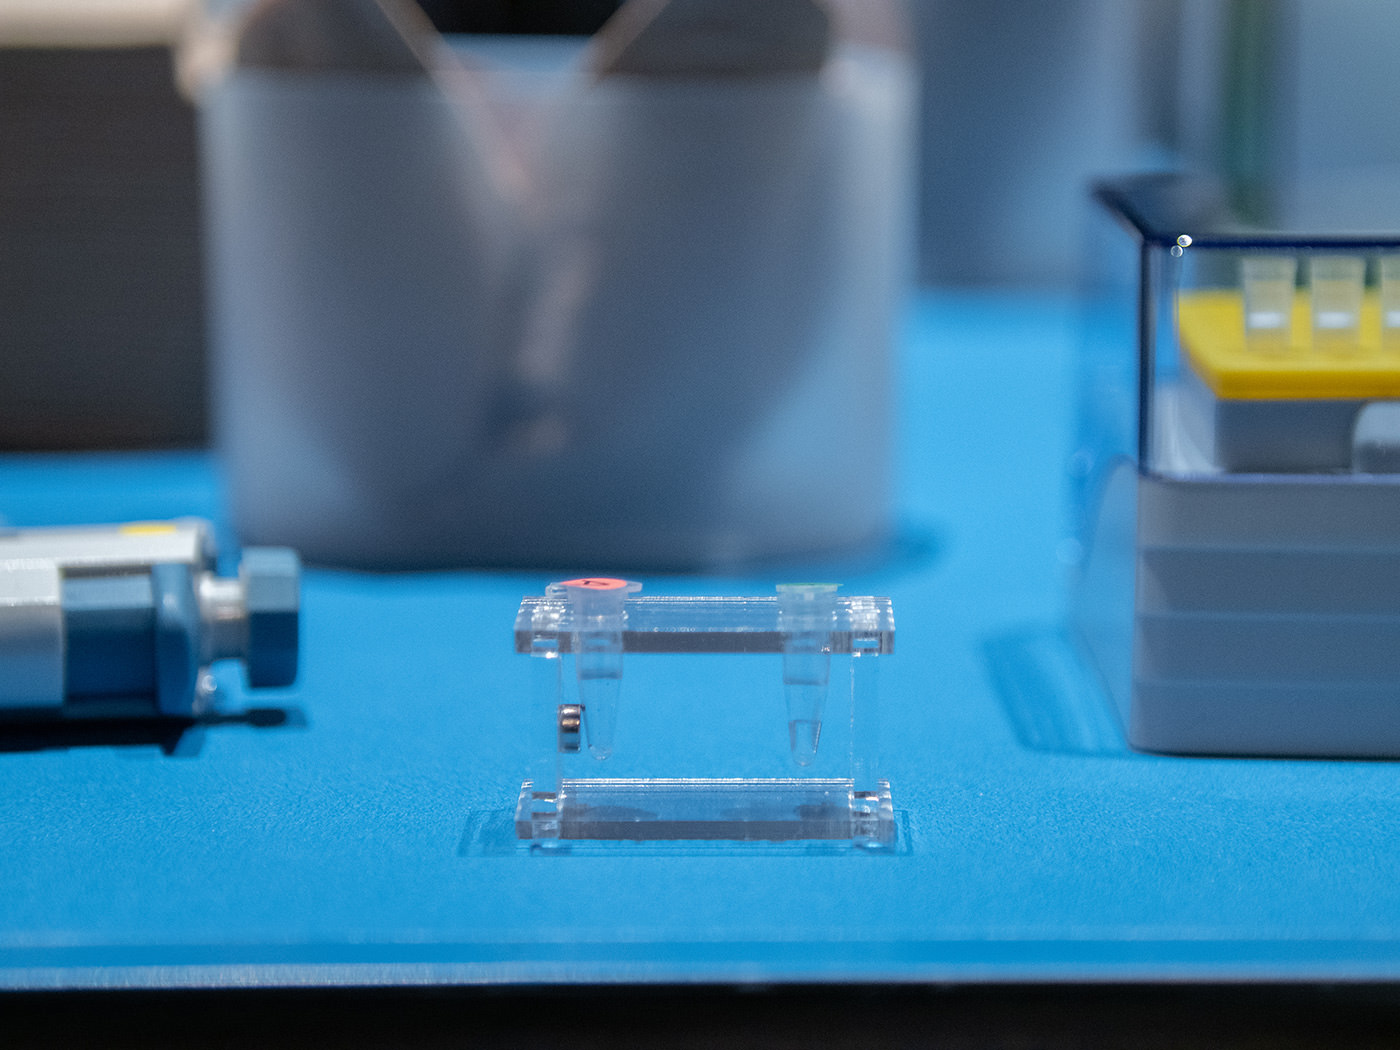
The magnet stand created for the workshop was designed to hold two tubes, with a magnet attached to only one side. At this stage, the tube was inserted into the side with no magnet and was left for 5 minutes. We waited for the DNA to bind to the beads.
The solution in the tube changed to a transparent brown color.
Following this, when the tube was moved to the side with the magnet and left for 2 minutes, the solution in the tube gradually became transparent.
Looking closely, a small, brownish dot-like substance could be seen in the tube, at the area closest to the magnet. This is because the magnetic beads are attracted by the magnetic force and gather to that side. The DNA must be contained within this cluster.
The remaining solution that contained impurities was removed with a micropipette, and the cluster of beads were washed with ethanol, all the while being careful not to disturb them. This was repeated twice to assure the impurities were removed.
At that moment, a problem occurred for our team. The cluster of beads, that were gathered to the side, had sunk to the bottom of the tube.
Because of this, the ethanol used for washing the beads could not be completely removed, and a small amount remained in the tube. Hoping that this would not affect the later processes, we pushed ahead.
After removing the ethanol, the tube was removed from the magnetic stand, purified water was added to the tube, and the content was mixed well by pipetting.
When the tube was placed on the magnet stand again, only the magnetic beads were attracted to the magnet, and the DNA that had eluted from the beads remained in the water. In other words, the content of the solution was nearly water and DNA alone. A micropipette was used to collect the eluted solution, while avoiding the cluster of beads. The solution was transferred to a new tube, completing the DNA purification process.
Measuring the concentration and purity of the purified DNA
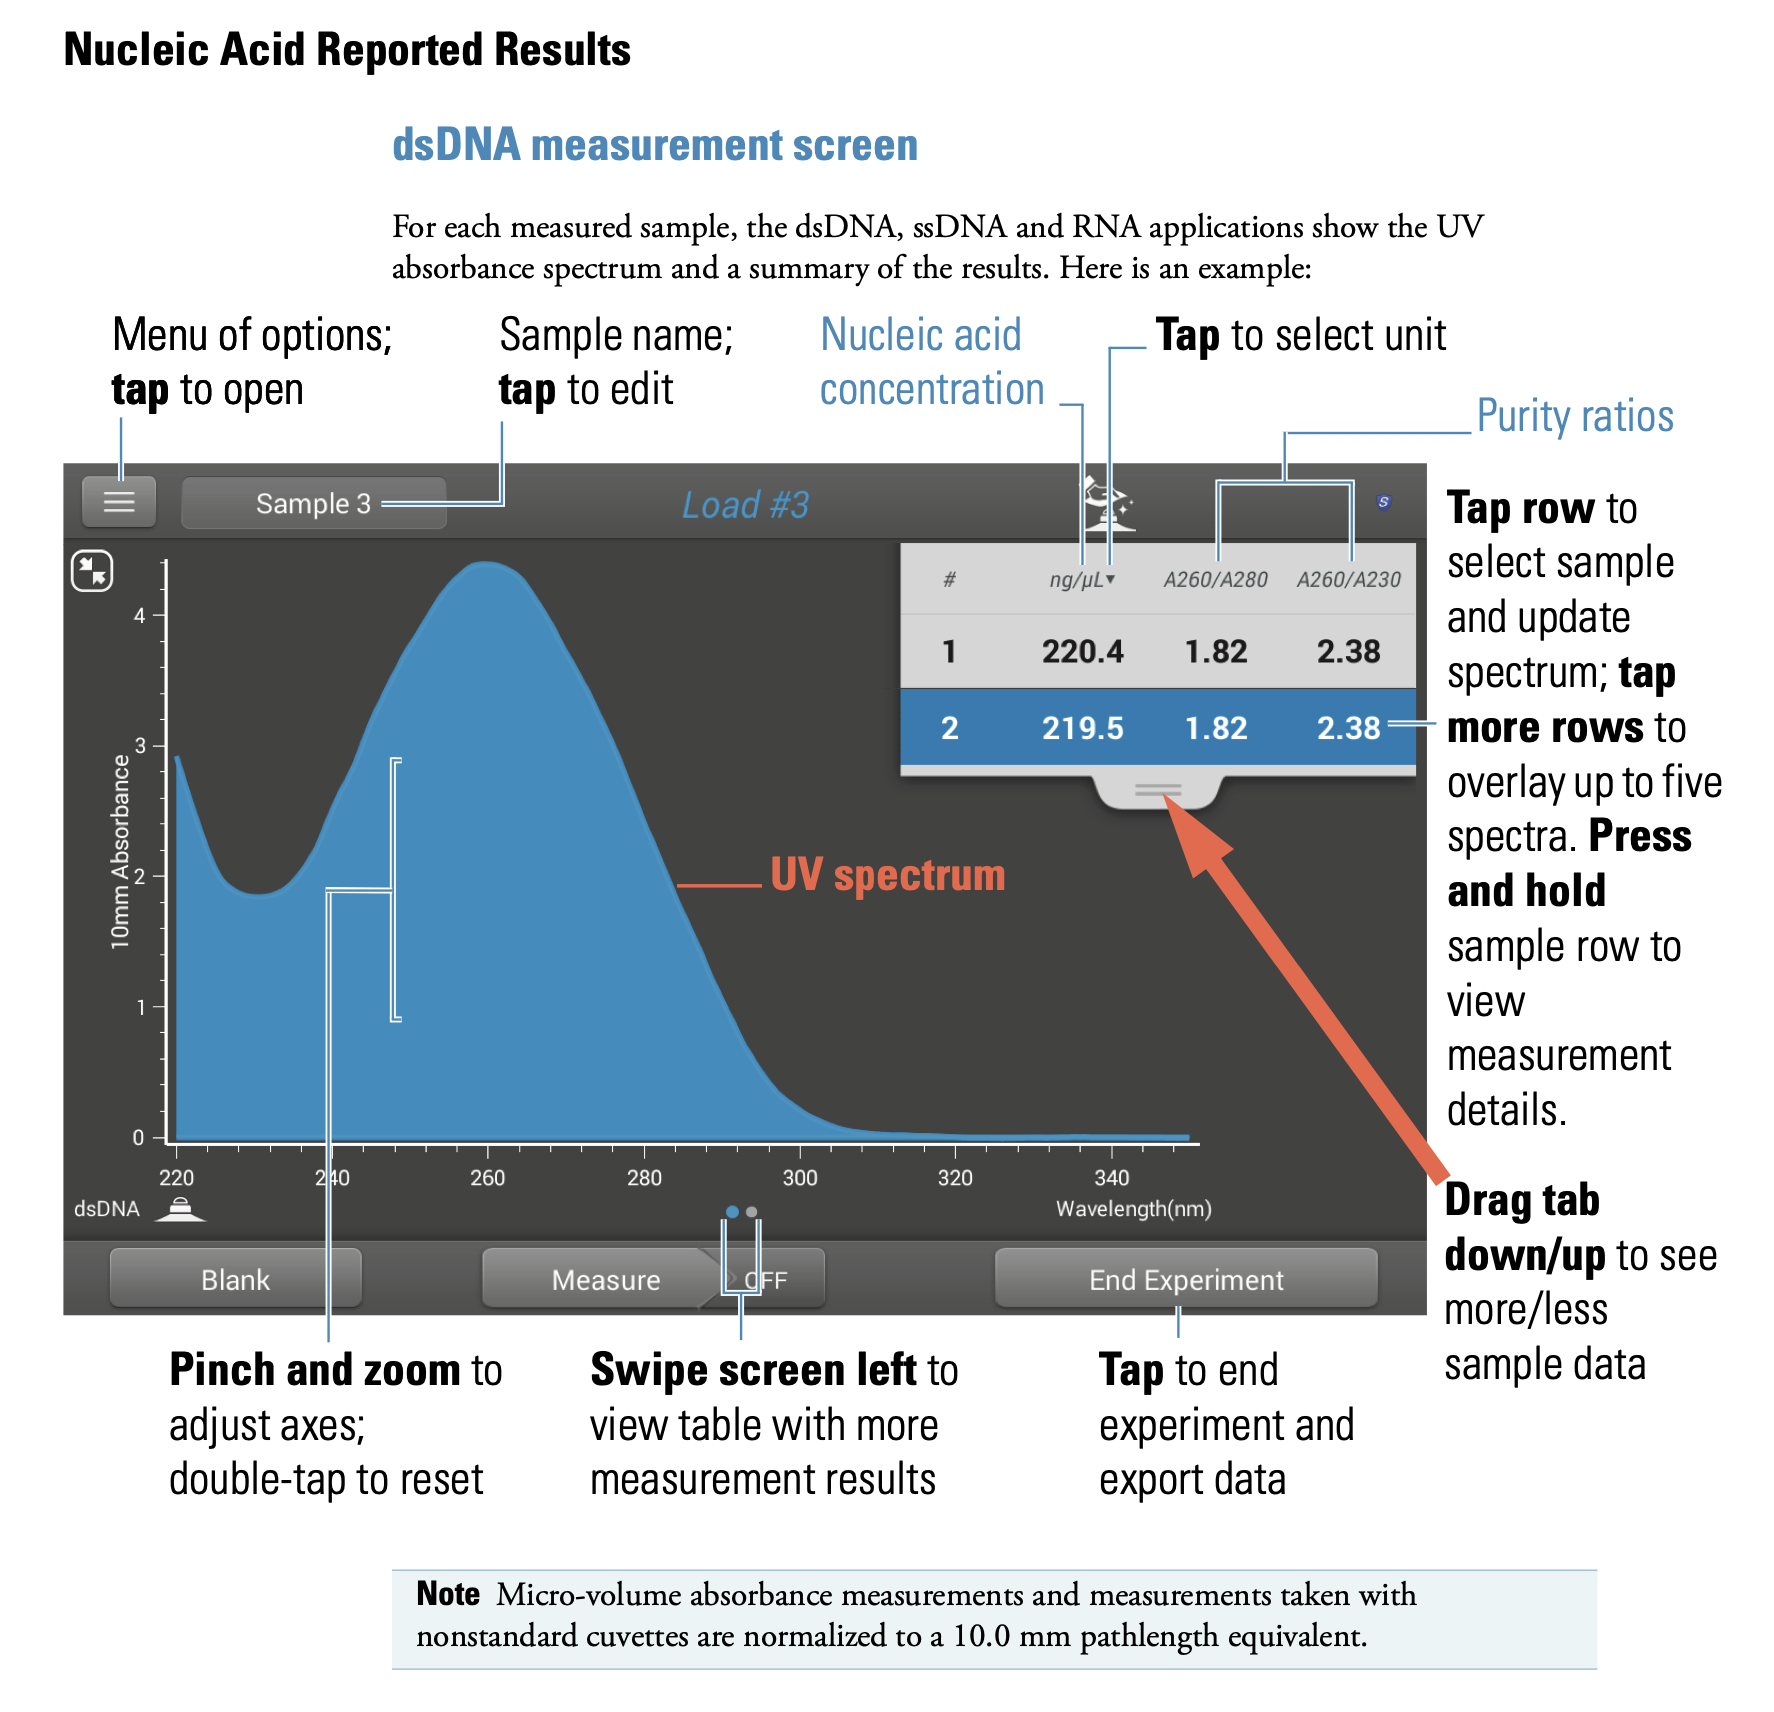
The amount of the purified DNA was measured (quantified) using a spectrophotometer. In other words, we found out how much DNA was contained in the purified DNA solution.
NanoDrop OneC spectrophotometer, used for quantification
The spectrophotometer shines a light of a specific wavelength onto a very minute amount of sample solution and measures the transmittance (absorbance). DNA is known to best absorb light with a wavelength of 260nm (nanometers), and the DNA concentration can be calculated from this value. On the other hand, since protein best absorbs light with a wavelength of 280nm, any trace of protein in the sample will affect the absorbance. In other words, the DNA sample’s purity can be measured by the ratio of the 260nm value to the 280nm value. As a guideline, if this value is 1.8 or more, the DNA can be determined to be high purity. Moreover, as DNA’s minimal absorbance is a wavelength of 230nm, a comparison of the maximum value at 260nm with the minimum value at 230nm can be used to see if there are traces of impurities (contamination). If the ratio is less than 1, contamination is highly likely. In the DNA quantification process, these three values are measured to determine whether it is possible to sequence (analyze) the sample.
The results are displayed in a spectrum, as shown here.
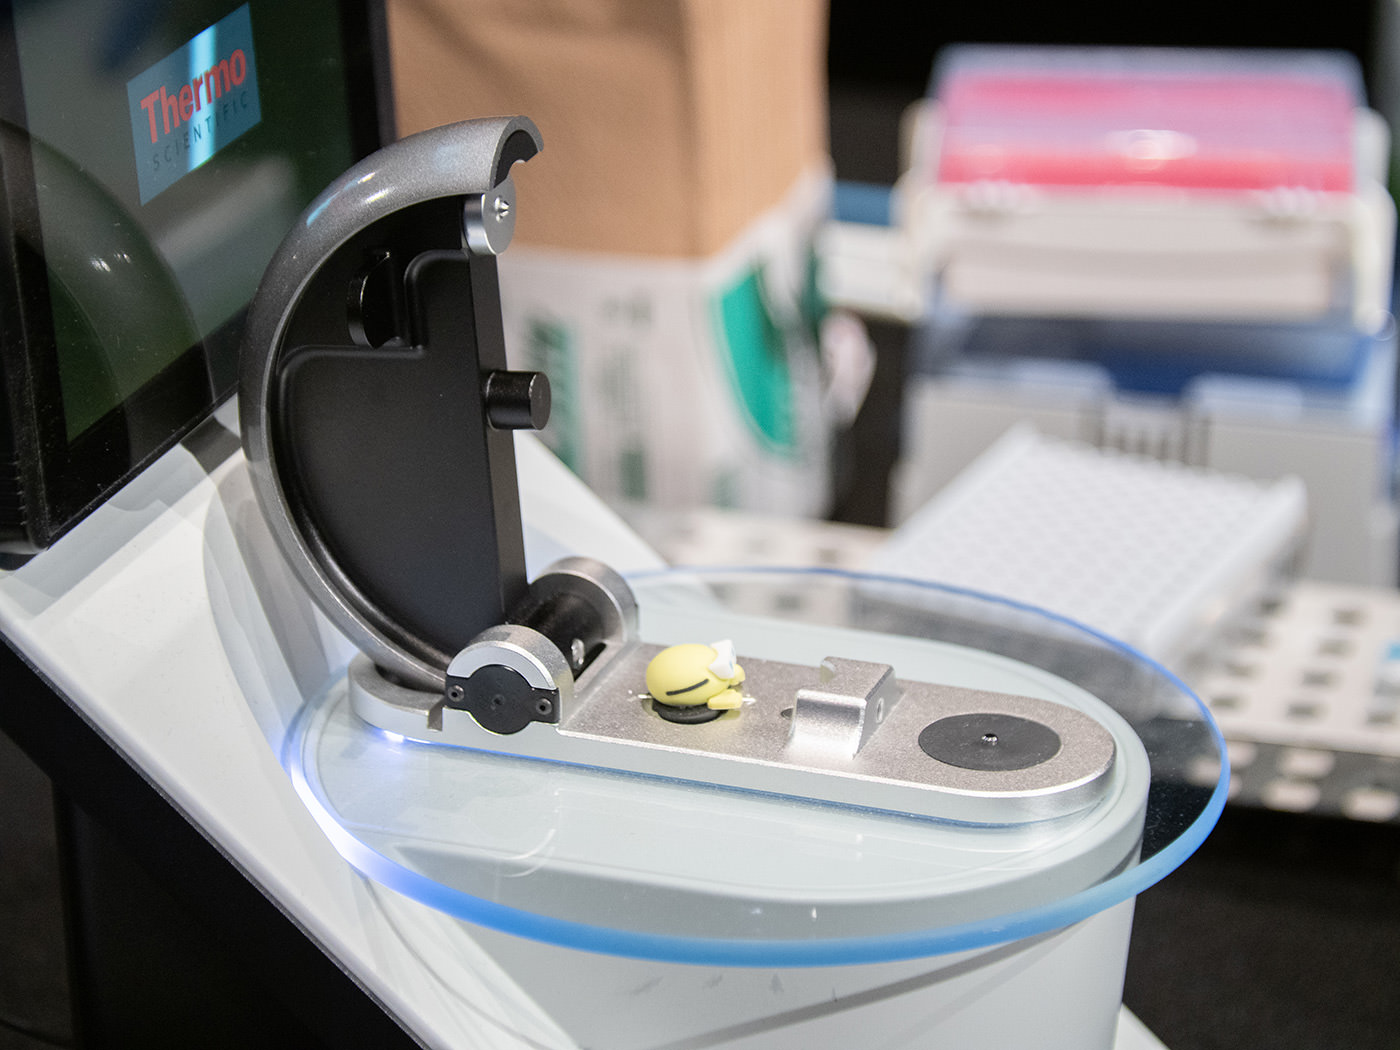
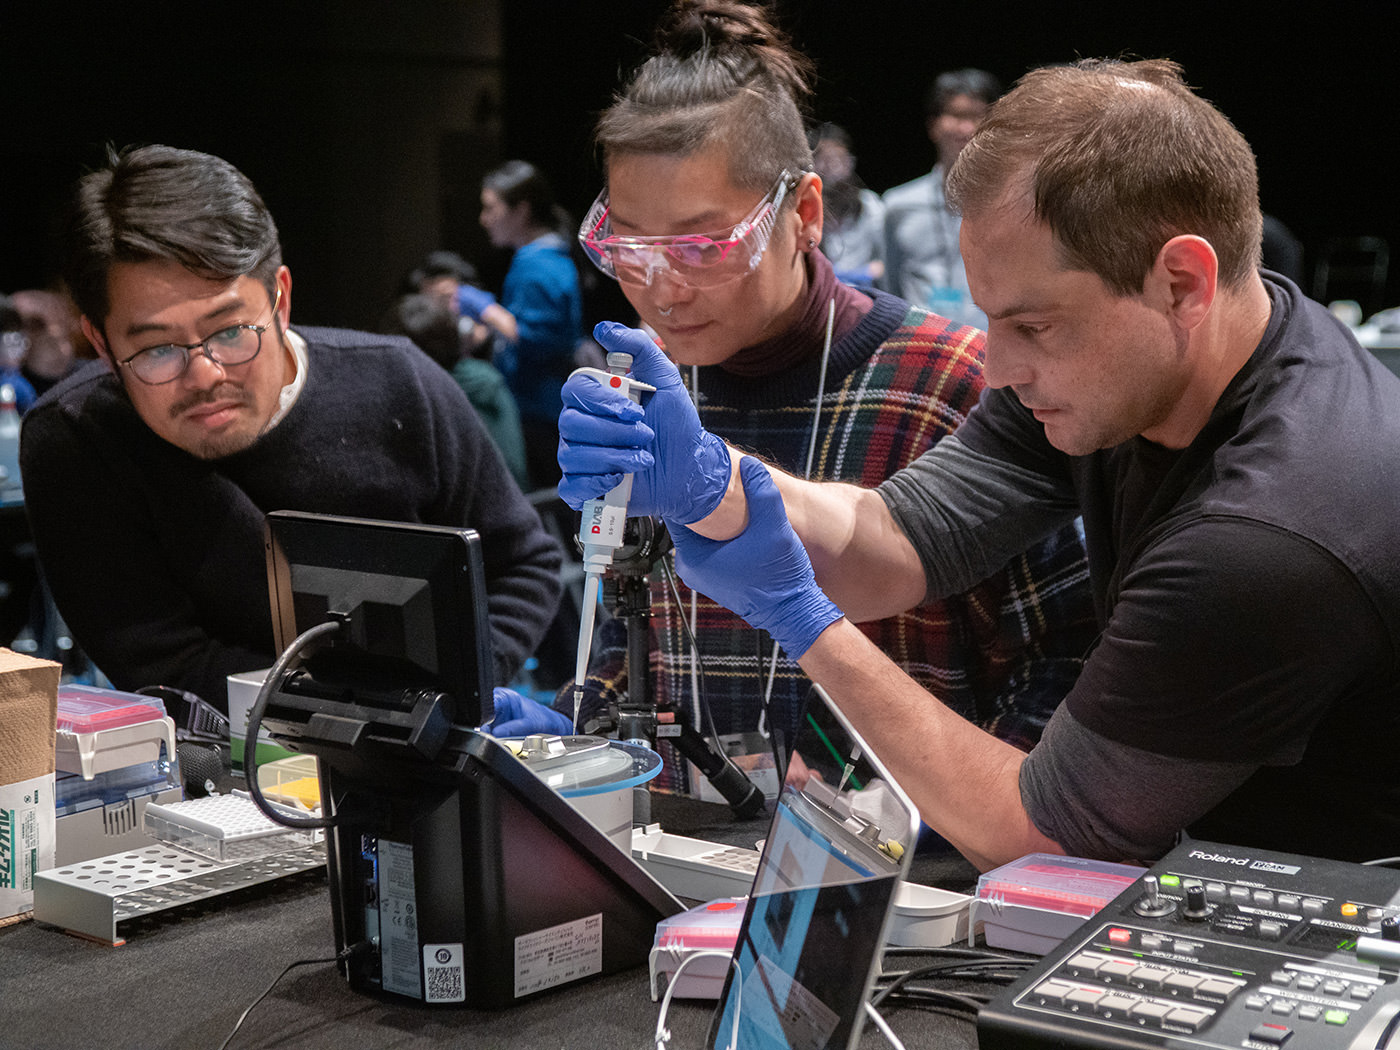
Then, Tsuda announced a partial change in the protocol. It was decided that, of the 16 teams, the 4 teams that chose single ingredients (Chinese cabbage, carrot, lotus root, chickpea) would take on sequencing the whole genomic DNA, rather than reading a region of the chloroplast DNA (rbcL gene). Accordingly, the four teams were to perform quantification using the extracted DNA solution (the solution before adding the PCR reagent). Each team took measurements in turn, by gathering to the spectrophotometer placed on the stage and pipetting the DNA solution they extracted (2 μl) onto the pedestal. Lowering the arm automatically began the measurement.
First, the value for purified water was measured and registered to the spectrophotometer as a reference value. Then, the concentration and purity was measured by comparing the values of the DNA solution.
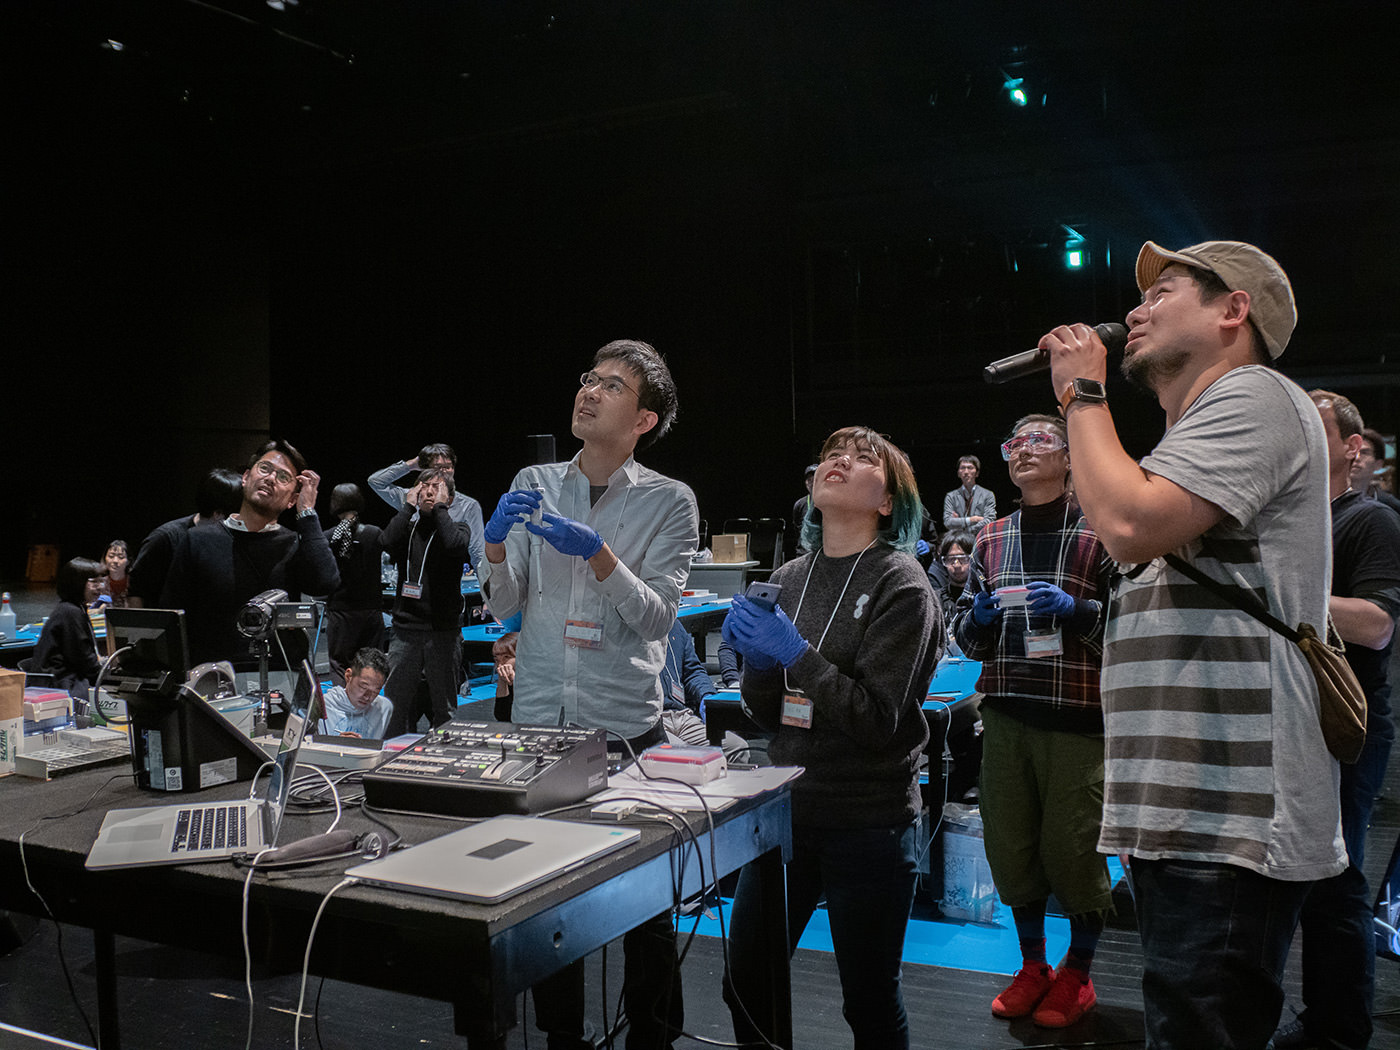
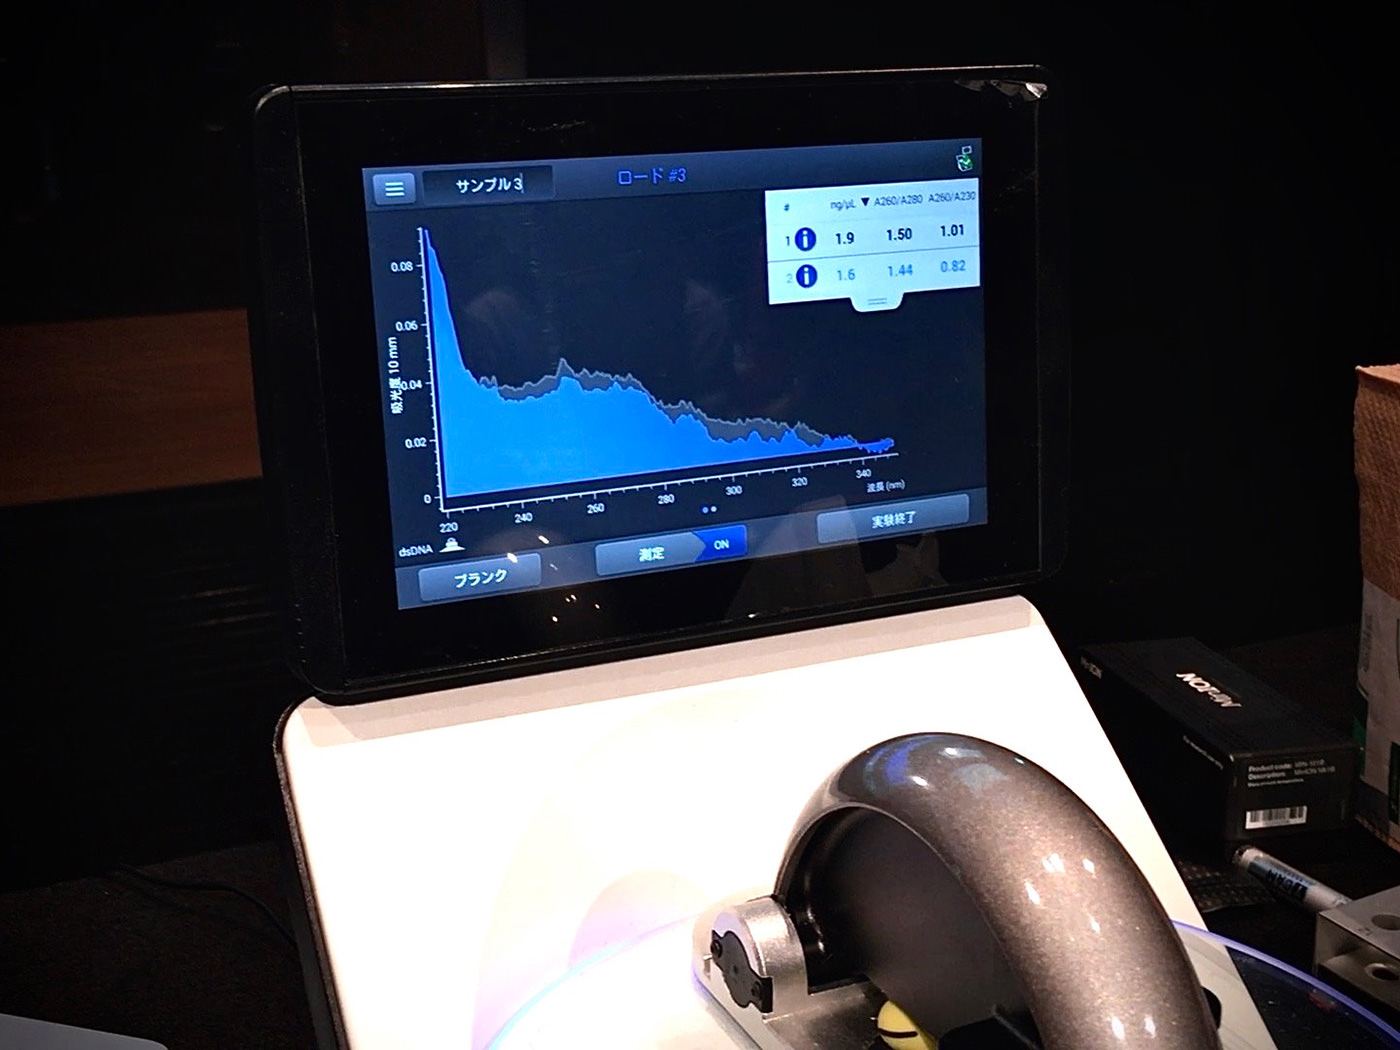
Each team waited for the measurement results like parents watching their child's big moment nervously. In just seconds, the results were displayed on the screen.
The participants alternated between joy and sorrow over the results projected on the screen.
The carrot salad selected by our team ended up with poor results. The concentration of DNA was 1.6ng (nanogram) per 1μℓ, and the purity was below the reference value of 1.8. What was troubling was that the value indicating contamination by impurities was below the borderline value of 1. The inability to completely remove ethanol may have been a factor. Frankly, it felt frustrating.
Every high measurement caused a stir among the participants, changing the venue into a bit of a competitive atmosphere. Teams whose results were not good seemed disappointed.
On the other hand, participants who had completed the measurements asked many questions such as where they had made mistakes in the processes, and whether the materials made a difference in ease of extraction. It was also impressive to see participants who wished they had had more time to reflect on whether they had properly conducted the experimental steps, based on the measurement results.
About 30 minutes after DNA quantification began, the results of all 16 teams had been collected. The great variation in scores among the teams was a surprise. For each of the categories of food samples (see below), two teams with the best scores were selected.
Teams that would read a region of chloroplast DNA (ingredient sample): carrot, tomato
Teams that would read a region of chloroplast DNA (cooked food sample): ingredients of takikomi-gohan, Japanese pickles
Teams that would read the whole genomic DNA: Chinese cabbage, chickpea
The results announced by Tsuda were met with great applause from the venue, as if the participants were praising each other's efforts.
Reading DNA sequences with the latest model of sequencer
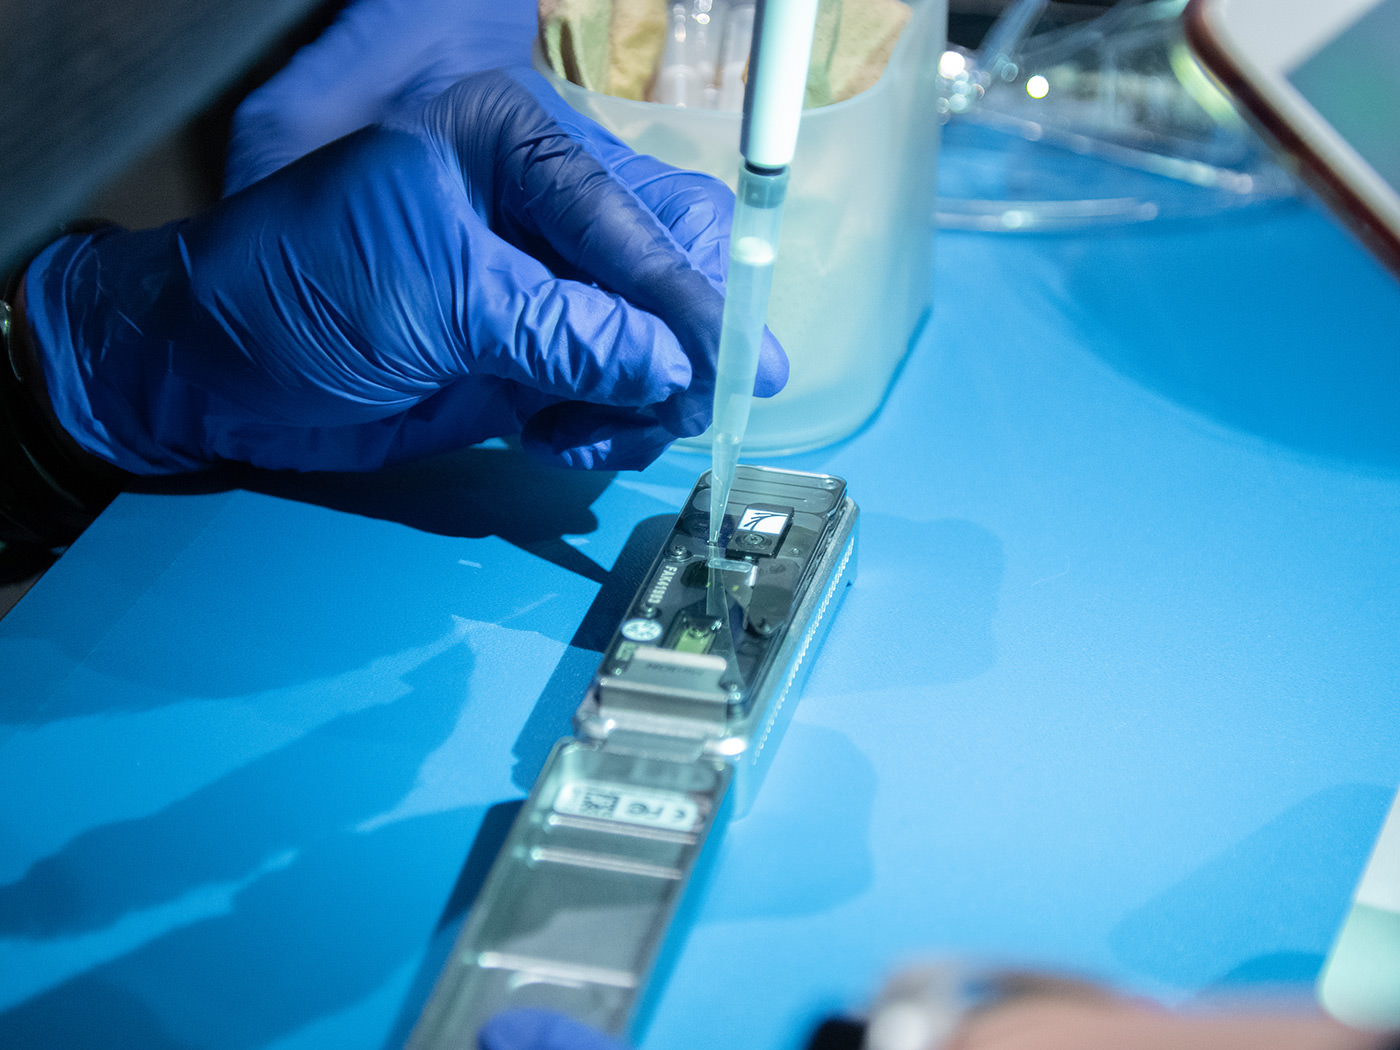
Finally, it was time to begin the last process of the day, DNA sequencing. The participants were rearranged into teams of 6 people to sequence DNA samples from the top 6 selected teams. As the carrot salad from our team was not selected, we decided to join the tomato team to perform the analysis. The time was already past 9 pm. The participants, who had been working intently without having dinner, started to look tired. A total of 6 laptop computers were placed on each table, all of which were connected to a sequencer. The equipment used in the workshop was the MinION palm-sized sequencer developed by Oxford Nanopore Technologies in the UK.
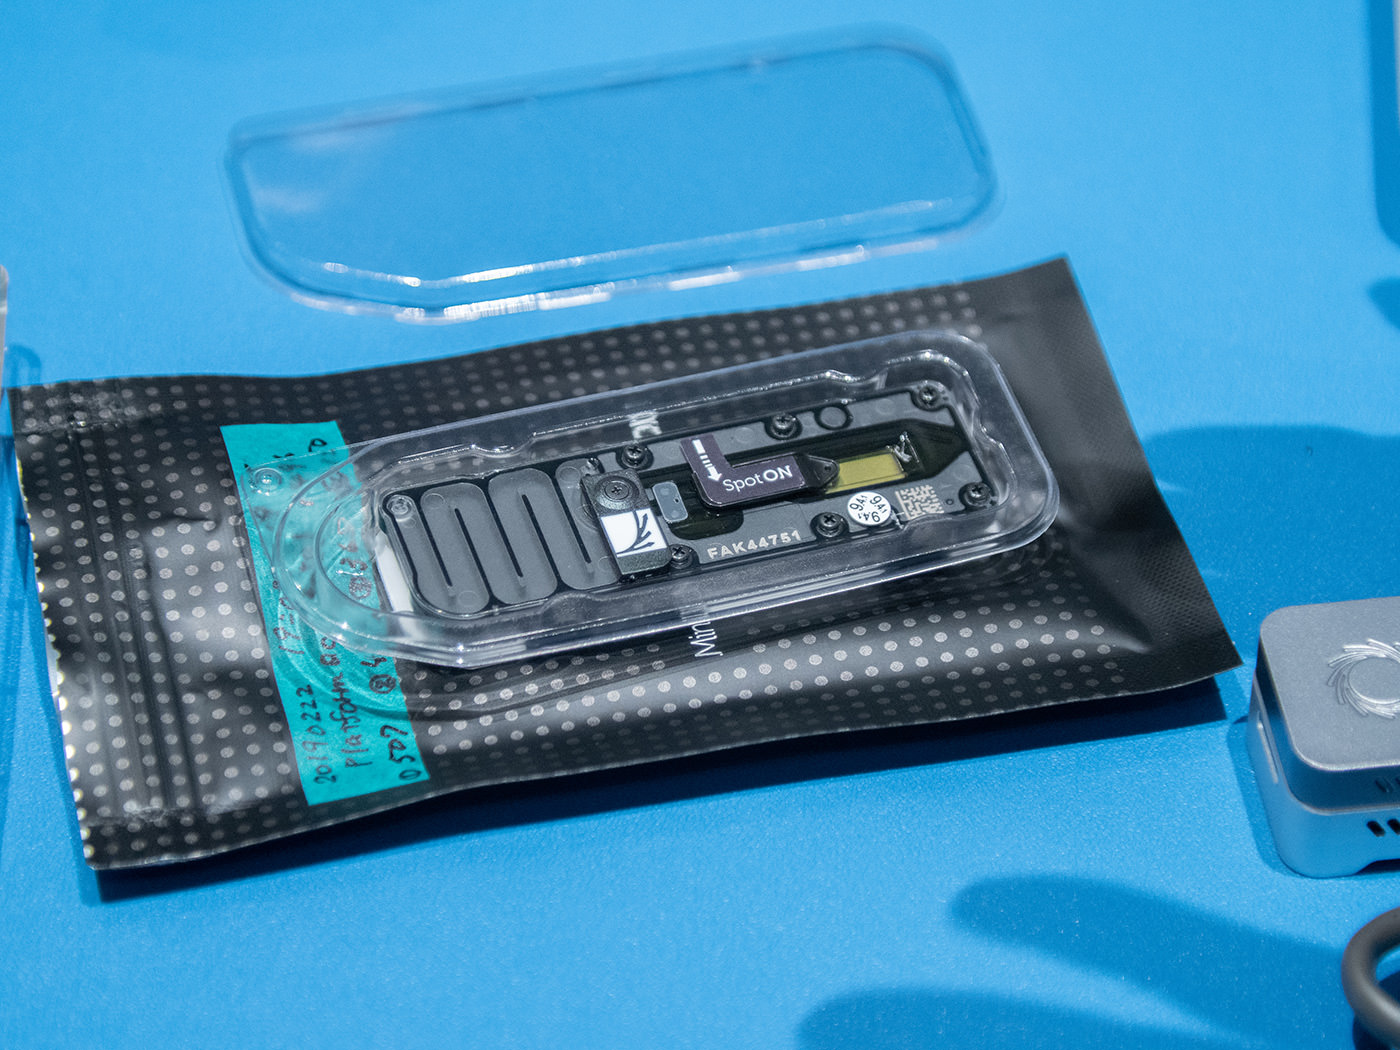
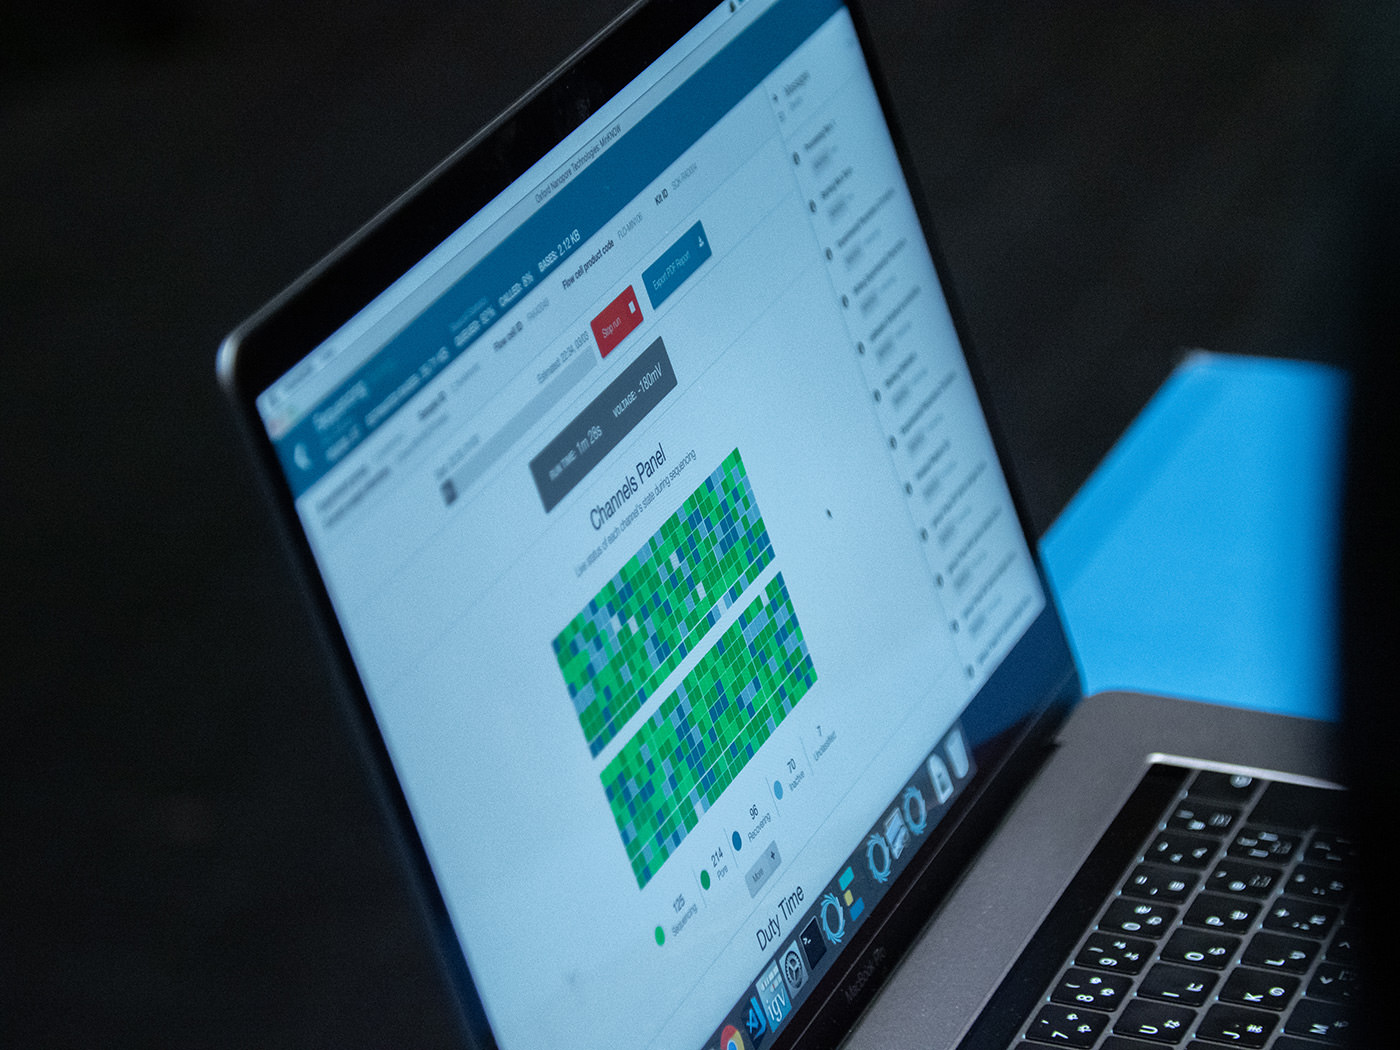
The base sequences read by a sequencer are called "reads." With the conventional sequencer known as next-generation sequencing (NGS), it is common to read a large amount of fragmented DNA, perform large-scale parallel decoding, and output "short read" data. MinION, on the other hand, passes a strand of DNA through a nanosized hole (a nanopore) one DNA molecule at a time. At that moment, each molecule causes a distinct change in the ionic current being passed through the nanopore which is used to decode the base sequence. As fragmenting the strand of DNA is not required, it performs sequencing in order from one end, making it possible to read a long sequence in a short period of time and output "long read" data. MinION also has a maximum read length of several hundred thousand bp (base pairs). To use MinION, a flow cell is first inserted into the main unit. The flow cell has a sensor array chip embedded with 512 nanopore channels, each with four nanopores. When the MinION is connected to a computer by USB, the flow cell’s state can be checked using the exclusive software called MinKNOW.
The flow cell is a consumable item that costs over 100,000 yen. It requires to be handled with care.
Depending on the storage condition of the flow cell, fewer nanopores may be available for use. For that reason, it is necessary to check the flow cell before analysis to confirm the number of active nanopores.
Next, the DNA library was prepared by mixing the DNA sample solution and reagent in a PCR tube. A tag was attached to one end of the DNA (3'-end), and an adapter with motor protein was added to the tag. When the adapter binds to the nanopore, the double stranded DNA is separated into two single strands by the motor protein. In other words, the adapter plays an important role in passing DNA molecules through the nanopores.
The tube was incubated in the thermal cycler to bind the adapter to the DNA. Then, the loading beads and buffer were added.
Despite fatigue and hunger, and perhaps out of the excitement of coming close to the end of the process, the venue was engulfed in a sense of elation, and cheers and applause broke out as each step progressed. At the end of the incubation, participants watching from the sidelines began a countdown, creating a festive atmosphere.
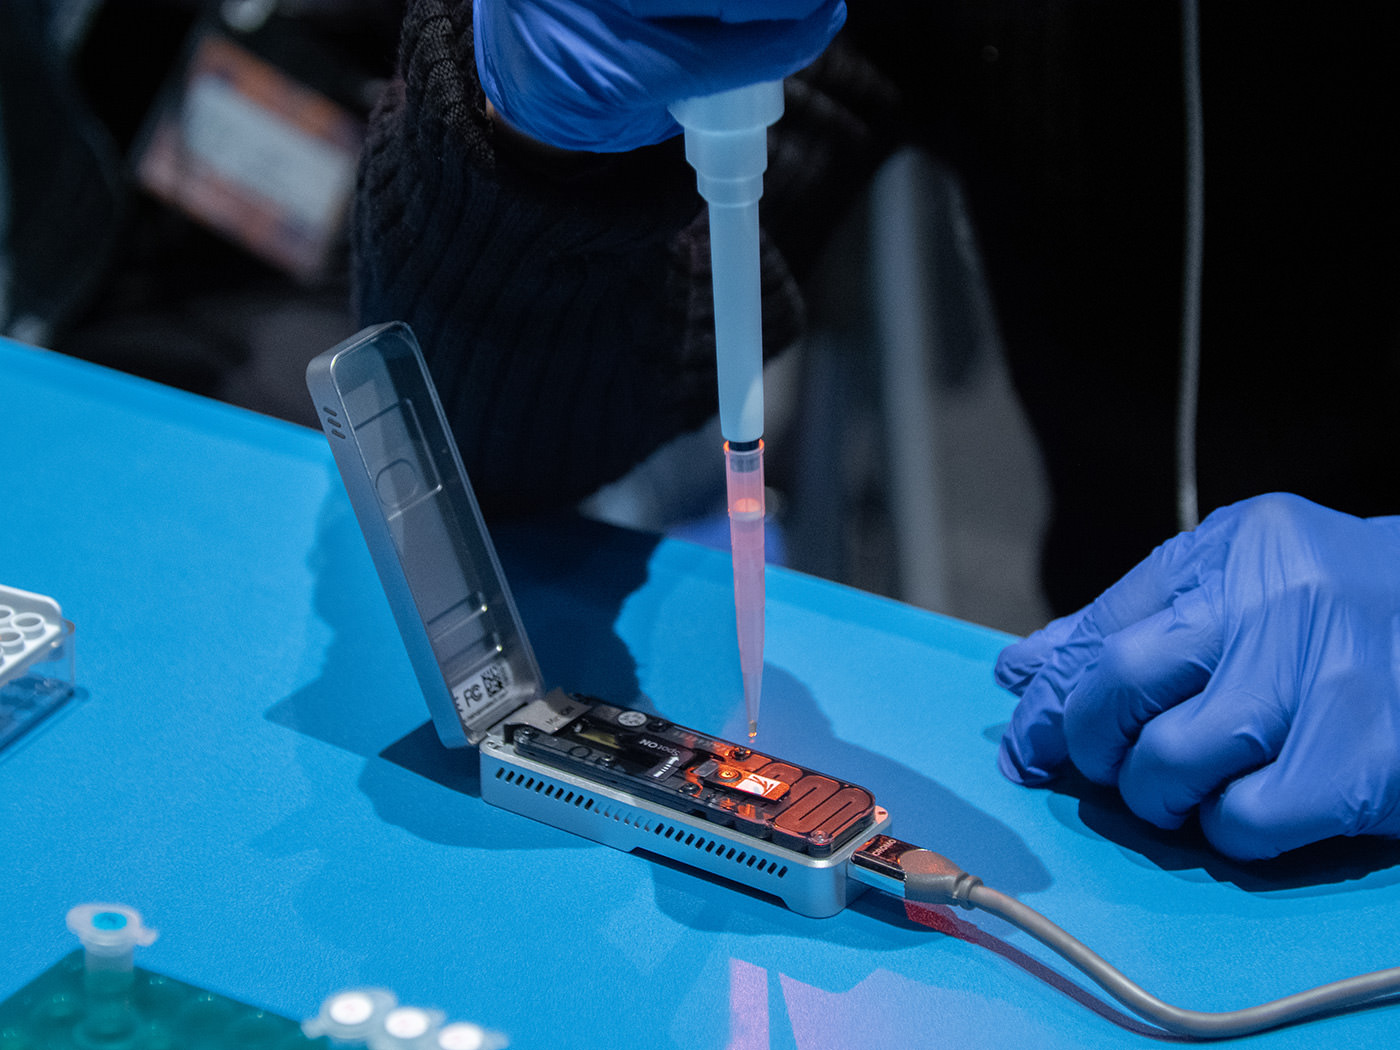
In addition to the DNA library, the flow cell was also being prepared. After opening the priming port and inserting the tip of the micropipette, air that was trapped in the port was removed with a micropipette. Then, a filling solution (priming mix) was loaded into the flow cell, while taking care not to introduce any air bubbles.
Next, the cover of the SpotON sample port was slowly removed to expose the port. However, the DNA library was not yet loaded, and a small amount of buffer was again loaded into the priming port. This was done carefully to prevent leakage of buffer from the sample port.
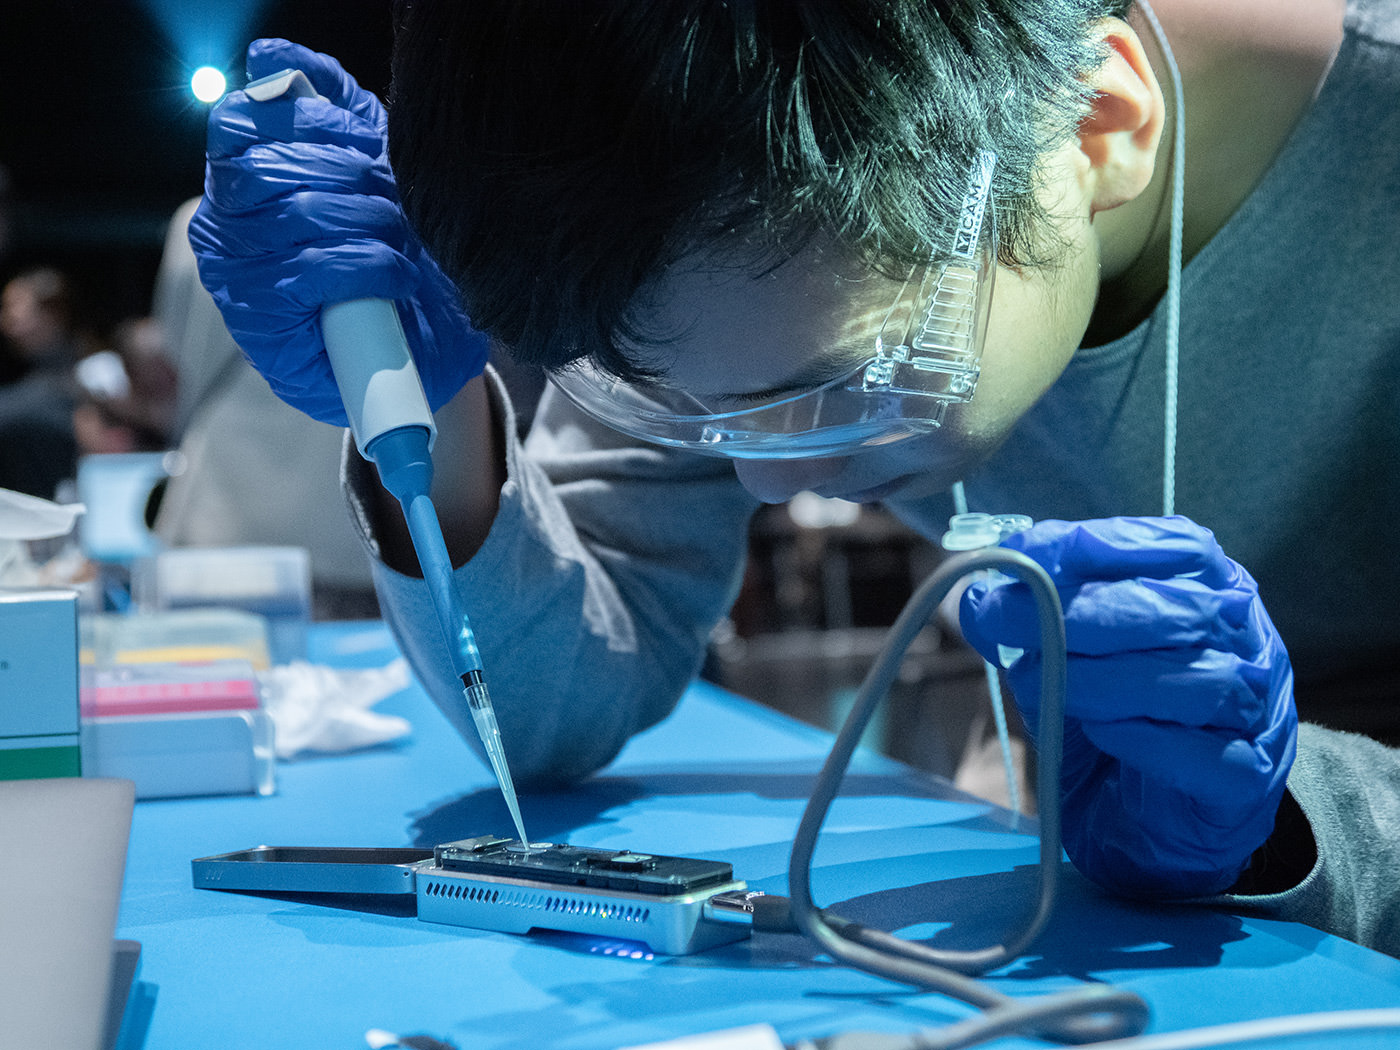
Finally, we reached the most difficult process, loading the DNA library. Given the risk that failure would result in wasting the 100,000-yen flow cell, the participants in charge of loading was under a lot of pressure. After pipetting the DNA library several times in the PCR tube, the participants steadied their elbows and slowly dripped it into the SpotON sample port. The DNA library was added one drop at a time, so that the liquid would not leak from the port. The participants surrounding the table also held their breaths as they observed.
Once the entire solution had been loaded, the cover of the SpotON sample port was firmly closed, and the priming port and the MinION’s cover were closed, in that order. After MinKNOW, the computer software, recognized the device, START RUN was clicked. Several minutes later, sequencing began.
When Suganuma, the facilitator, told the participants that the whole process was finished, the venue erupted in applause with a sense of accomplishment and deep emotion. Reaching the end had taken nearly 10 hours. Although it was a strenuous process, the fact that beginners without knowledge of biotechnology could work their way from DNA extraction to sequencing in just 10 hours was surely a remarkable achievement. Sequencing continued until the next morning and detailed data analysis was scheduled to begin at the following morning session.
Even after the workshop finished, blue and green icons continued to blink on the computer screen. In a sense, it can be said that invisible DNA was being visualized. I was deeply moved that a presence, undetectable even by peering into a small tube of liquid, had seemed to suddenly appear in front of me. This was a valuable day in which I had a first-hand experience with a hidden biological system that supports the lives of all organisms.
Read next
DAY2
“Write” and “Bioethics”
Lectures and workshops to learn about the technologies used in writing DNA and editing genomes, as well as the ethical problems involved.